Baked Scotch Style Eggs Spicy Turkey Asian Style
These Baked Scotch Style Eggs Spicy Turkey Asian Style come out moist, a little crunchy and Forking Delicious! If you are a fan of spicy Asian Food you will LOVE these scotch Style Eggs. This is an easy to make recipe but you do need some Asian ingredients that might not normally be in your pantry. I note that you should only make what you need within the week because whole eggs don’t freeze well so you can’t freeze leftovers. The recipe is easy but has steps that you should read before you attempt.
Ingredients for six servings
6 XL eggs (these are the centers of the Scotch Style eggs)
3 Tablespoons soy sauce
2 Tablespoons rice wine vinegar
1 Tablespoon shaohsing rice wine
1 Tablespoon garlic minced
2 Tablespoons gochujang
1 teaspoon red chili flakes
1 Tablespoon ginger – fresh grated
1 Tablespoon honey
1 Tablespoon dark brown sugar
1 teaspoon hoisen sauce
1/2 teaspoon sesame oil
1 lb ground turkey 85% lean
1/4 cup sweet onion minced
2 XL eggs – beaten (this is for meat mixture)
1 cup whole wheat panko bread crumbs (Plain not flavored)
1 Tablespoon kosher salt or sea salt
1/2 teaspoon black pepper
3 oz French Style fried onions (like French’s Brand – The onions are the coating)
non-stick spray – canola or vegetable
Directions
Put six eggs in a sauce pot and cover well with water. Put your pot on the burner and turn burner to high and as soon as the pot is at a full boil shut it OFF and put a timer on for 5 minutes. After the five minutes pour all the hot water out of the pot and add cold water and two large glasses of ice. The eggs will be hard to peal but not impossible and will have nice moist creamy centers and in the baking process instead of chalky.
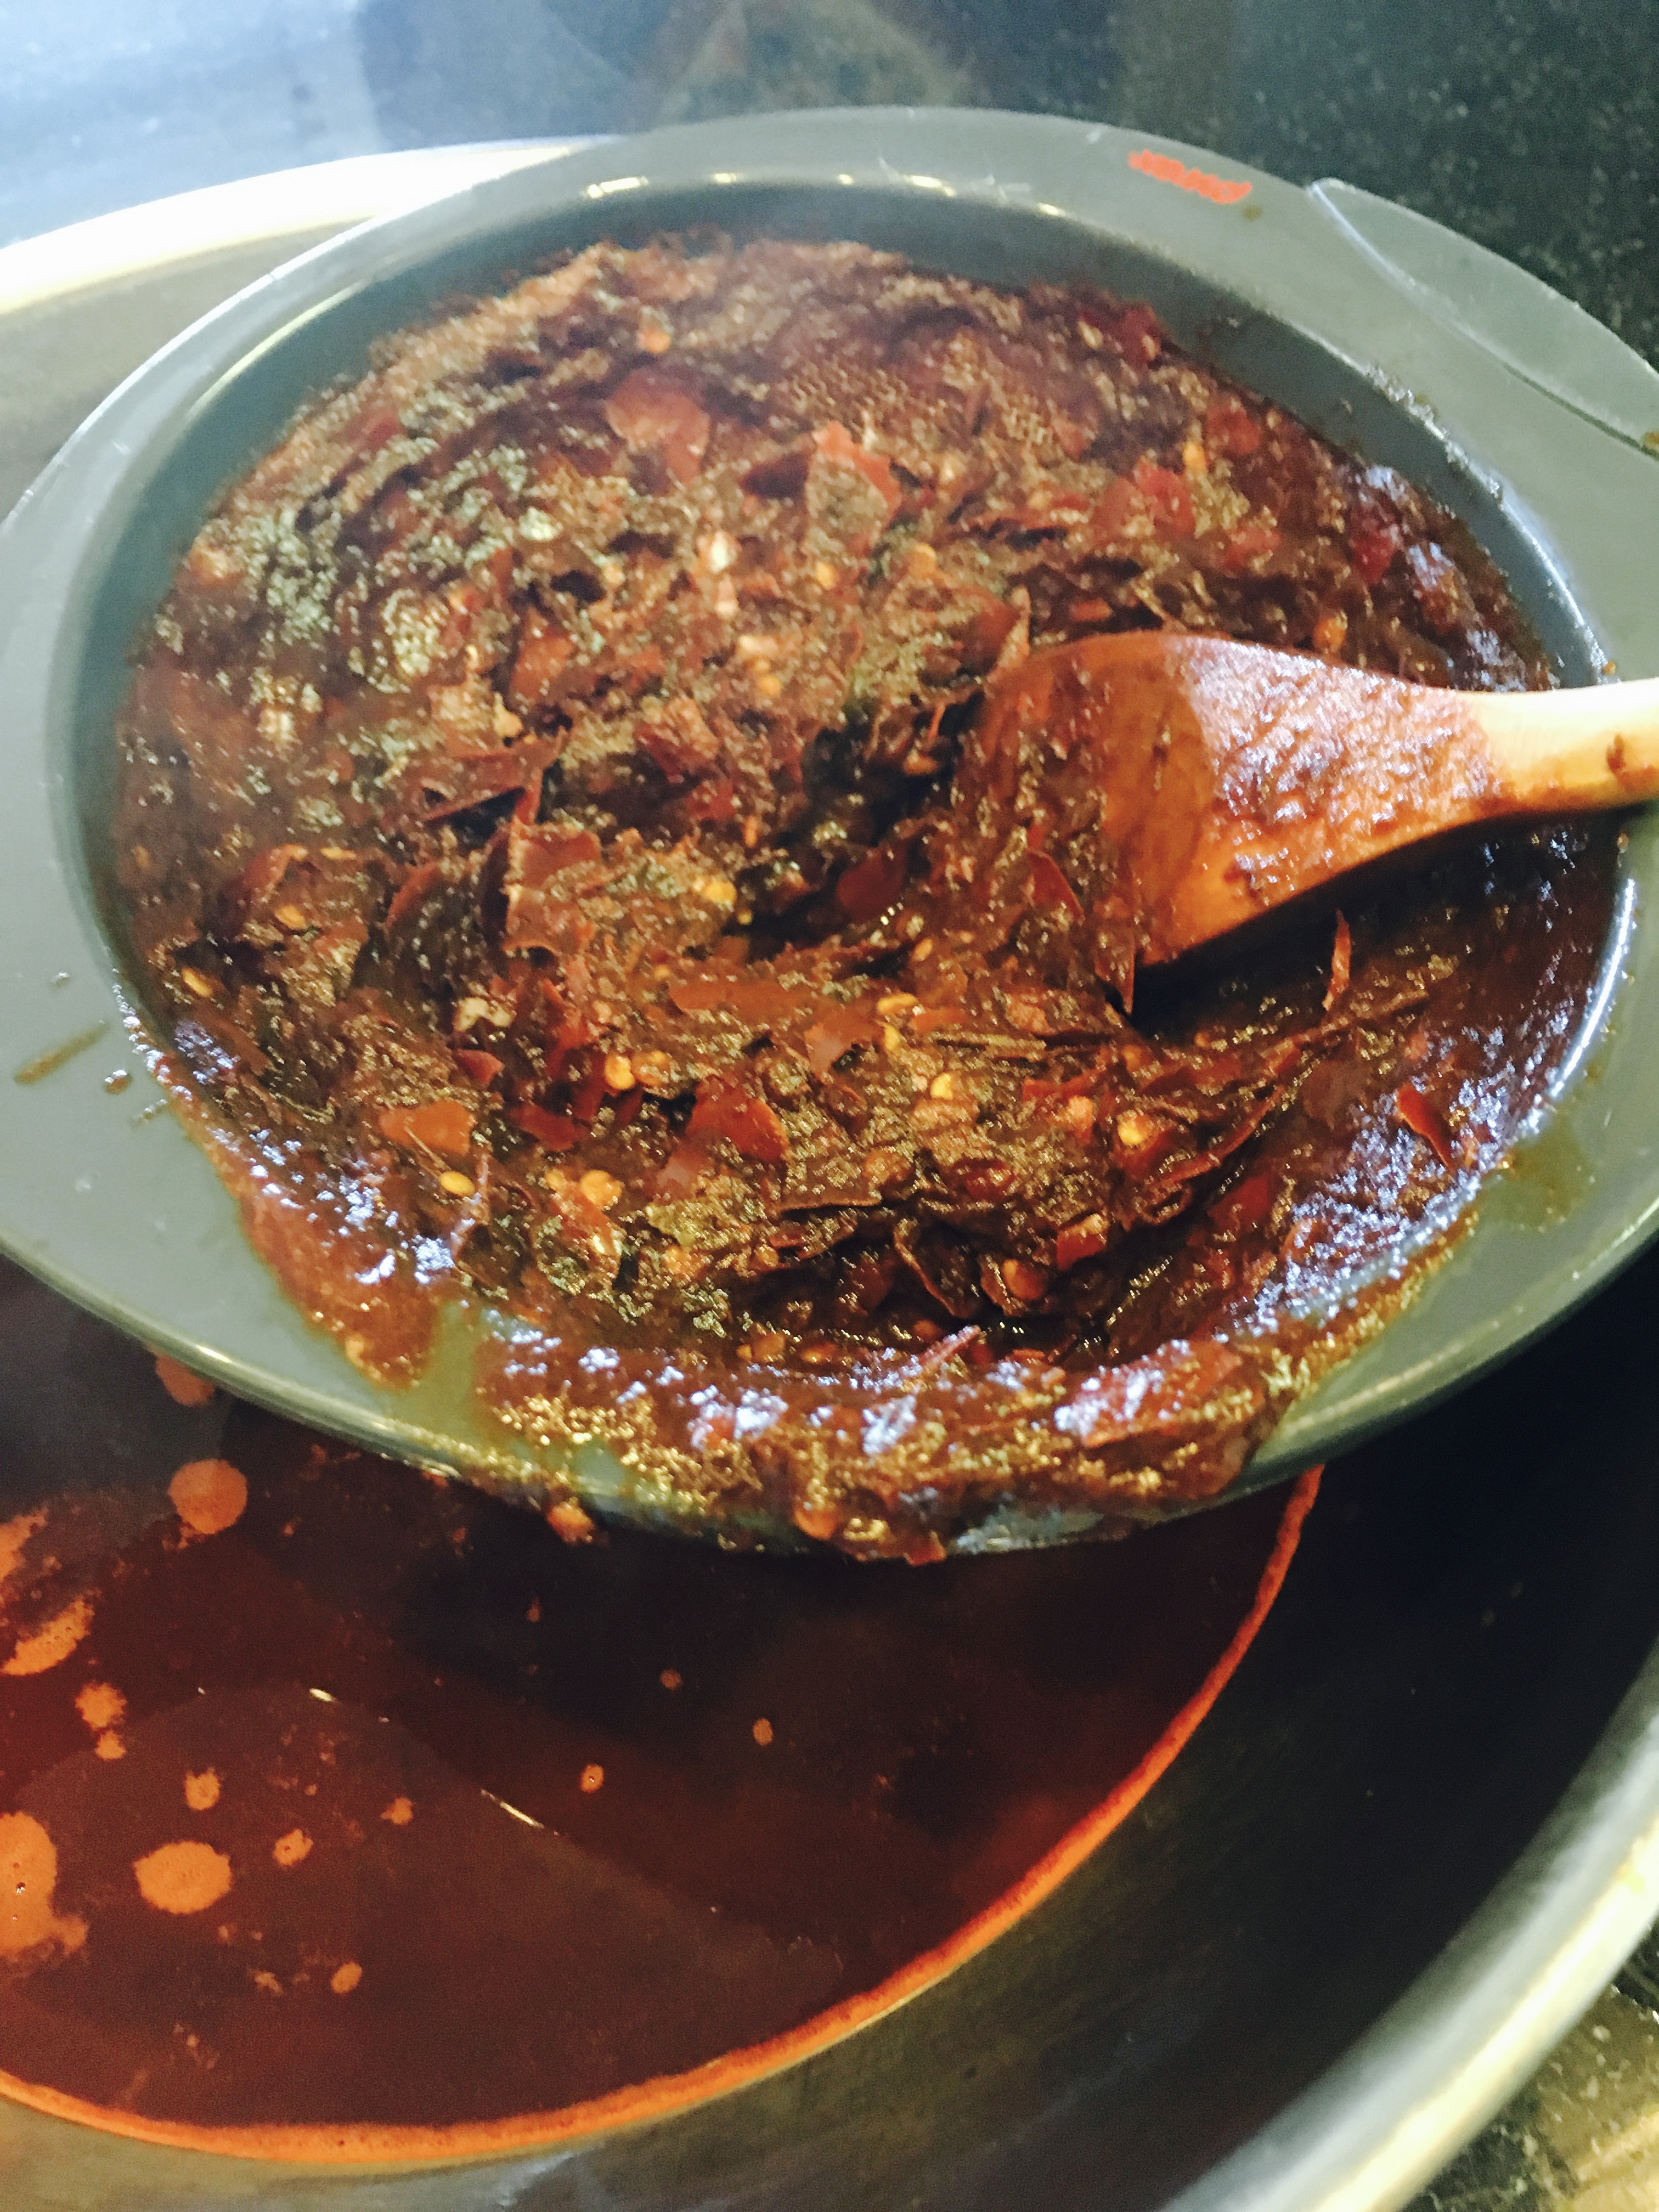
In a small bowl combine soy sauce, rice wine vinegar, shaohsing rice wine, garlic, gochujang, red chili flakes, ginger, honey, sugar, hoisen, sesame oil. Mix well. Use your quarter cup measuring scoop that you use for solid food to remove a “dry” 1/4 cup of the sauce and add it to your large bowl where you will be mixing up the turkey. They rest of the sauce will be used as a dipping sauce for the Scotch Style Eggs. Set in refrigerator.
In your large bowl where you have a “dry” 1/4 cup of spicy asian sauce add beaten eggs, onion, salt pepper and turkey and mix well. Once well mixed add the panko and mix well.
The mixture will be too soft so you have to refrigerate the meat mixture for about ninety minutes. During this time you should peal the eggs.
Now divide the mixture into six even portions. Kinda like this patty and start with one and sit an egg in it.

Pull the ends of meat up, wrap around egg and roll in your hands like a big meatball.

Repeat and do the same to the five remaining meat patties.
When you have them done.

Use two bowls and divide the French Style crispy fried onions. You are using two bowls instead of one because it will be easier to divide up the correct amount fried onions to roll the meat coated eggs in. Roll one ball around in the bowl and eyeball one third of the onions on the ball. Roll your second ball and leave enough for the third ball. Now move on to your next bowl with the other three balls and repeat.
Now turn on your oven to 350 degrees F.
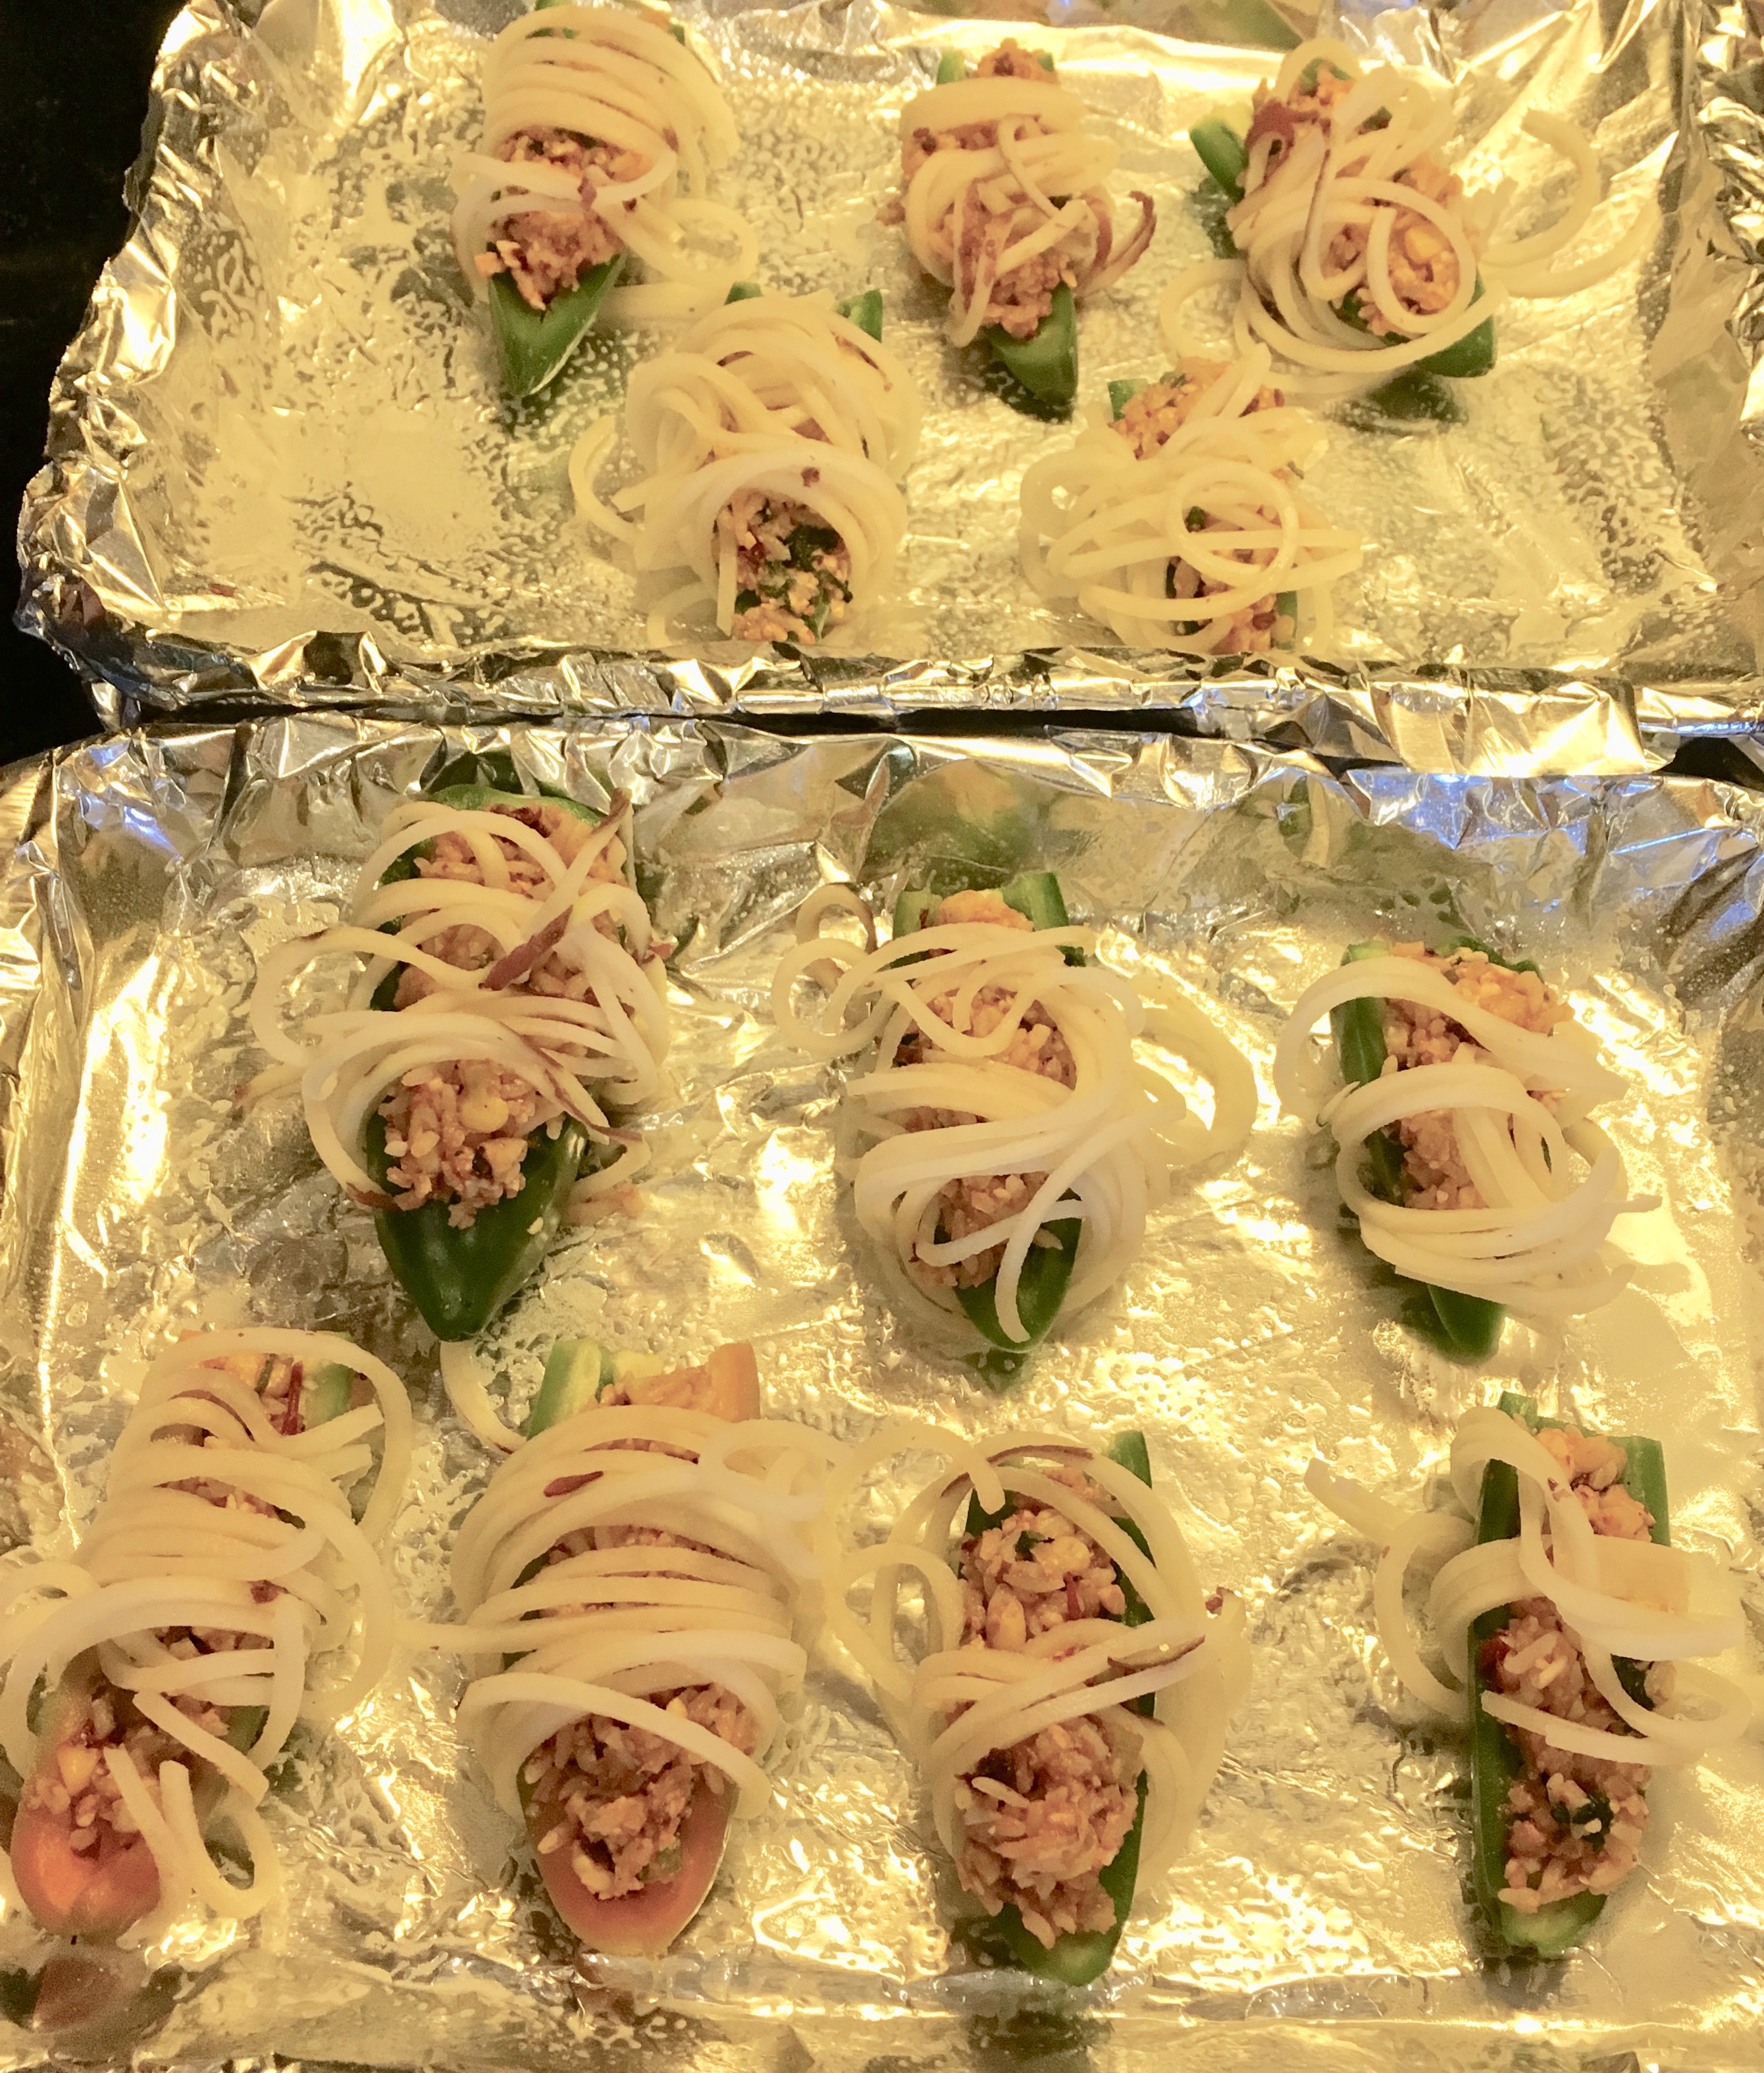
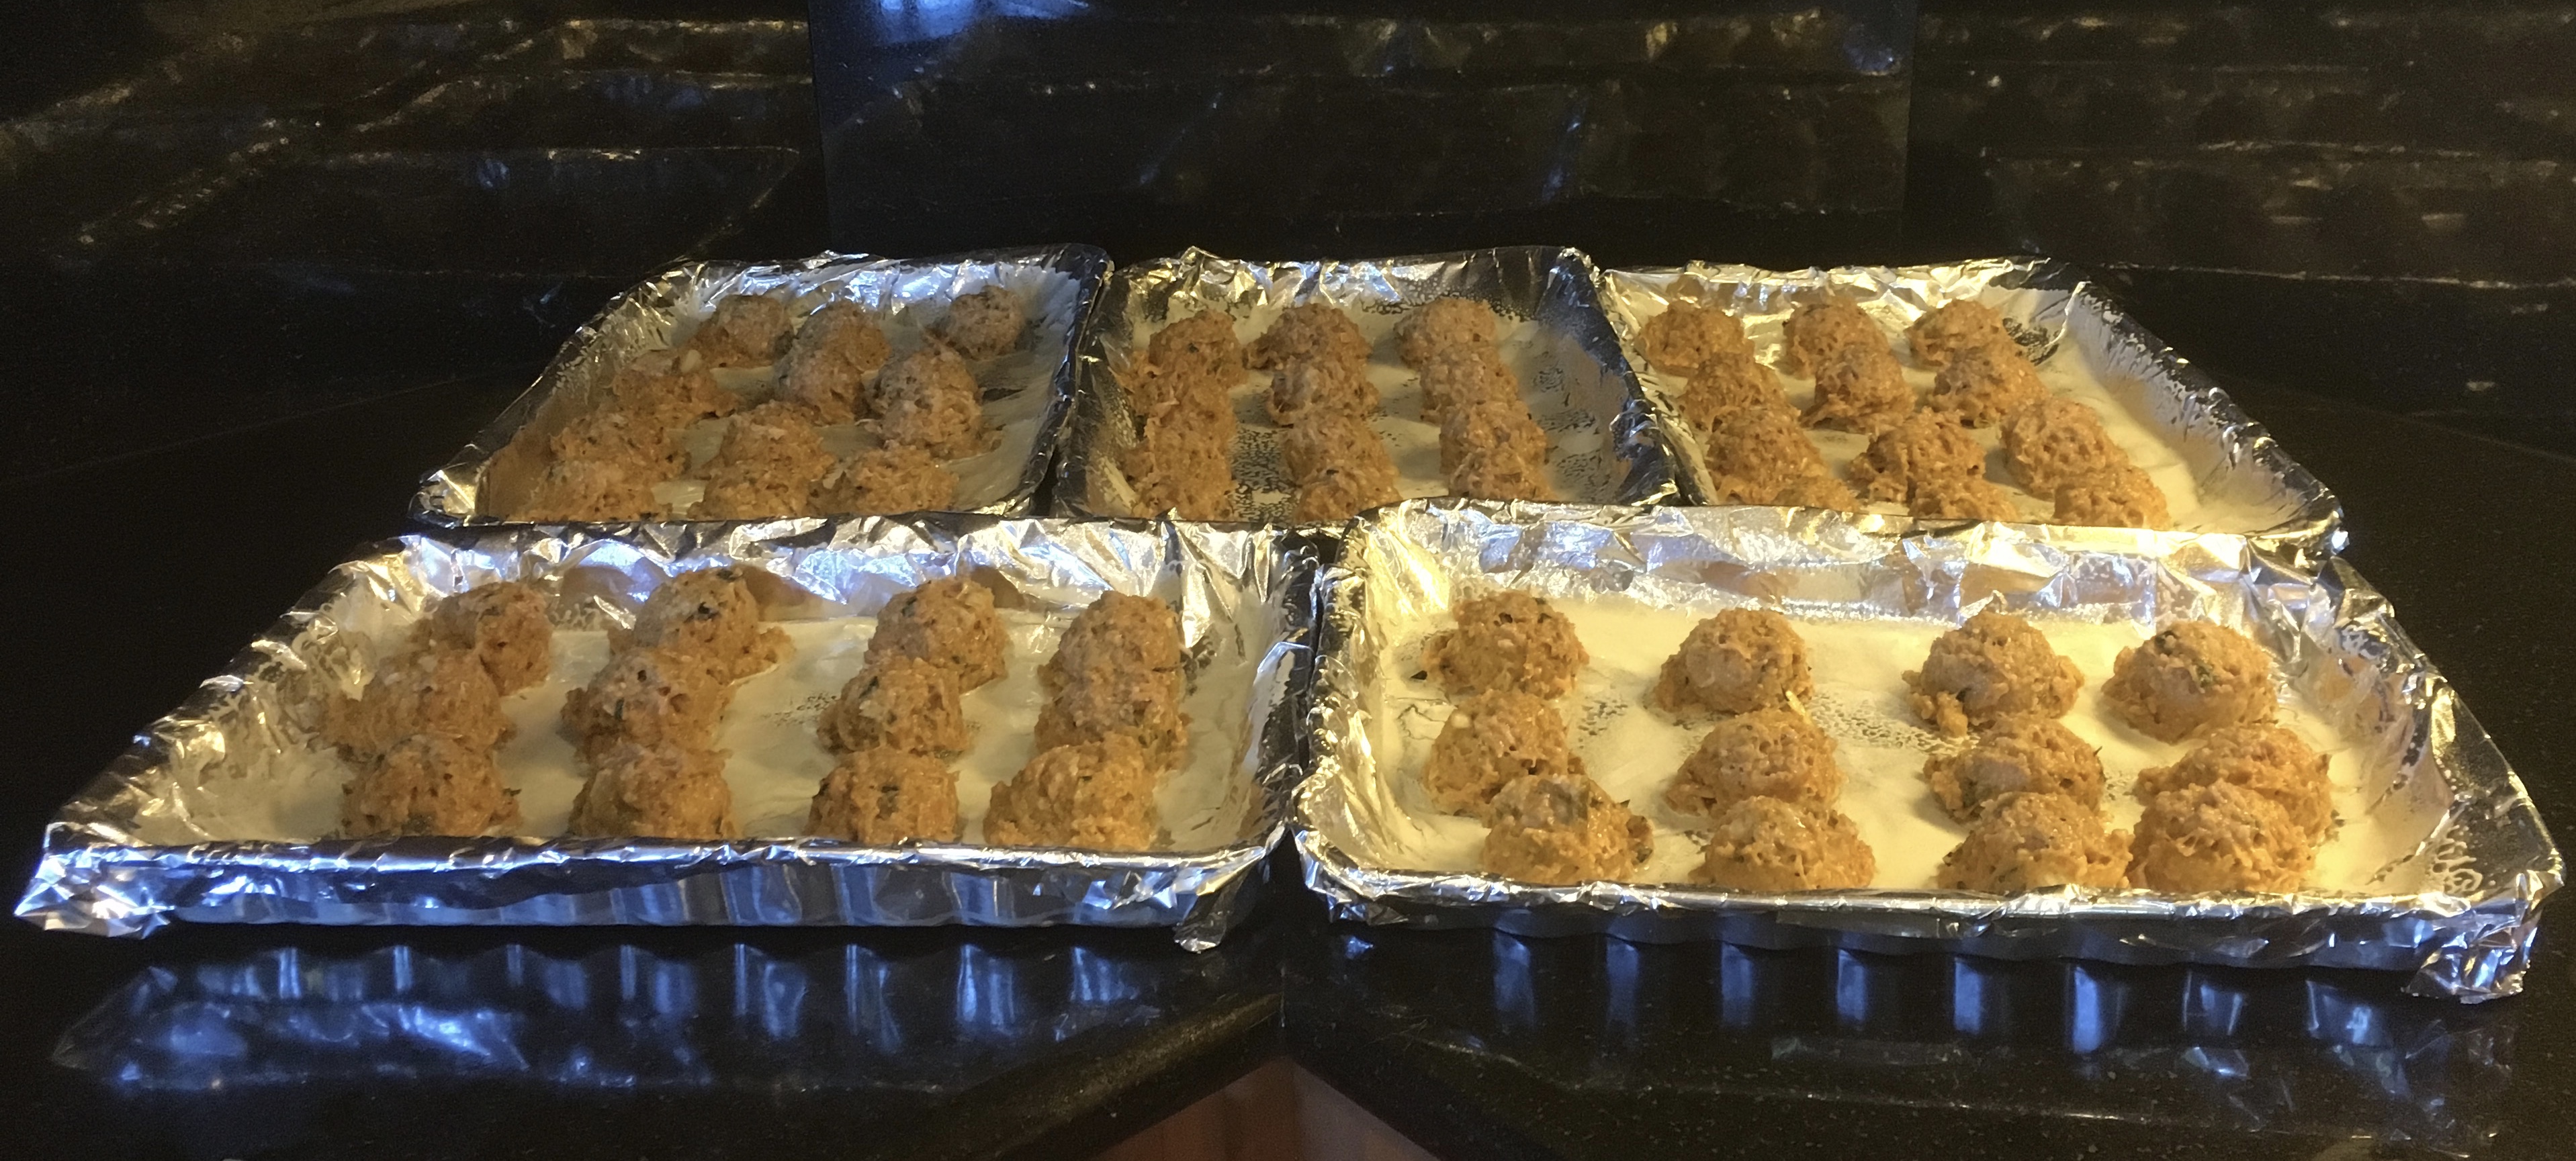
Spray your baking sheet(s) with non-stick spray.
Space out balls on the baking sheet(s)

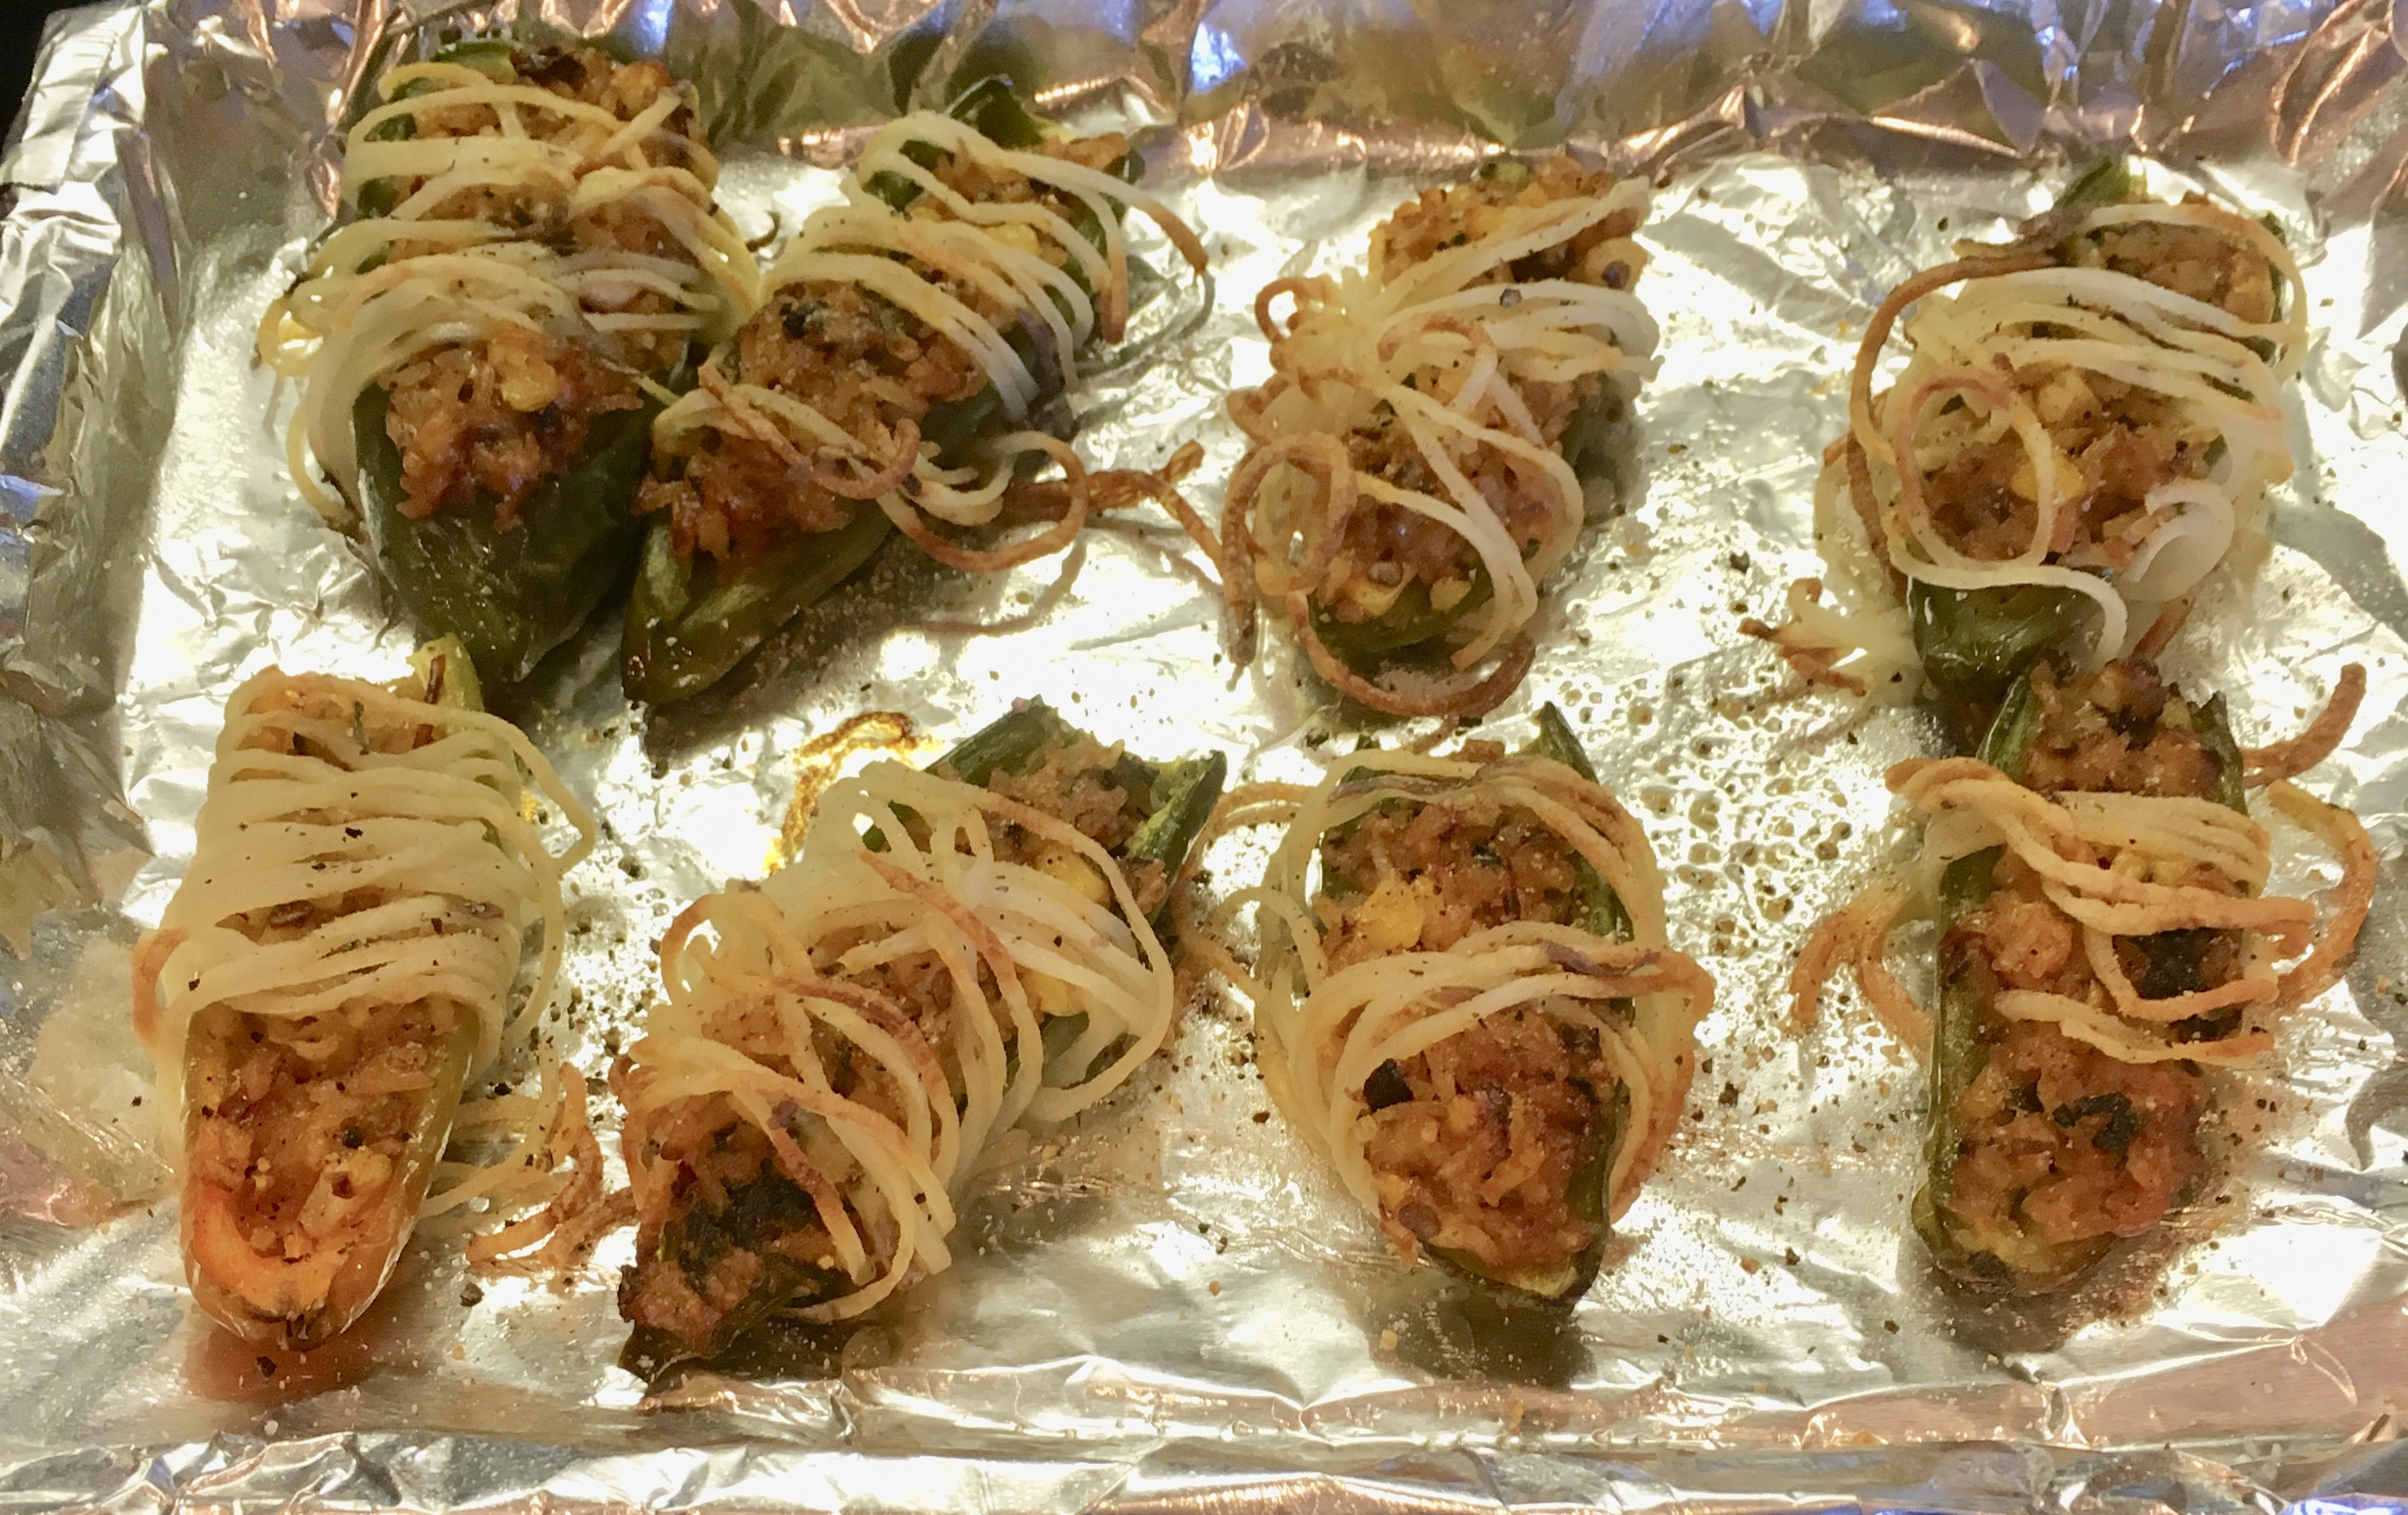
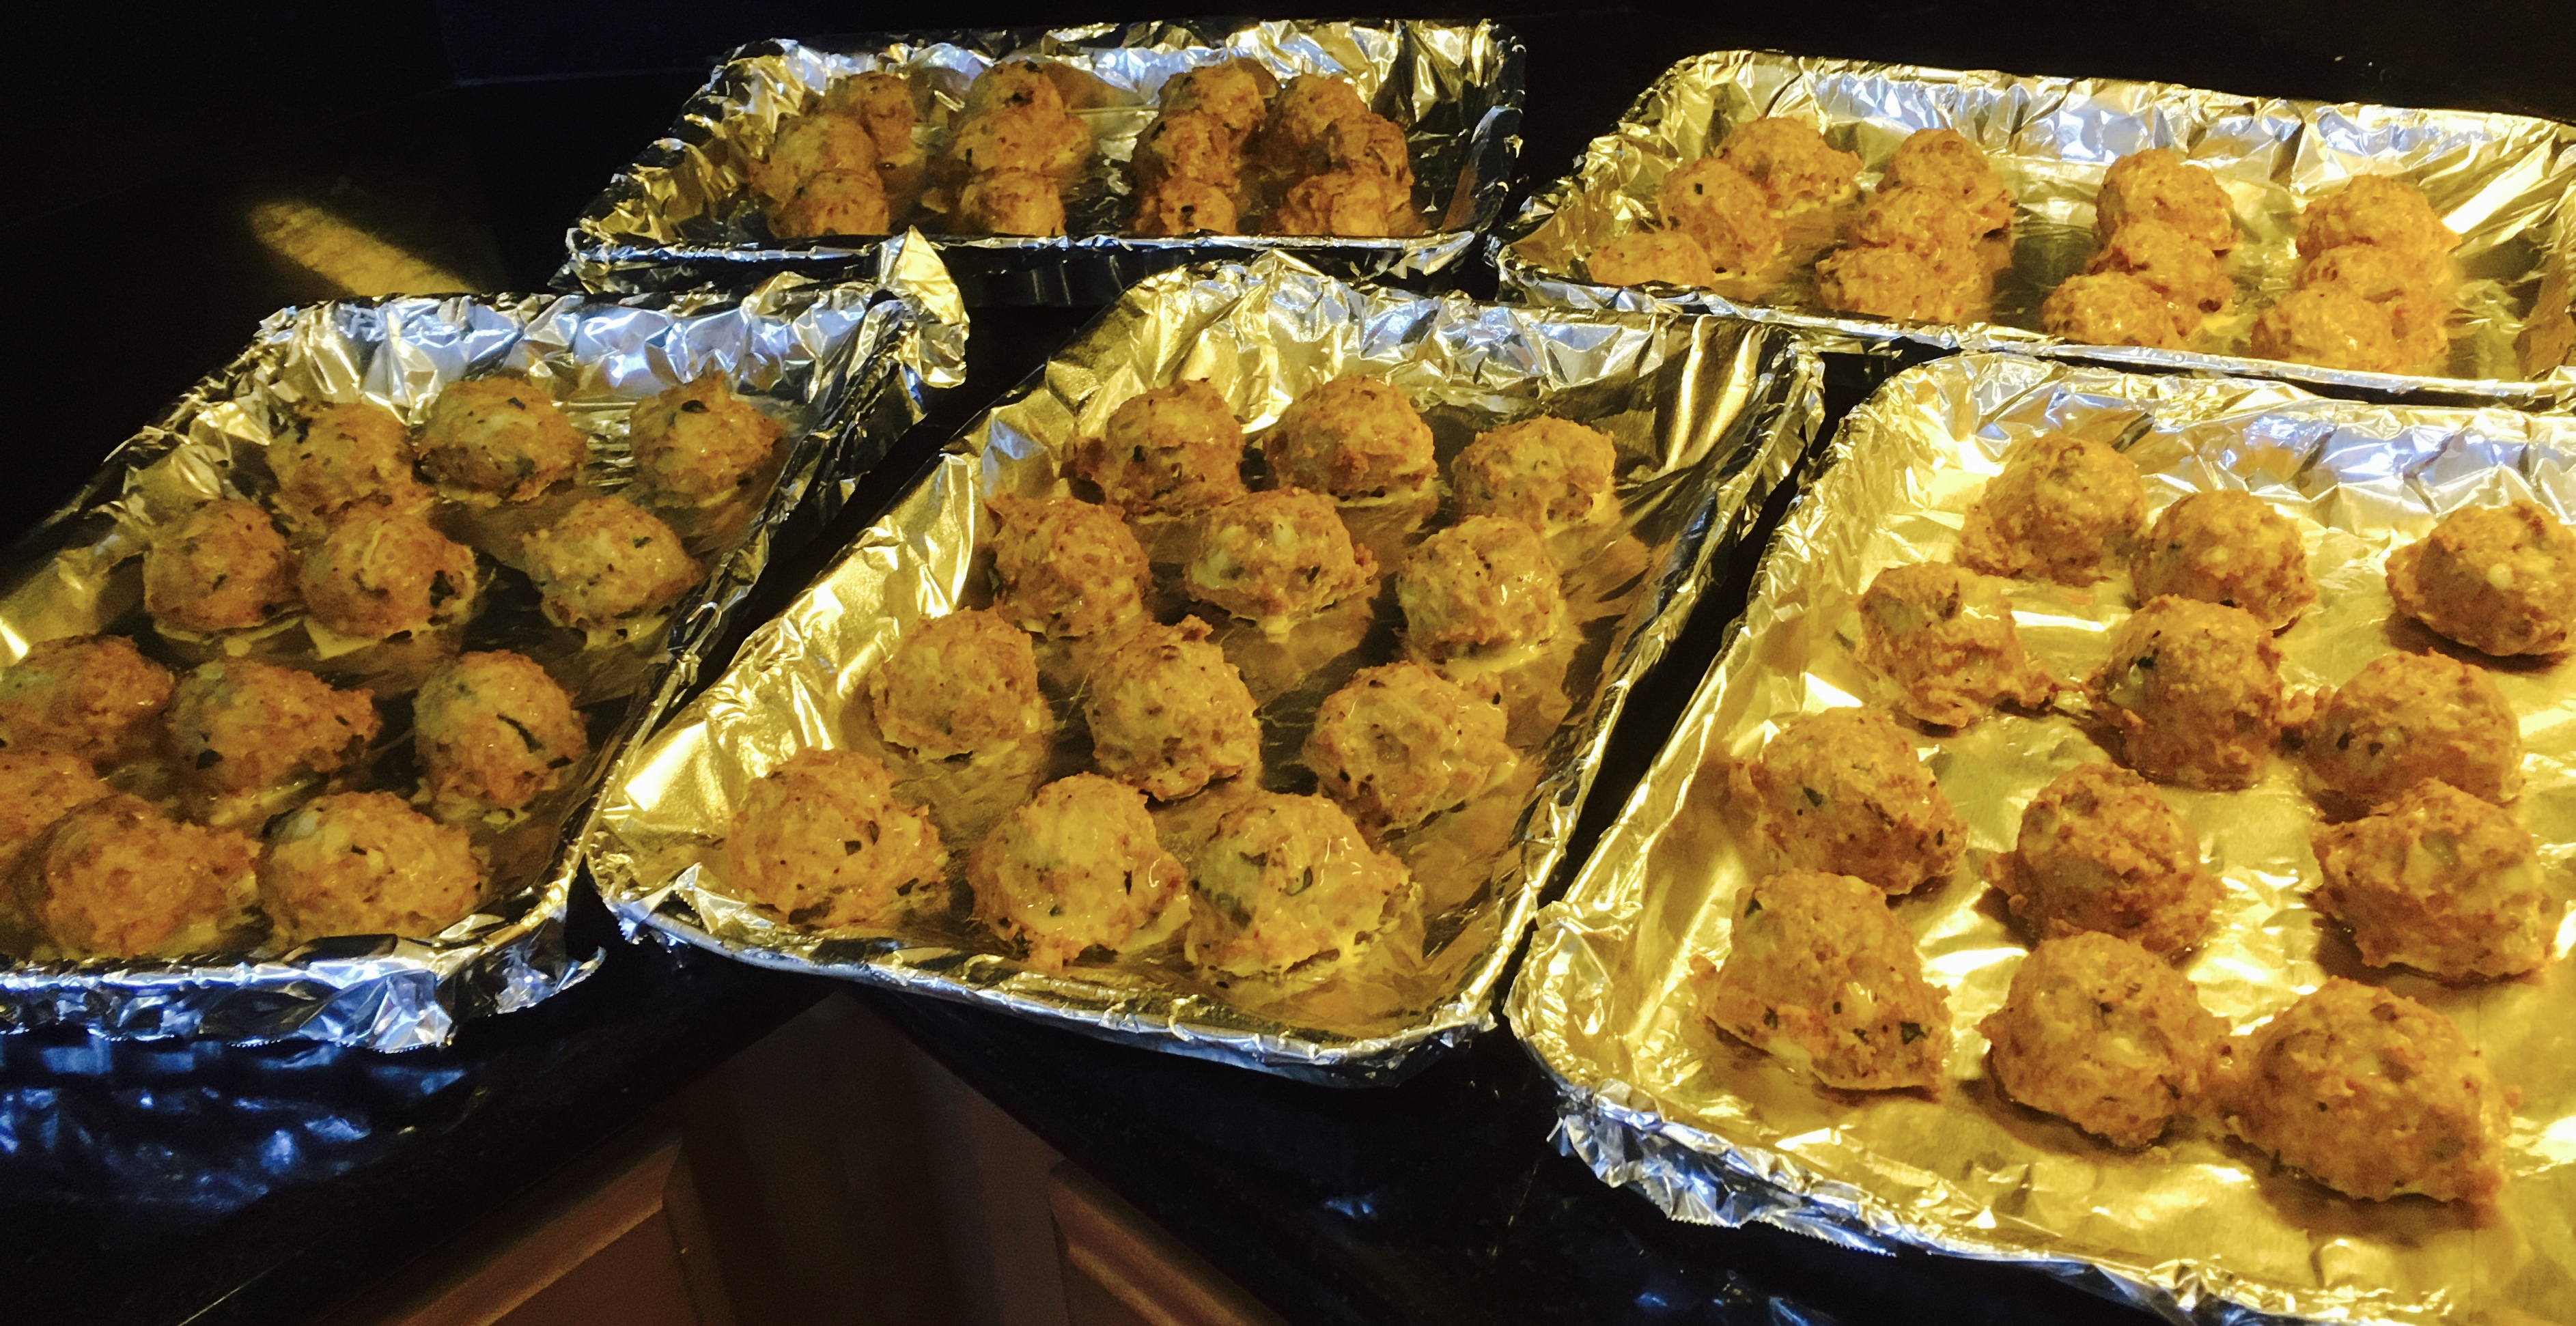
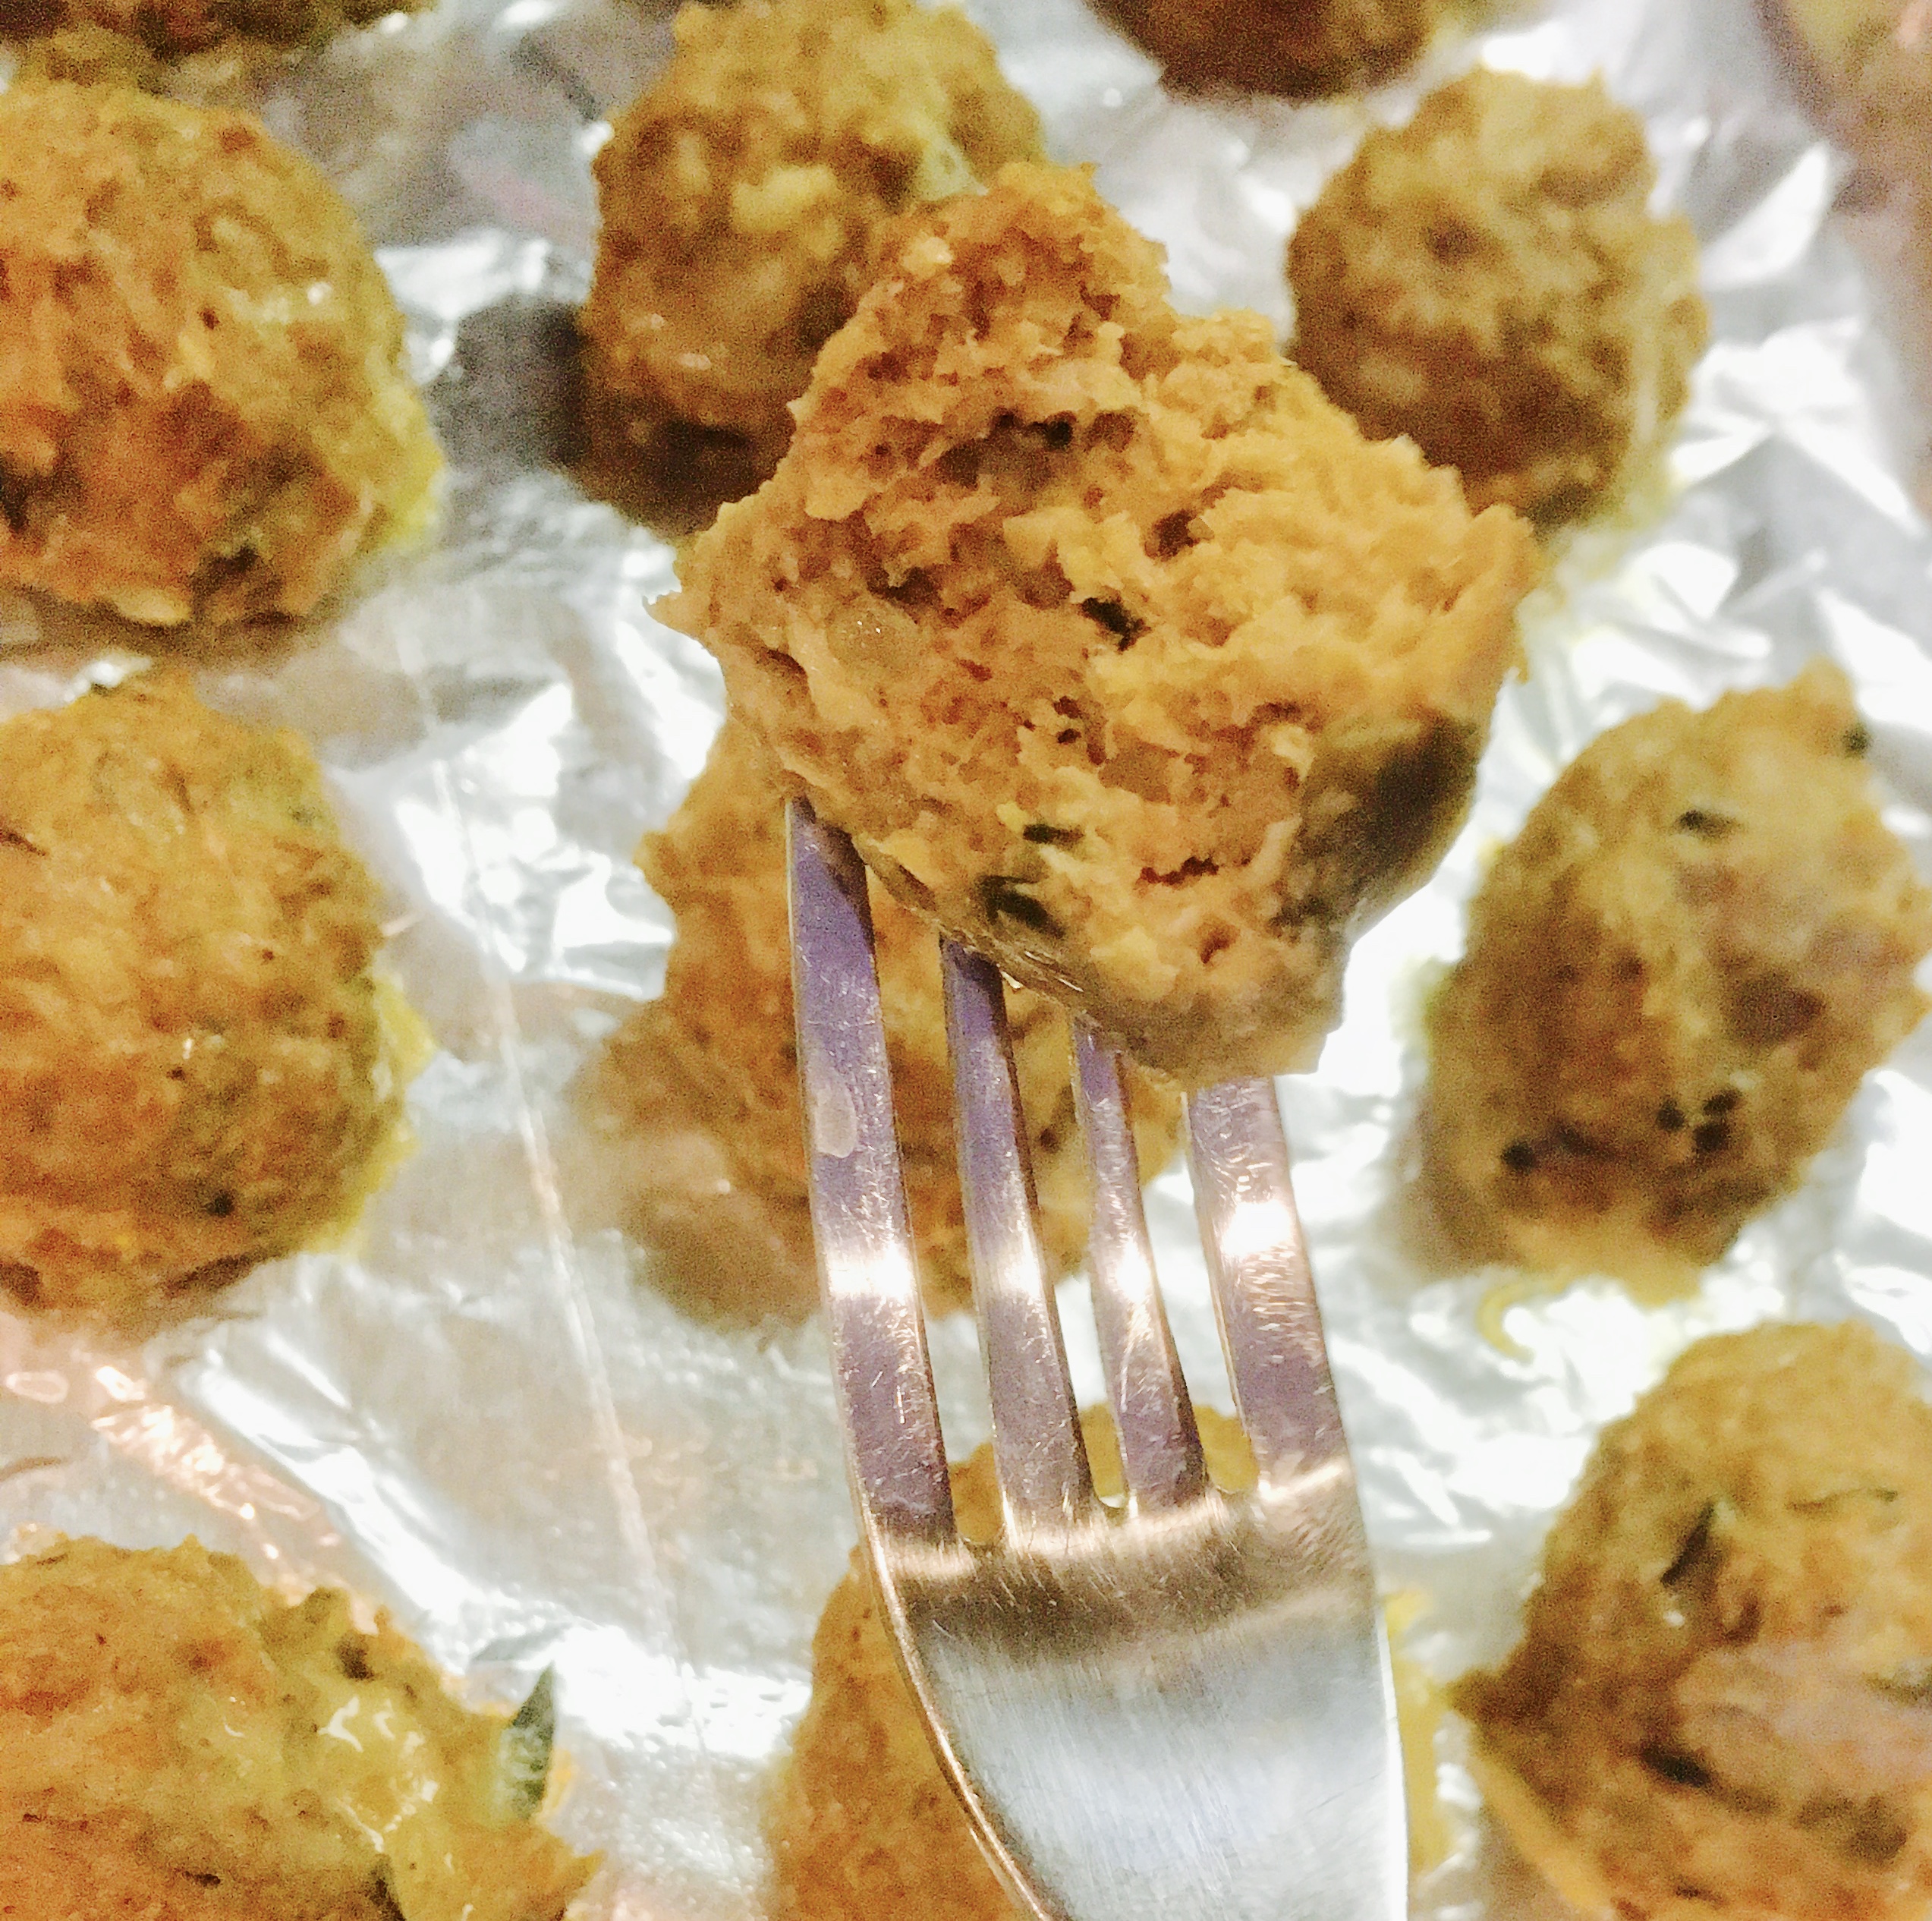
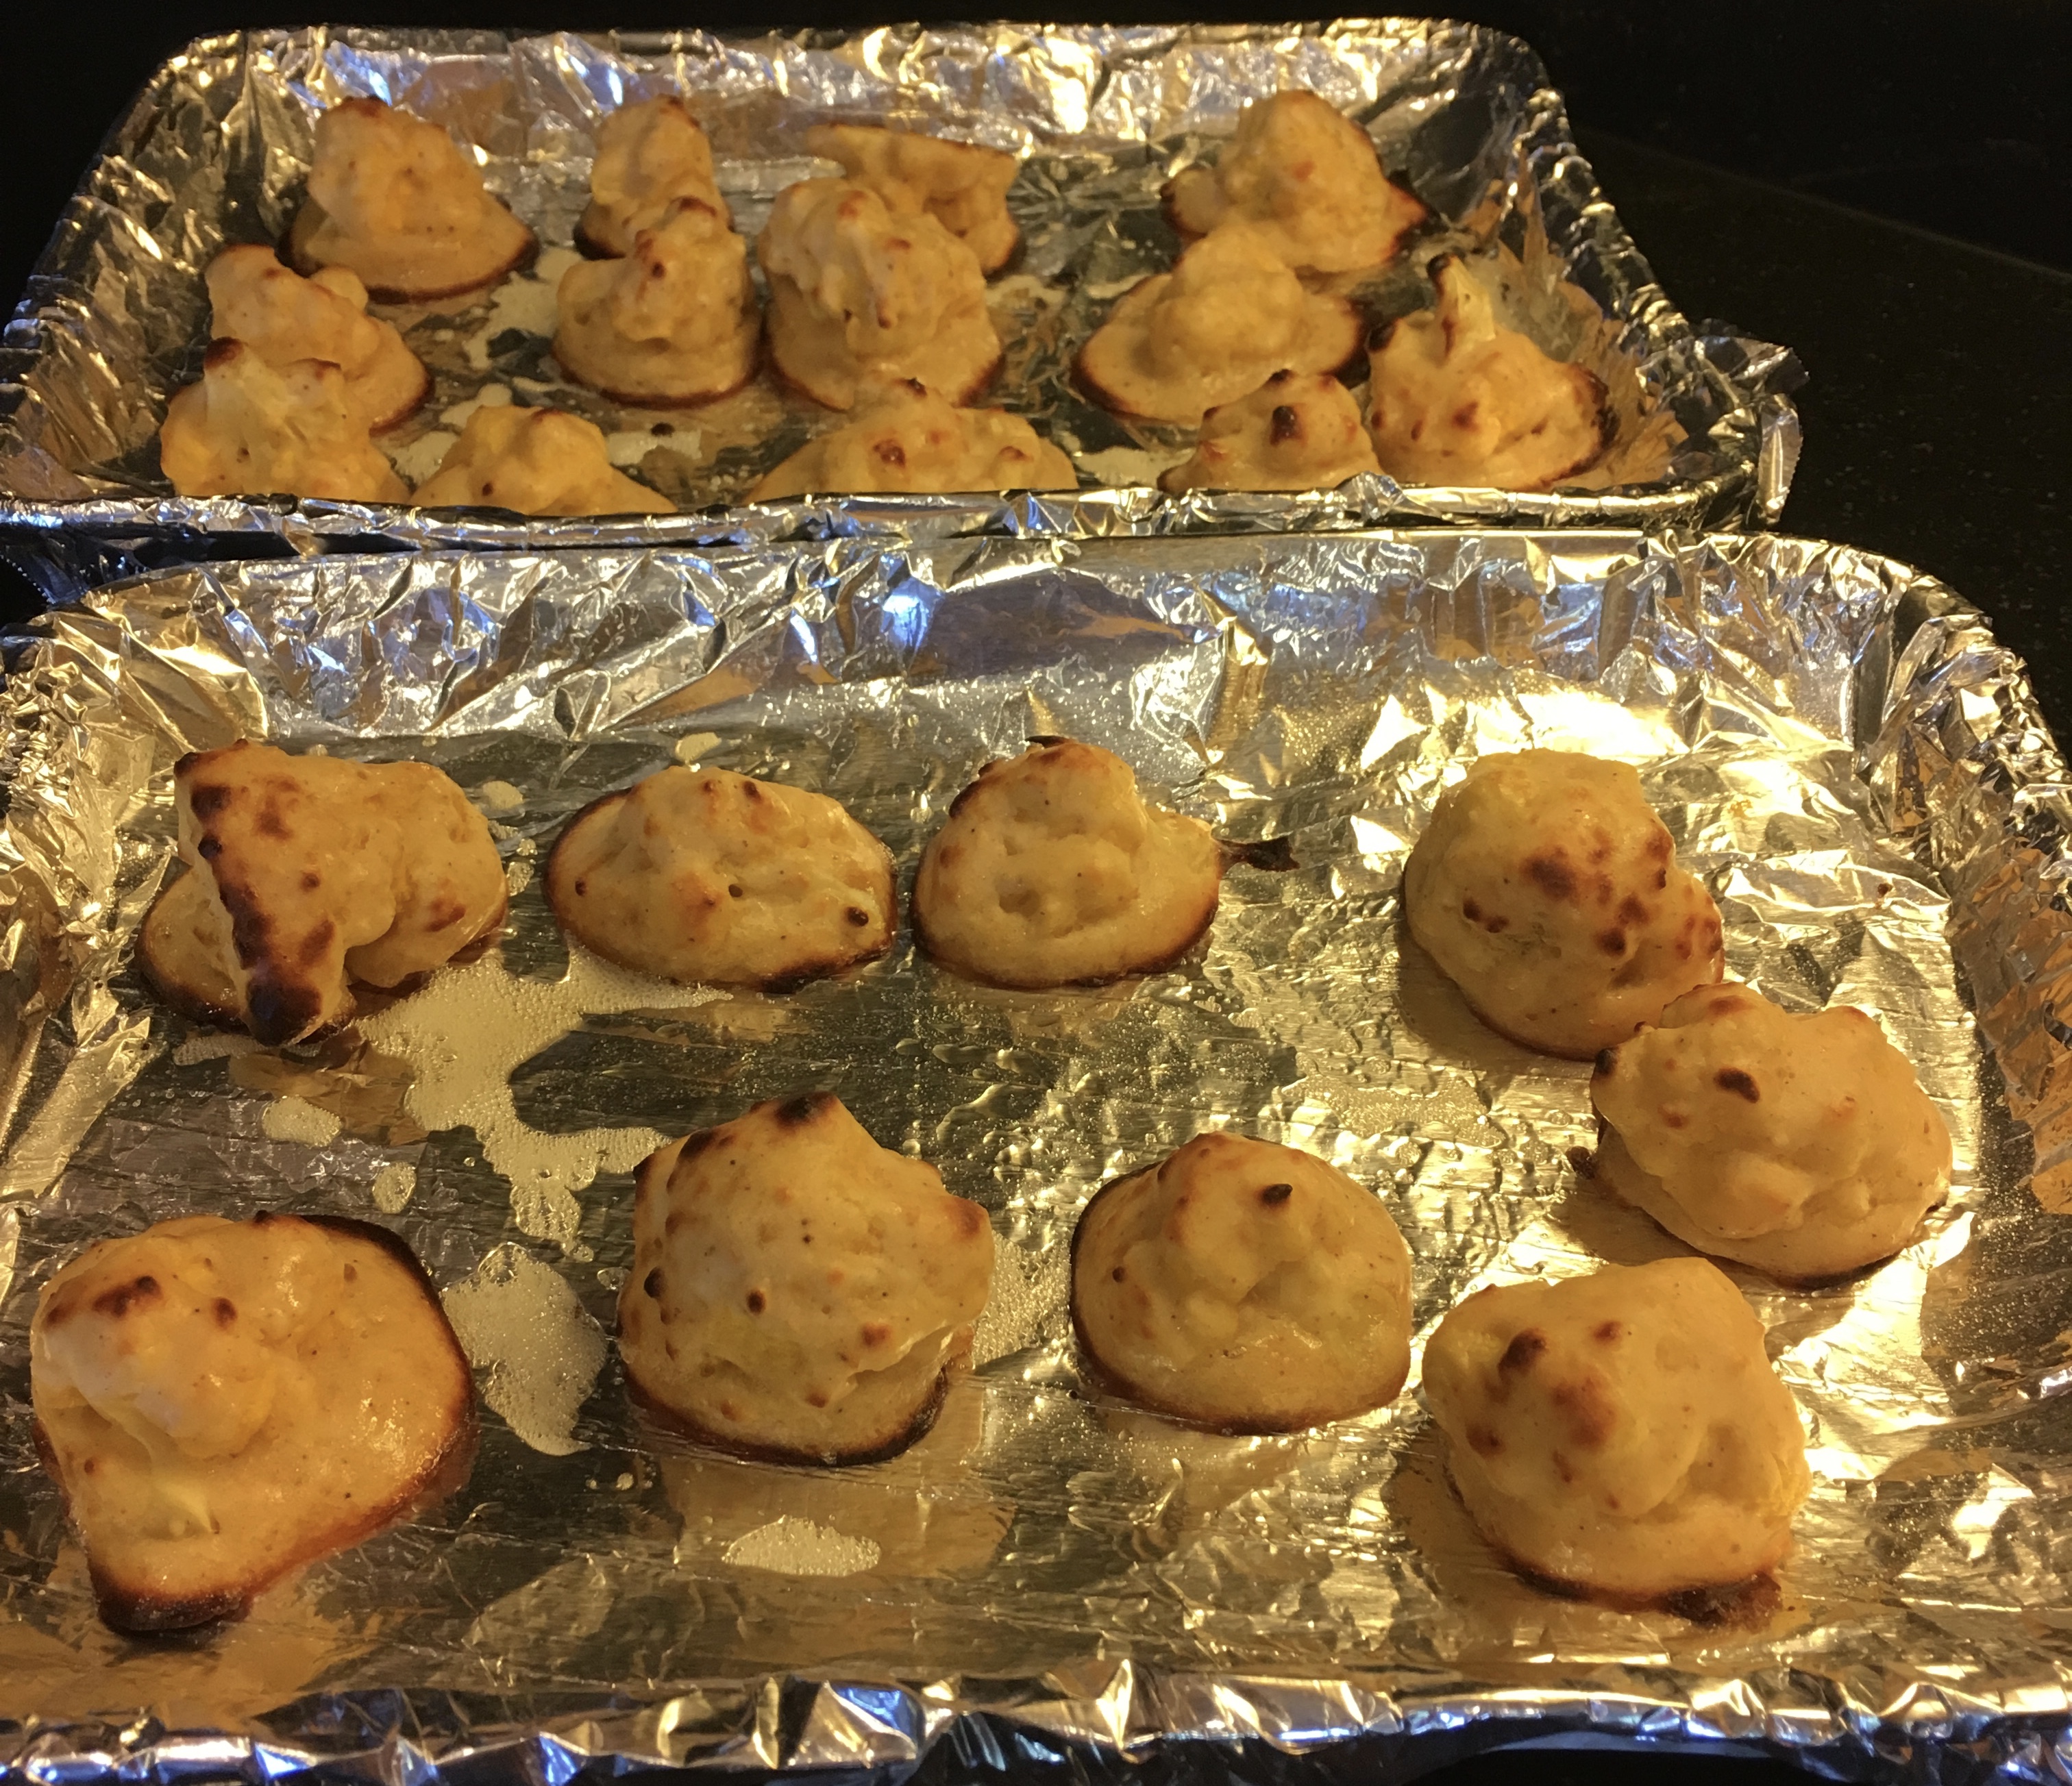
In my oven they were fully cooked and perfect in 20 minutes.


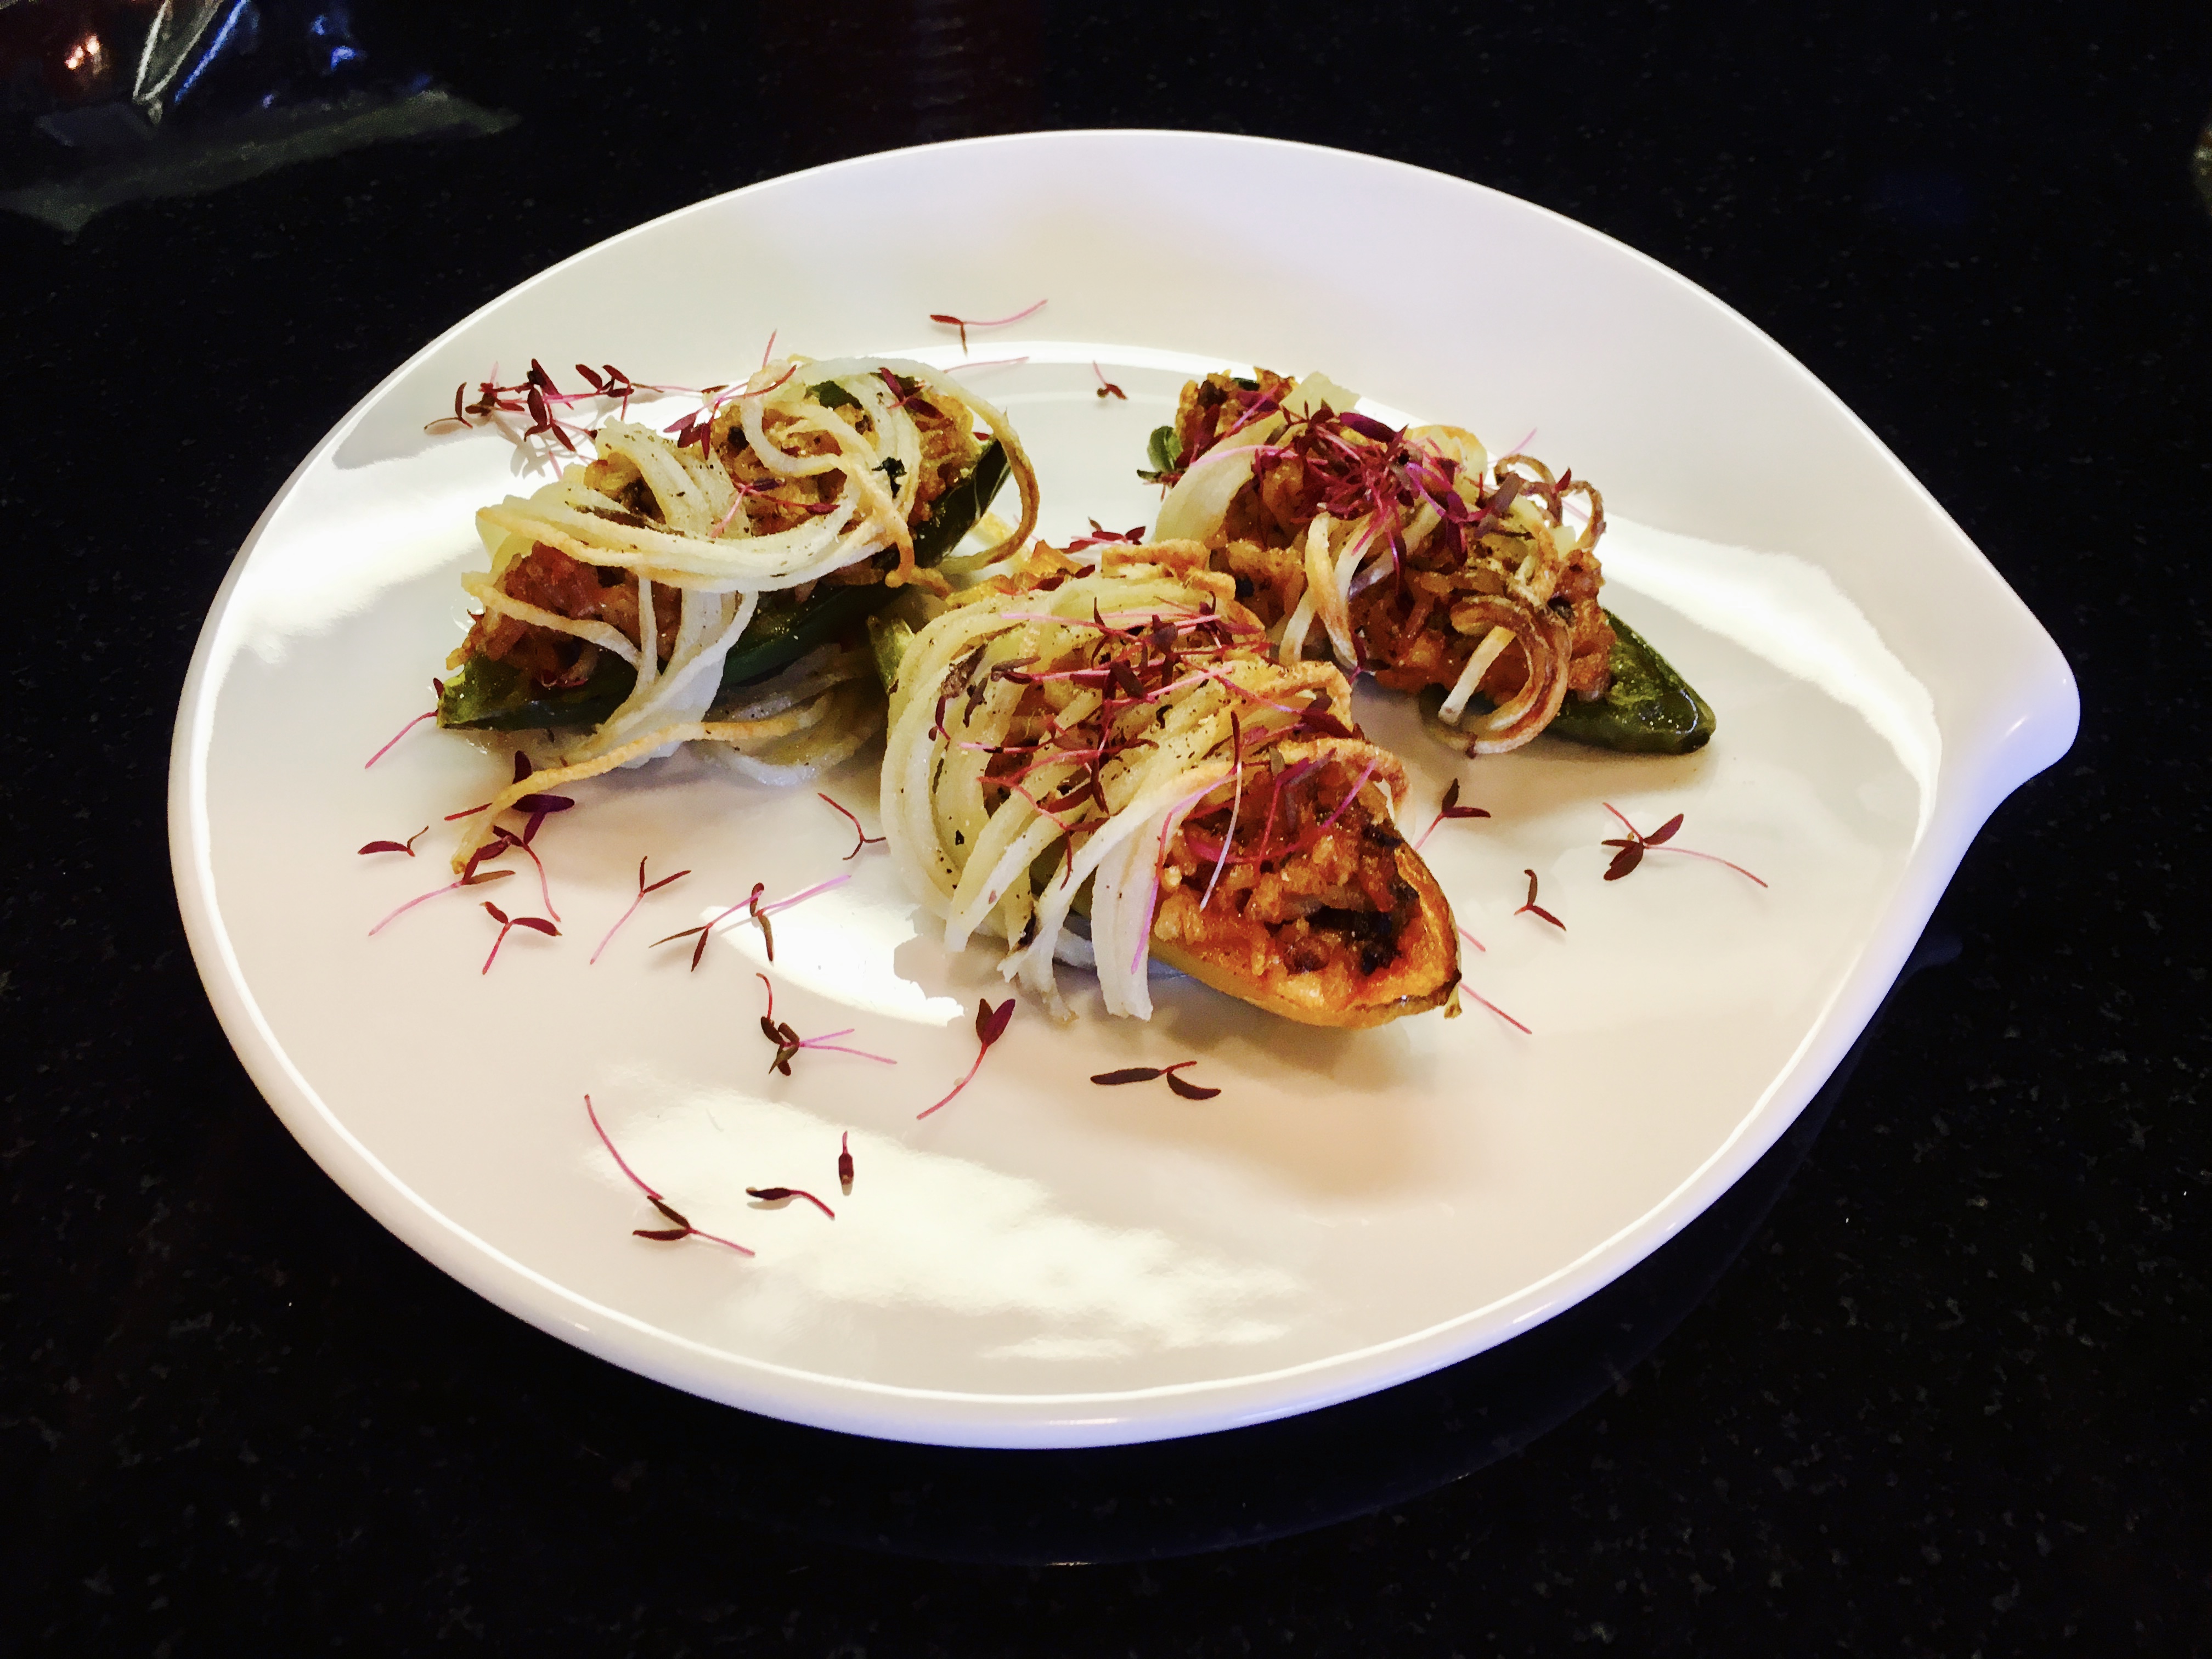
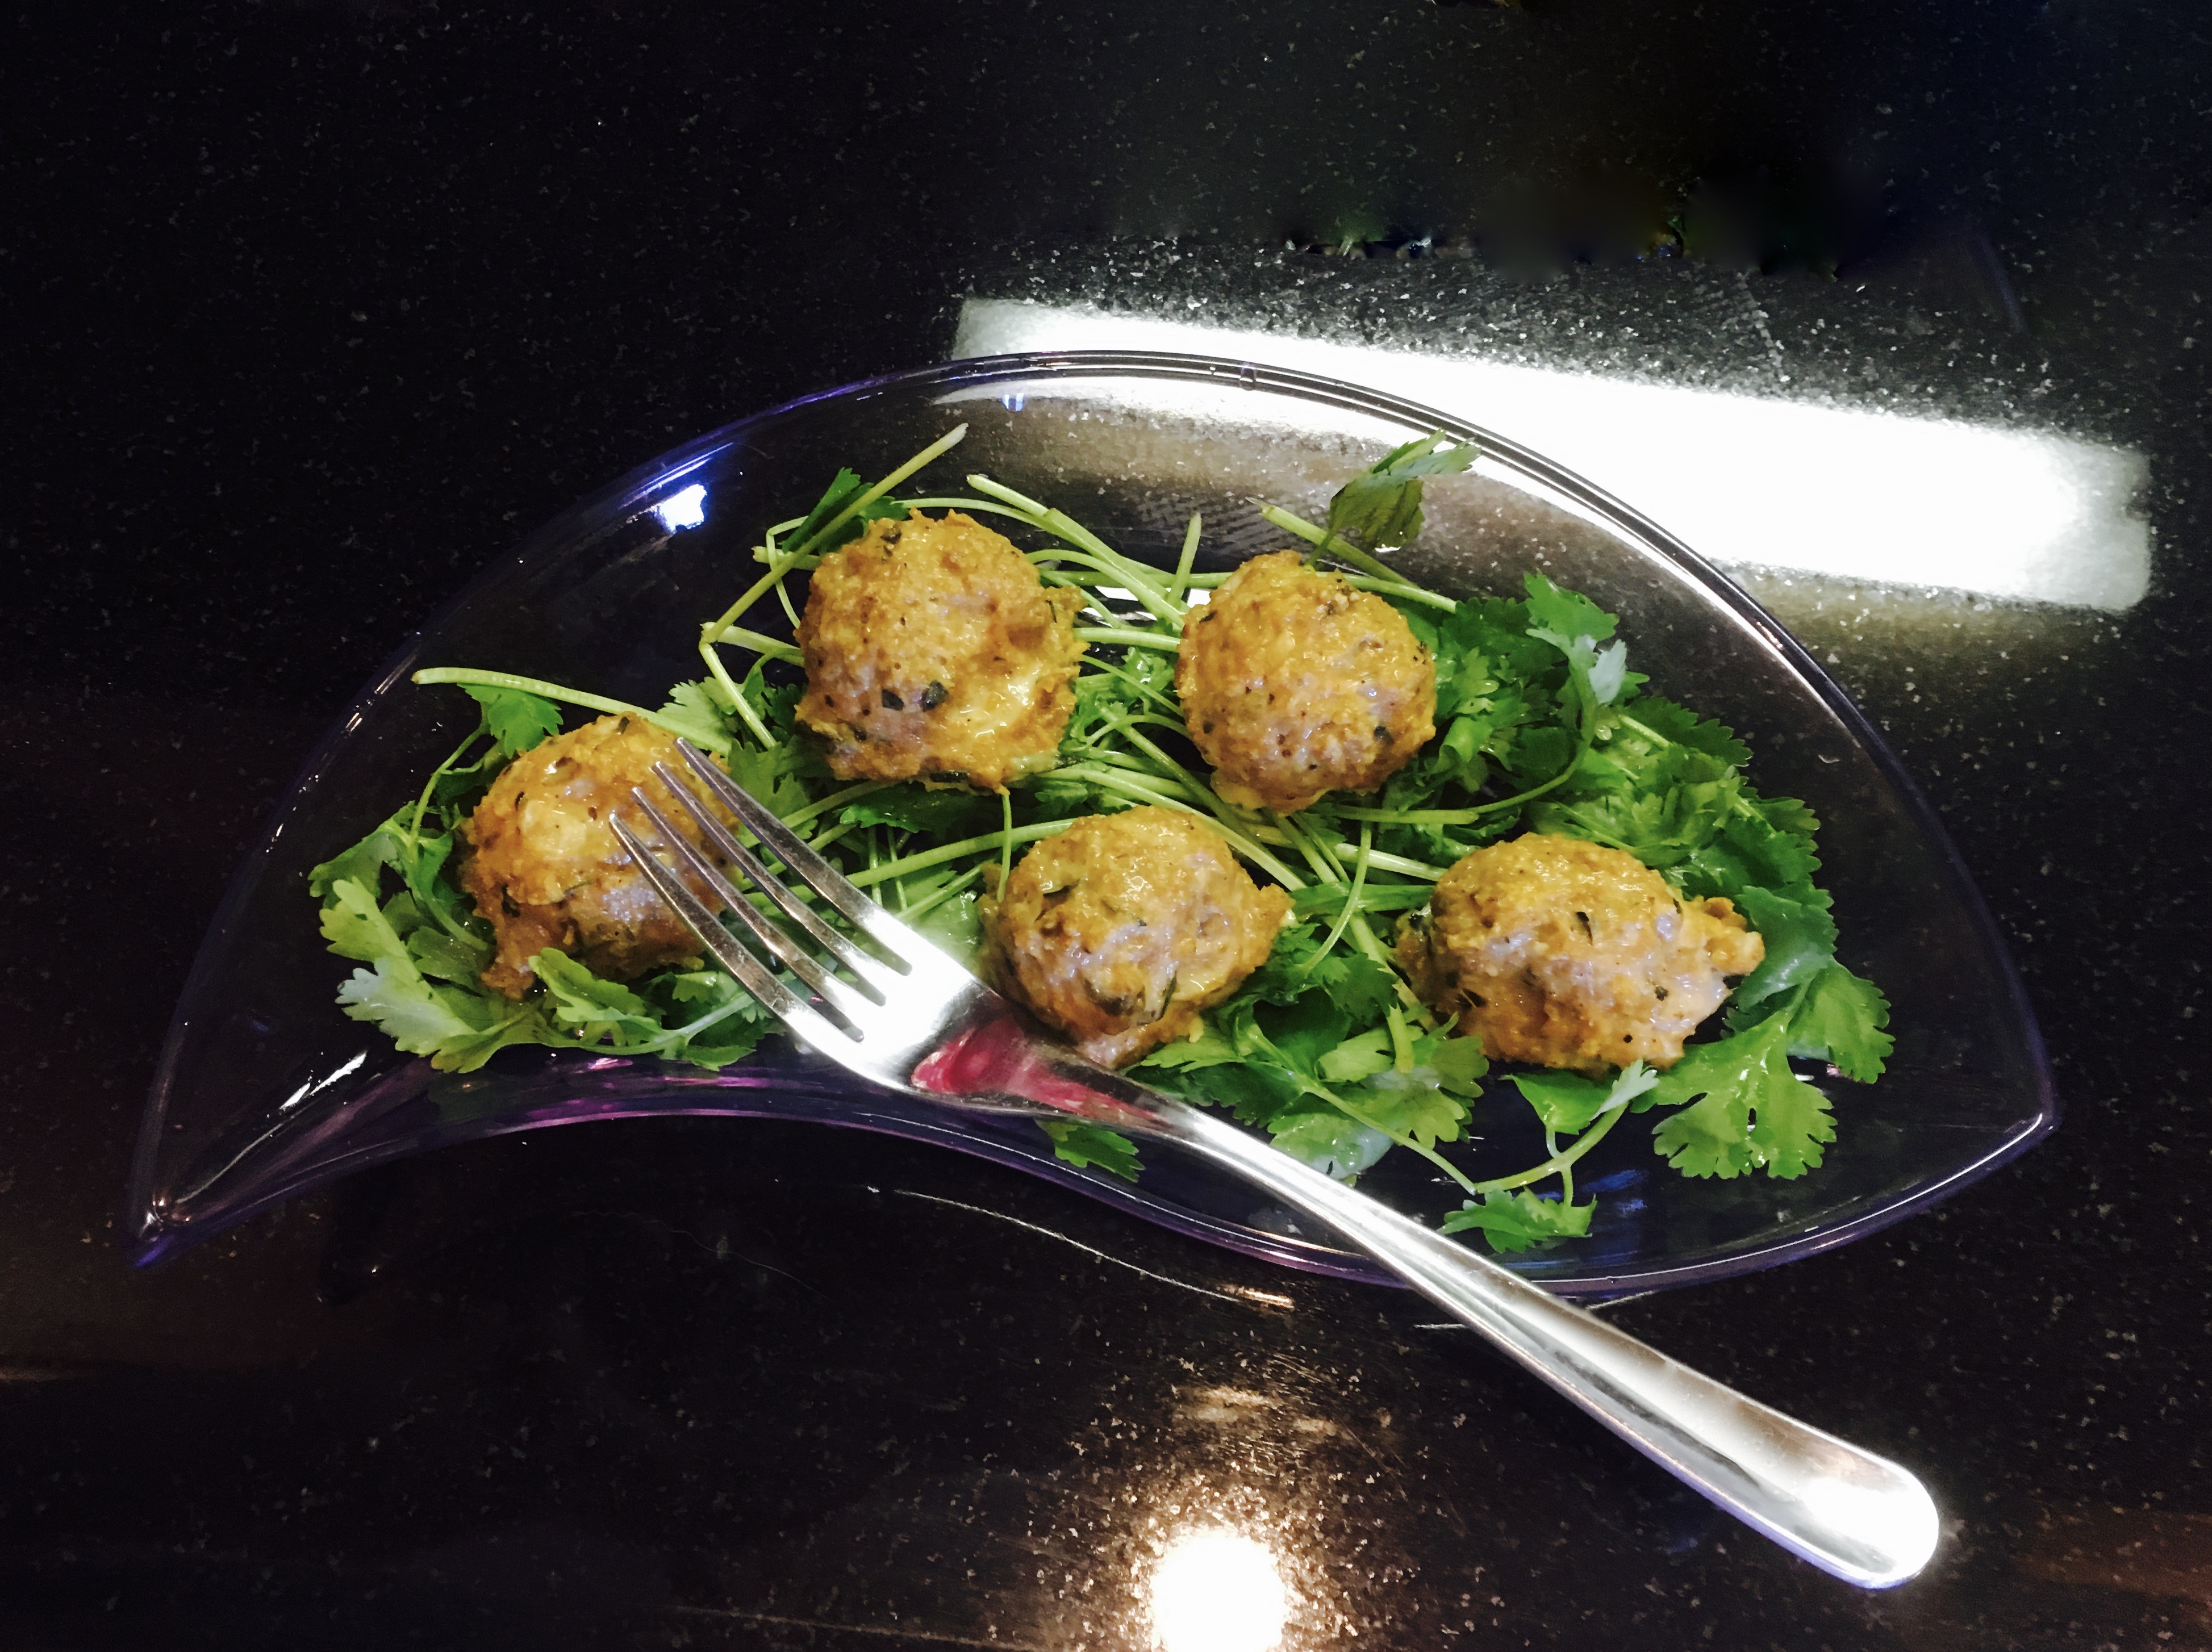
Spicy Asian Turkey Baked Scotch Eggs
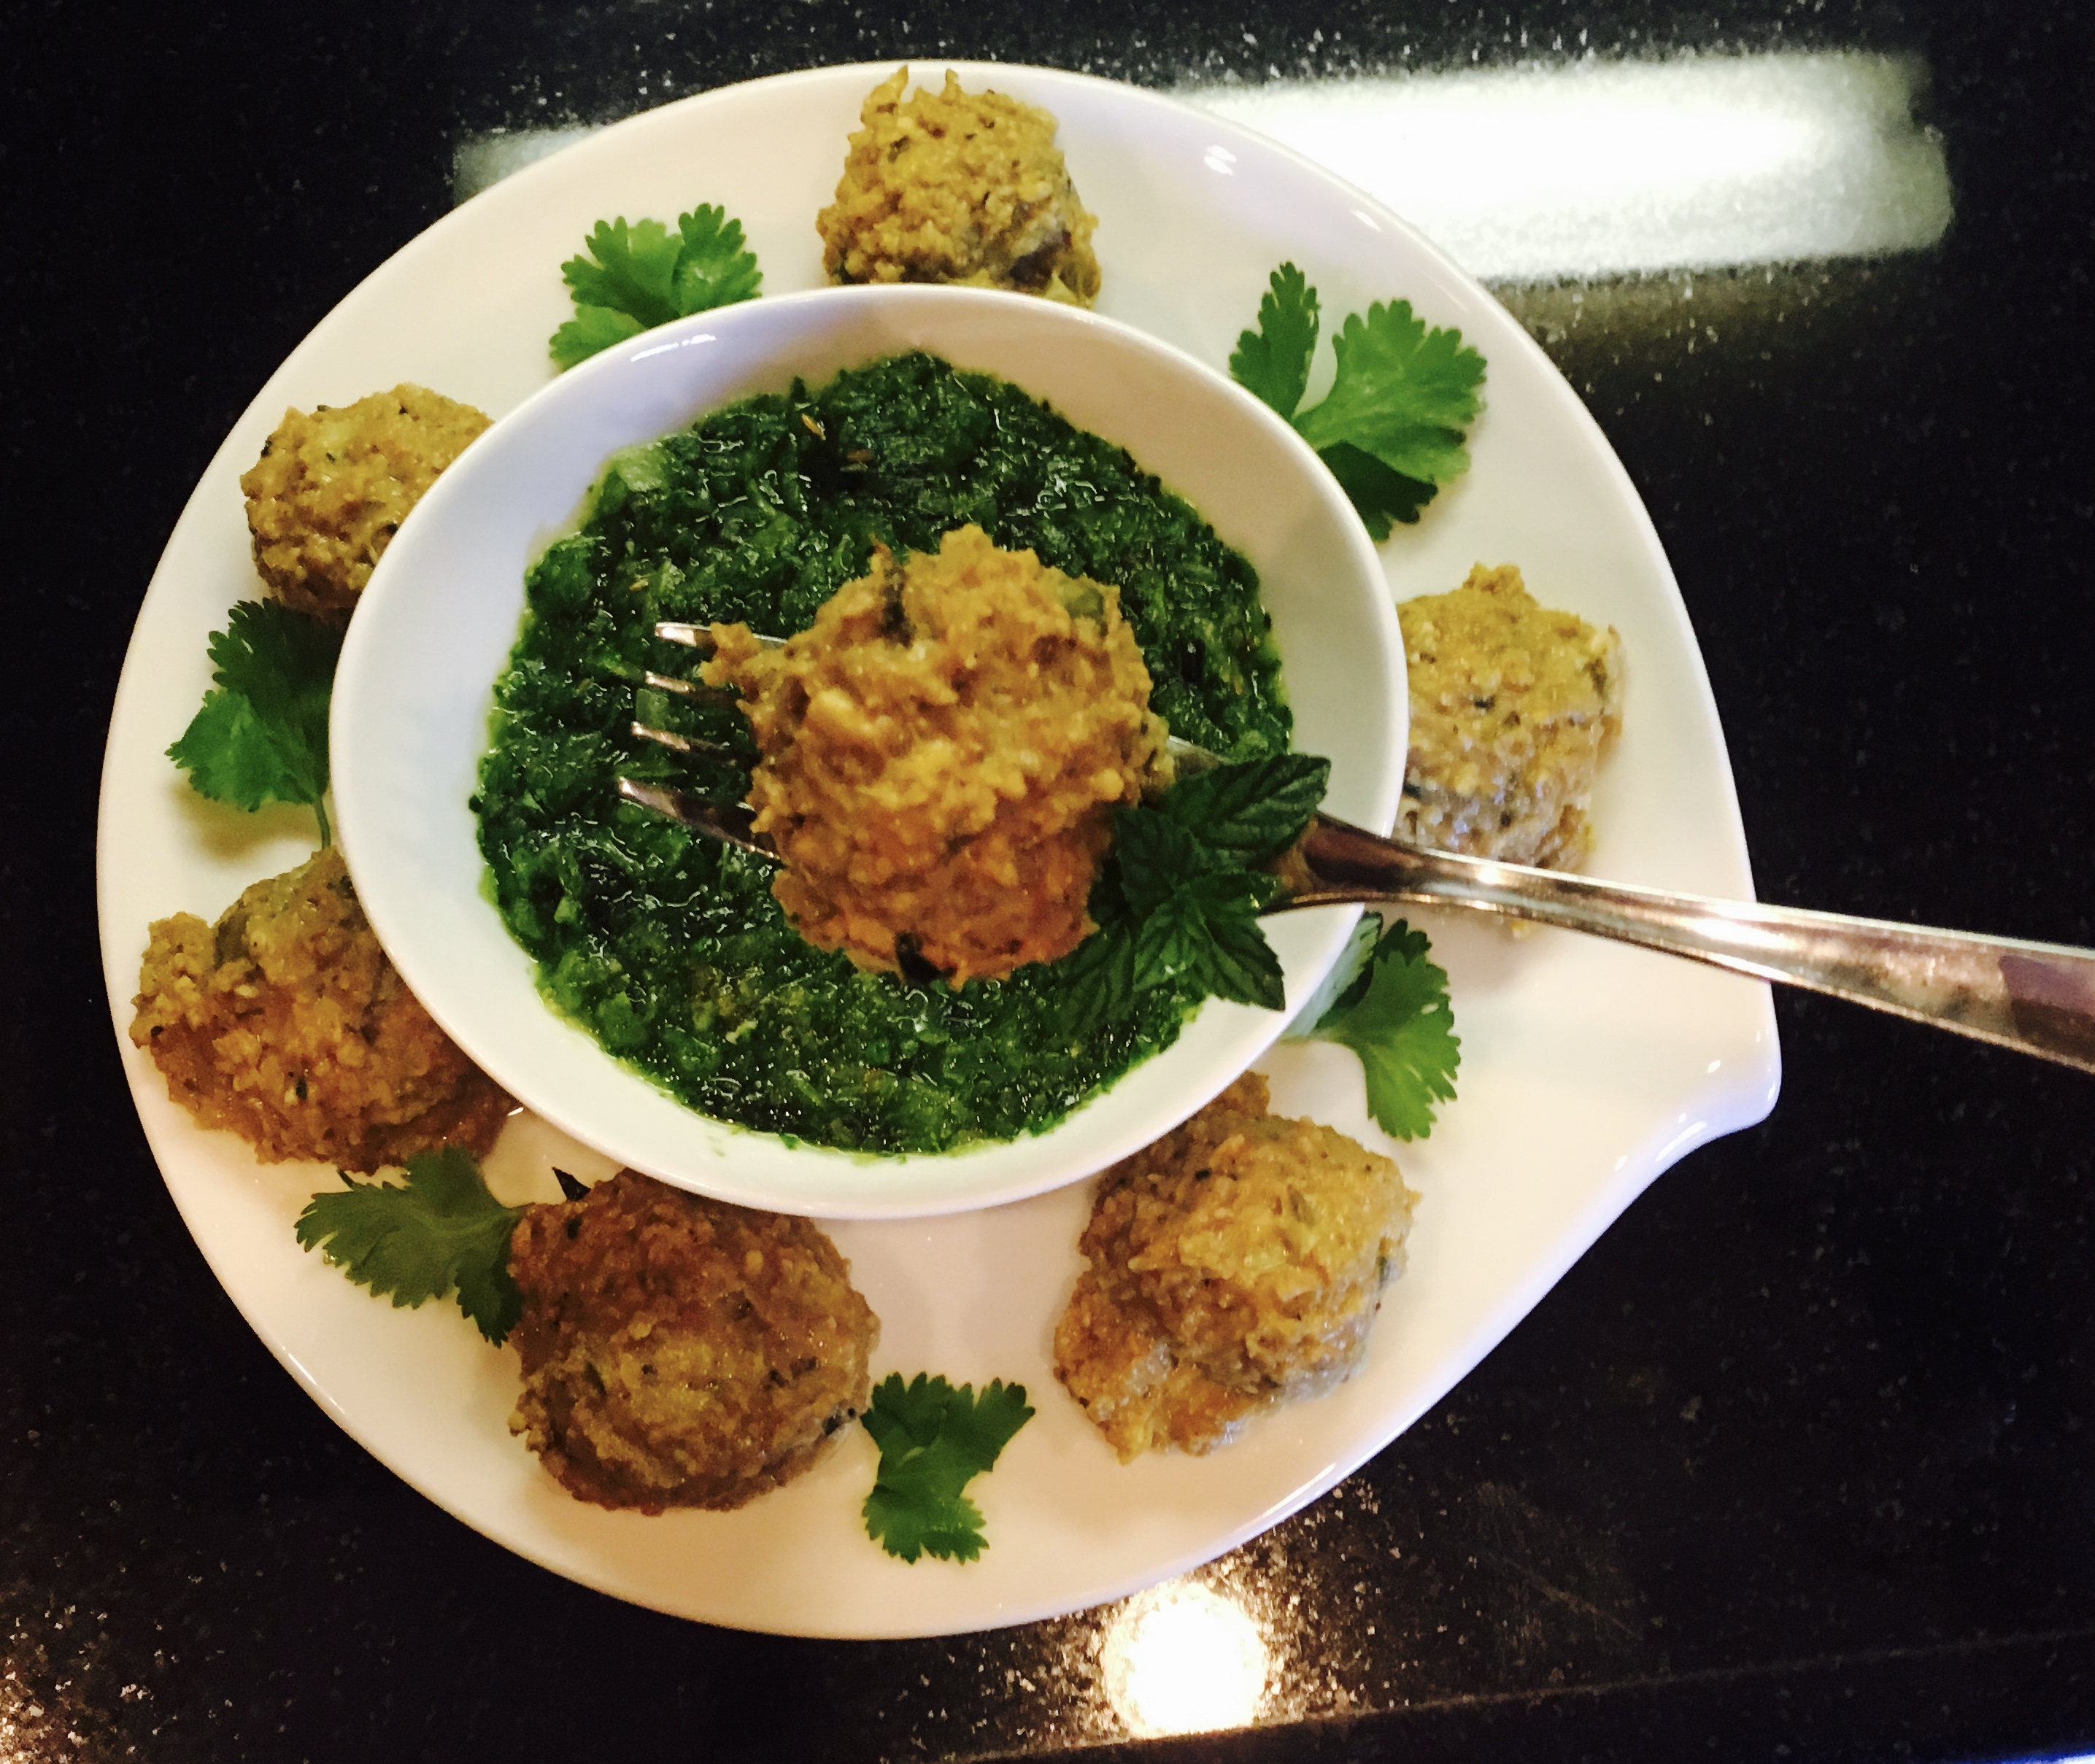
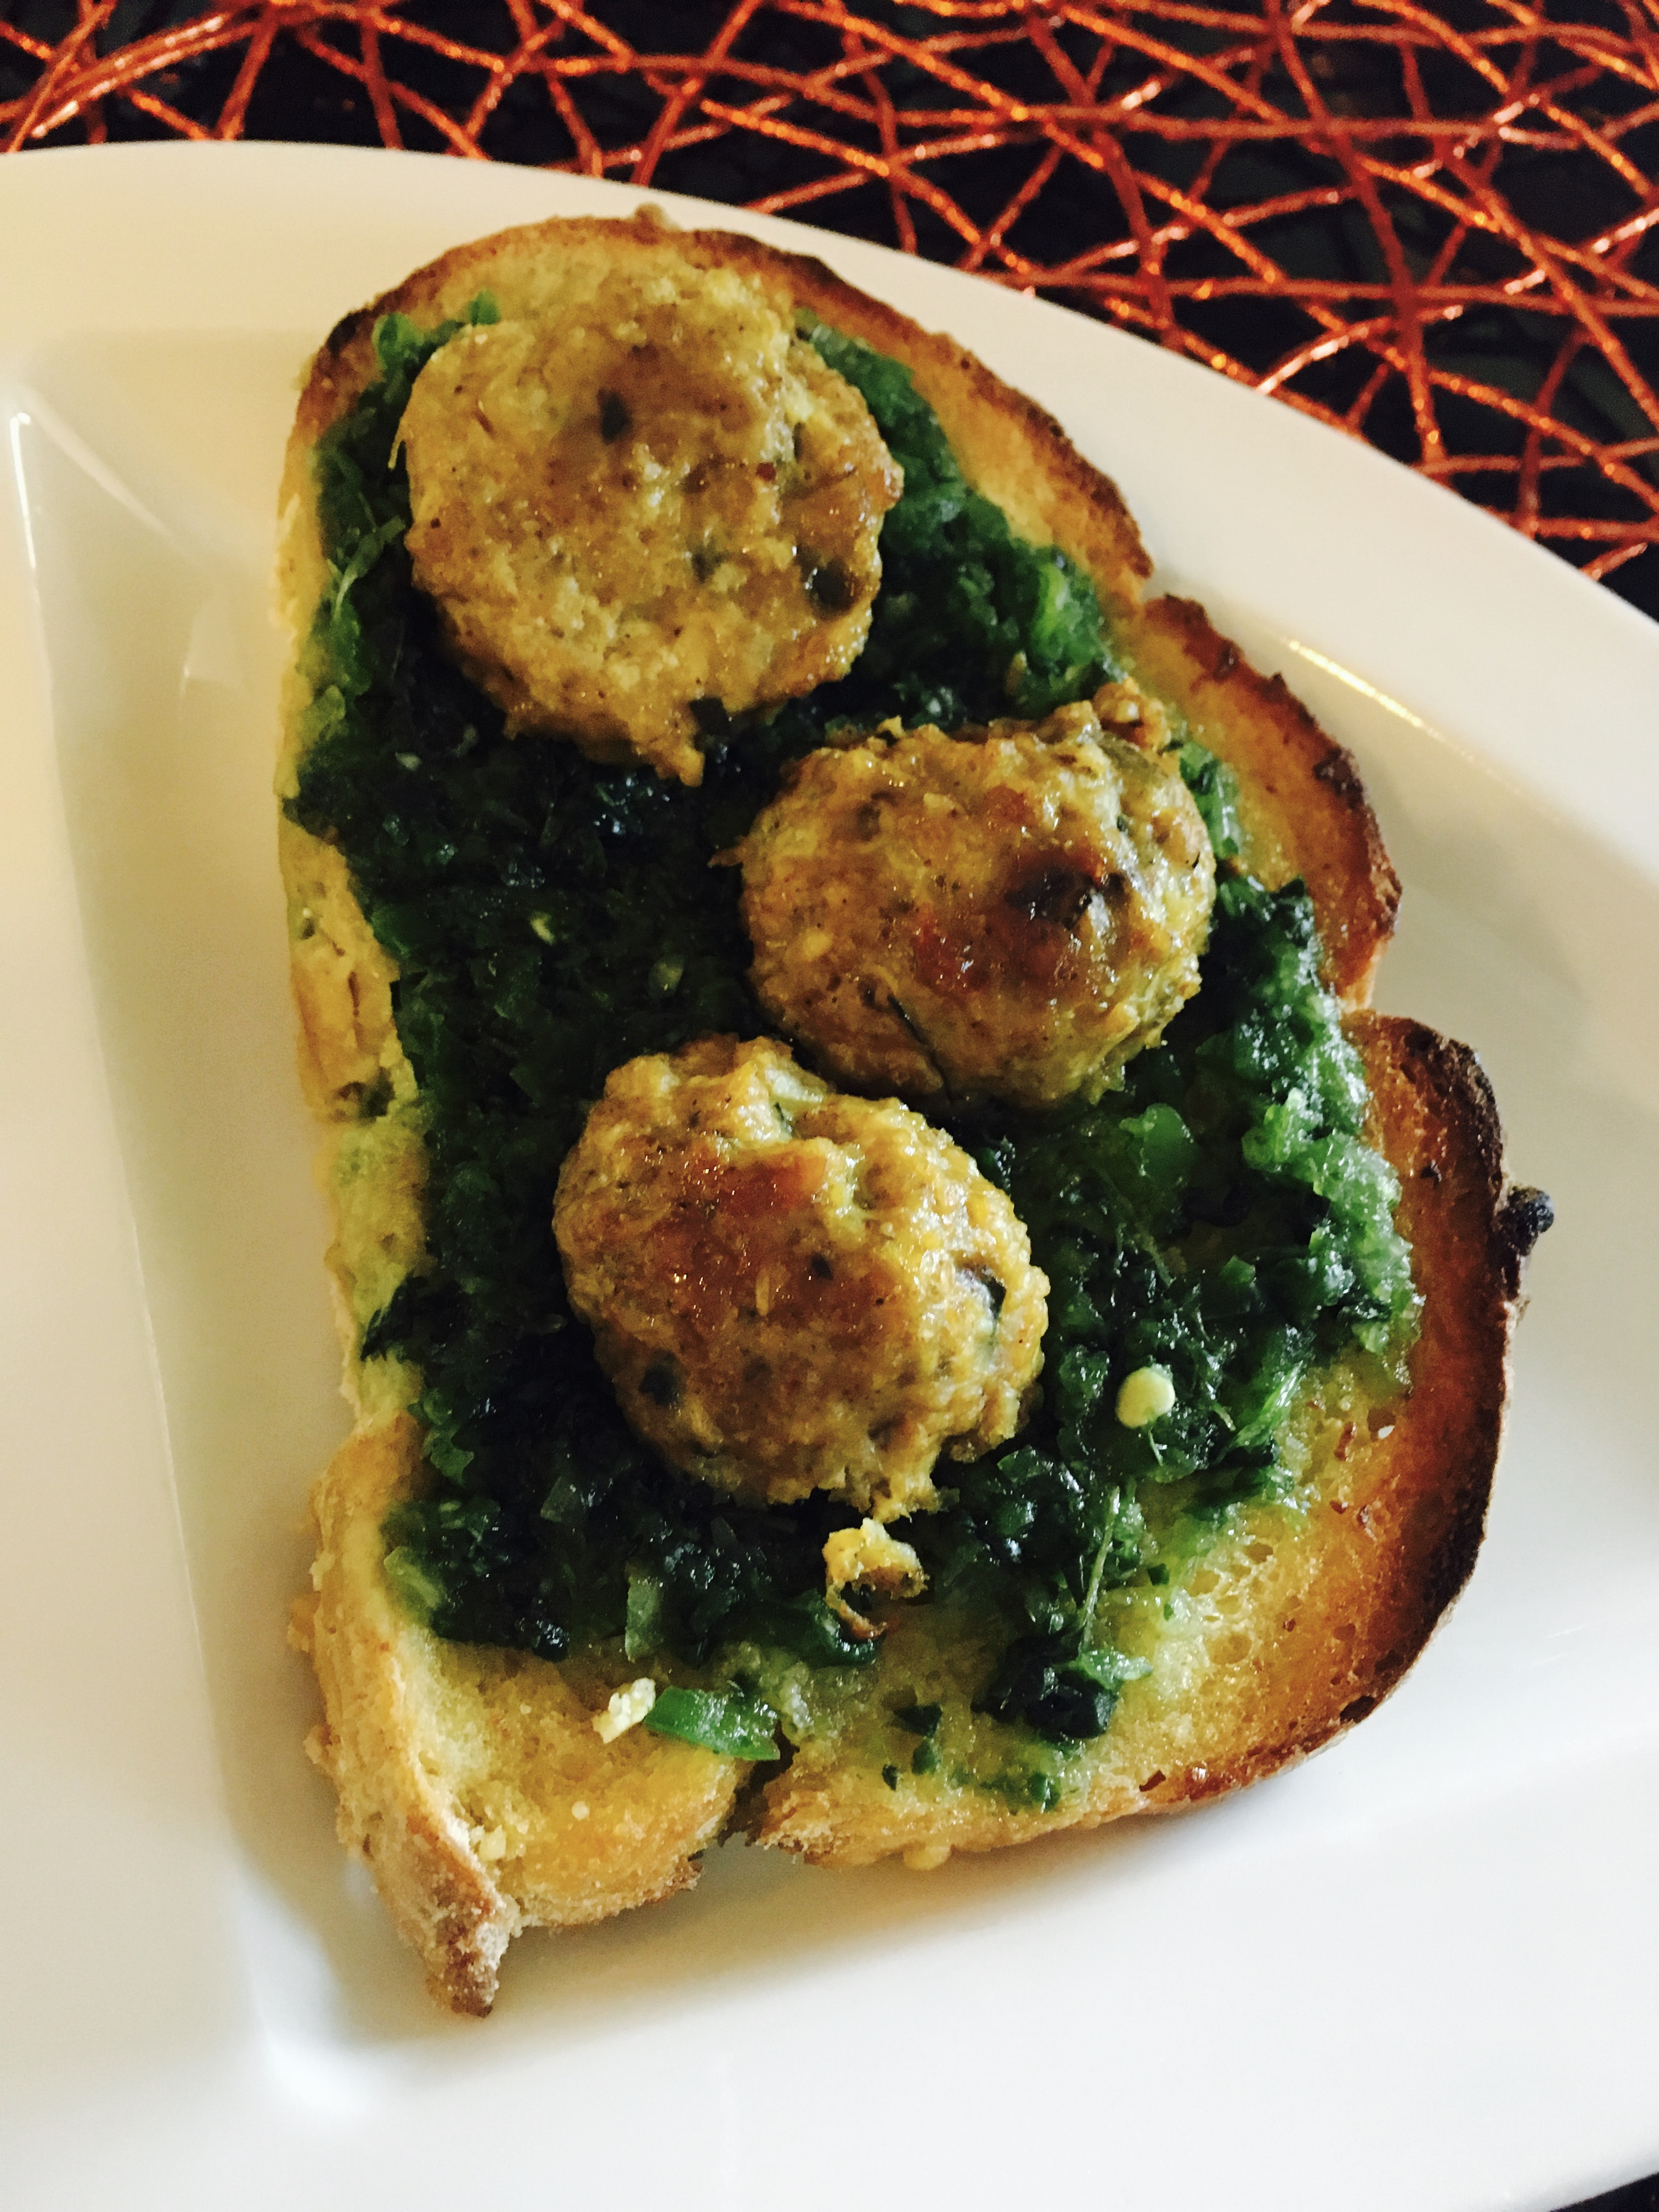
Serve with a side of the sauce or just drizzle it on. You don’t need much sauce. A little goes a long way and it really is ….Forking DELICIOUS!
Even re-heated these Scotch Style Baked Eggs still come out awesome! (in my oven at 350 degrees F covered with foil 30 minutes).

Reheated and still a creamy soft center and moist meat.
These Spicy Asian Turkey Baked Scotch Style eggs are FORKING DELICIOUS. You will love them if you are a fan of Spicy Asian Food.

The Forking Truth