Bouchon Bakery Style Mini Coffee Cake
I was all set out to bake a coffee cake…..I had a bunch of ideas about how I’d make it and then thought to myself isn’t there a Bouchon Bakery Recipe out there on the web for me to try????? The first site that I found the Bouchon Recipe was on www.Joanne-EatsWellWithOthers.com Joanne made the recipe as it was written. I changed it up slightly so I didn’t have to run out and purchase creme fraiche, vanilla paste or some sort of 4 1/4 inch pans.Instead I used French style yogurt, regular vanilla extract and those higher liners that fit in my cupcake pan. (regular cupcake liners won’t work they aren’t high enough). I pick up the high ones at World Market, Target and I sometimes find them at HomeGoods. (I usually use them for Bouchon’s (also a most amazing recipe!) I figured out the timing to be about 26 minutes in my oven…(yours may differ slightly) The little coffee cakes are incredible. They are just light textured and scrumptious. The almond topping is so tasty and the cocoa center adds some interest. You do need a scale that reads grams to do this recipe because you have to weigh everything out. You might also waste part of an egg because I know I did. I weighed everything in a sandwich bag before I dumped the contents into the bowl. I thought it was an easy recipe to prepare. The original recipe requires a stand mixer but I thought it was easy enough to do by hand with a fork. Not always but usually cakes and cookies come out better if you mix them by hand so they don’t get over mixed. I changed the recipe only slightly to make it more user friendly so you don’t have to run out to buy so many things you don’t have or need.
Ingredients for about 12 servings
203 g ap flour – batter
1 1/8 teaspoon baking powder – batter
3/8 teaspoon baking soda – batter
1/2 teaspoon sea salt – batter
75 g unsalted butter – room temperature – batter
210 g sugar – batter
75 g eggs – slightly beaten – batter
1 teaspoon vanila extract – batter
1 cup French Style yogurt – (I really like that Oui Brand in the little glass pot) – batter
60 g ap flour – topping
60 g almond flour – topping
60 g sugar – topping
1/8 teaspoon salt – topping
60 g cold unsalted butter – cut in 1/4inch peices
15 g light brown sugar – the middle of batter
15 g unsweetened cocoa powder – the middle of batter
powdered 10x sugar to finish
ground cinnamon to finish
non stick spray
Directions
For Topping Ingredients- In a medium sized bowl whisk together ap flour, almond flour, sugar and salt. Add the butter and coat the pieces of butter with flour mixture breaking the butter up. You are aiming for 1/8 inch size pieces. Place the topping mixer in the freezer while you are making the batter.
For the Batter Ingredients – Whisk together flour, baking powder, baking soda and salt in a medium bowl.
In a large bowl whisk together the butter and sugar. When mixed well add the eggs and vanilla. Now add about a half of the flour mixture and mix well and then add the yogurt and mix well and now add the rest of the flour mixture and mix well. THE BATTER NEEDS TO BE REFRIGERATED FOR AT LEAST 20 MINUTES.
Set your oven to 325 degrees F.
Spray 12 high type cupcake liners with non stick spray. Set each cupcake liner in a cup cake tray.
In a small bowl mix together the brown sugar and cocoa.
When 20 minutes has pasted get out a pastry bag. Half the batter goes in the bag. You need to squirt out a circle of batter into each cupcake liner.
Now sprinkle the cocoa/brown sugar mixture over each half of batter.
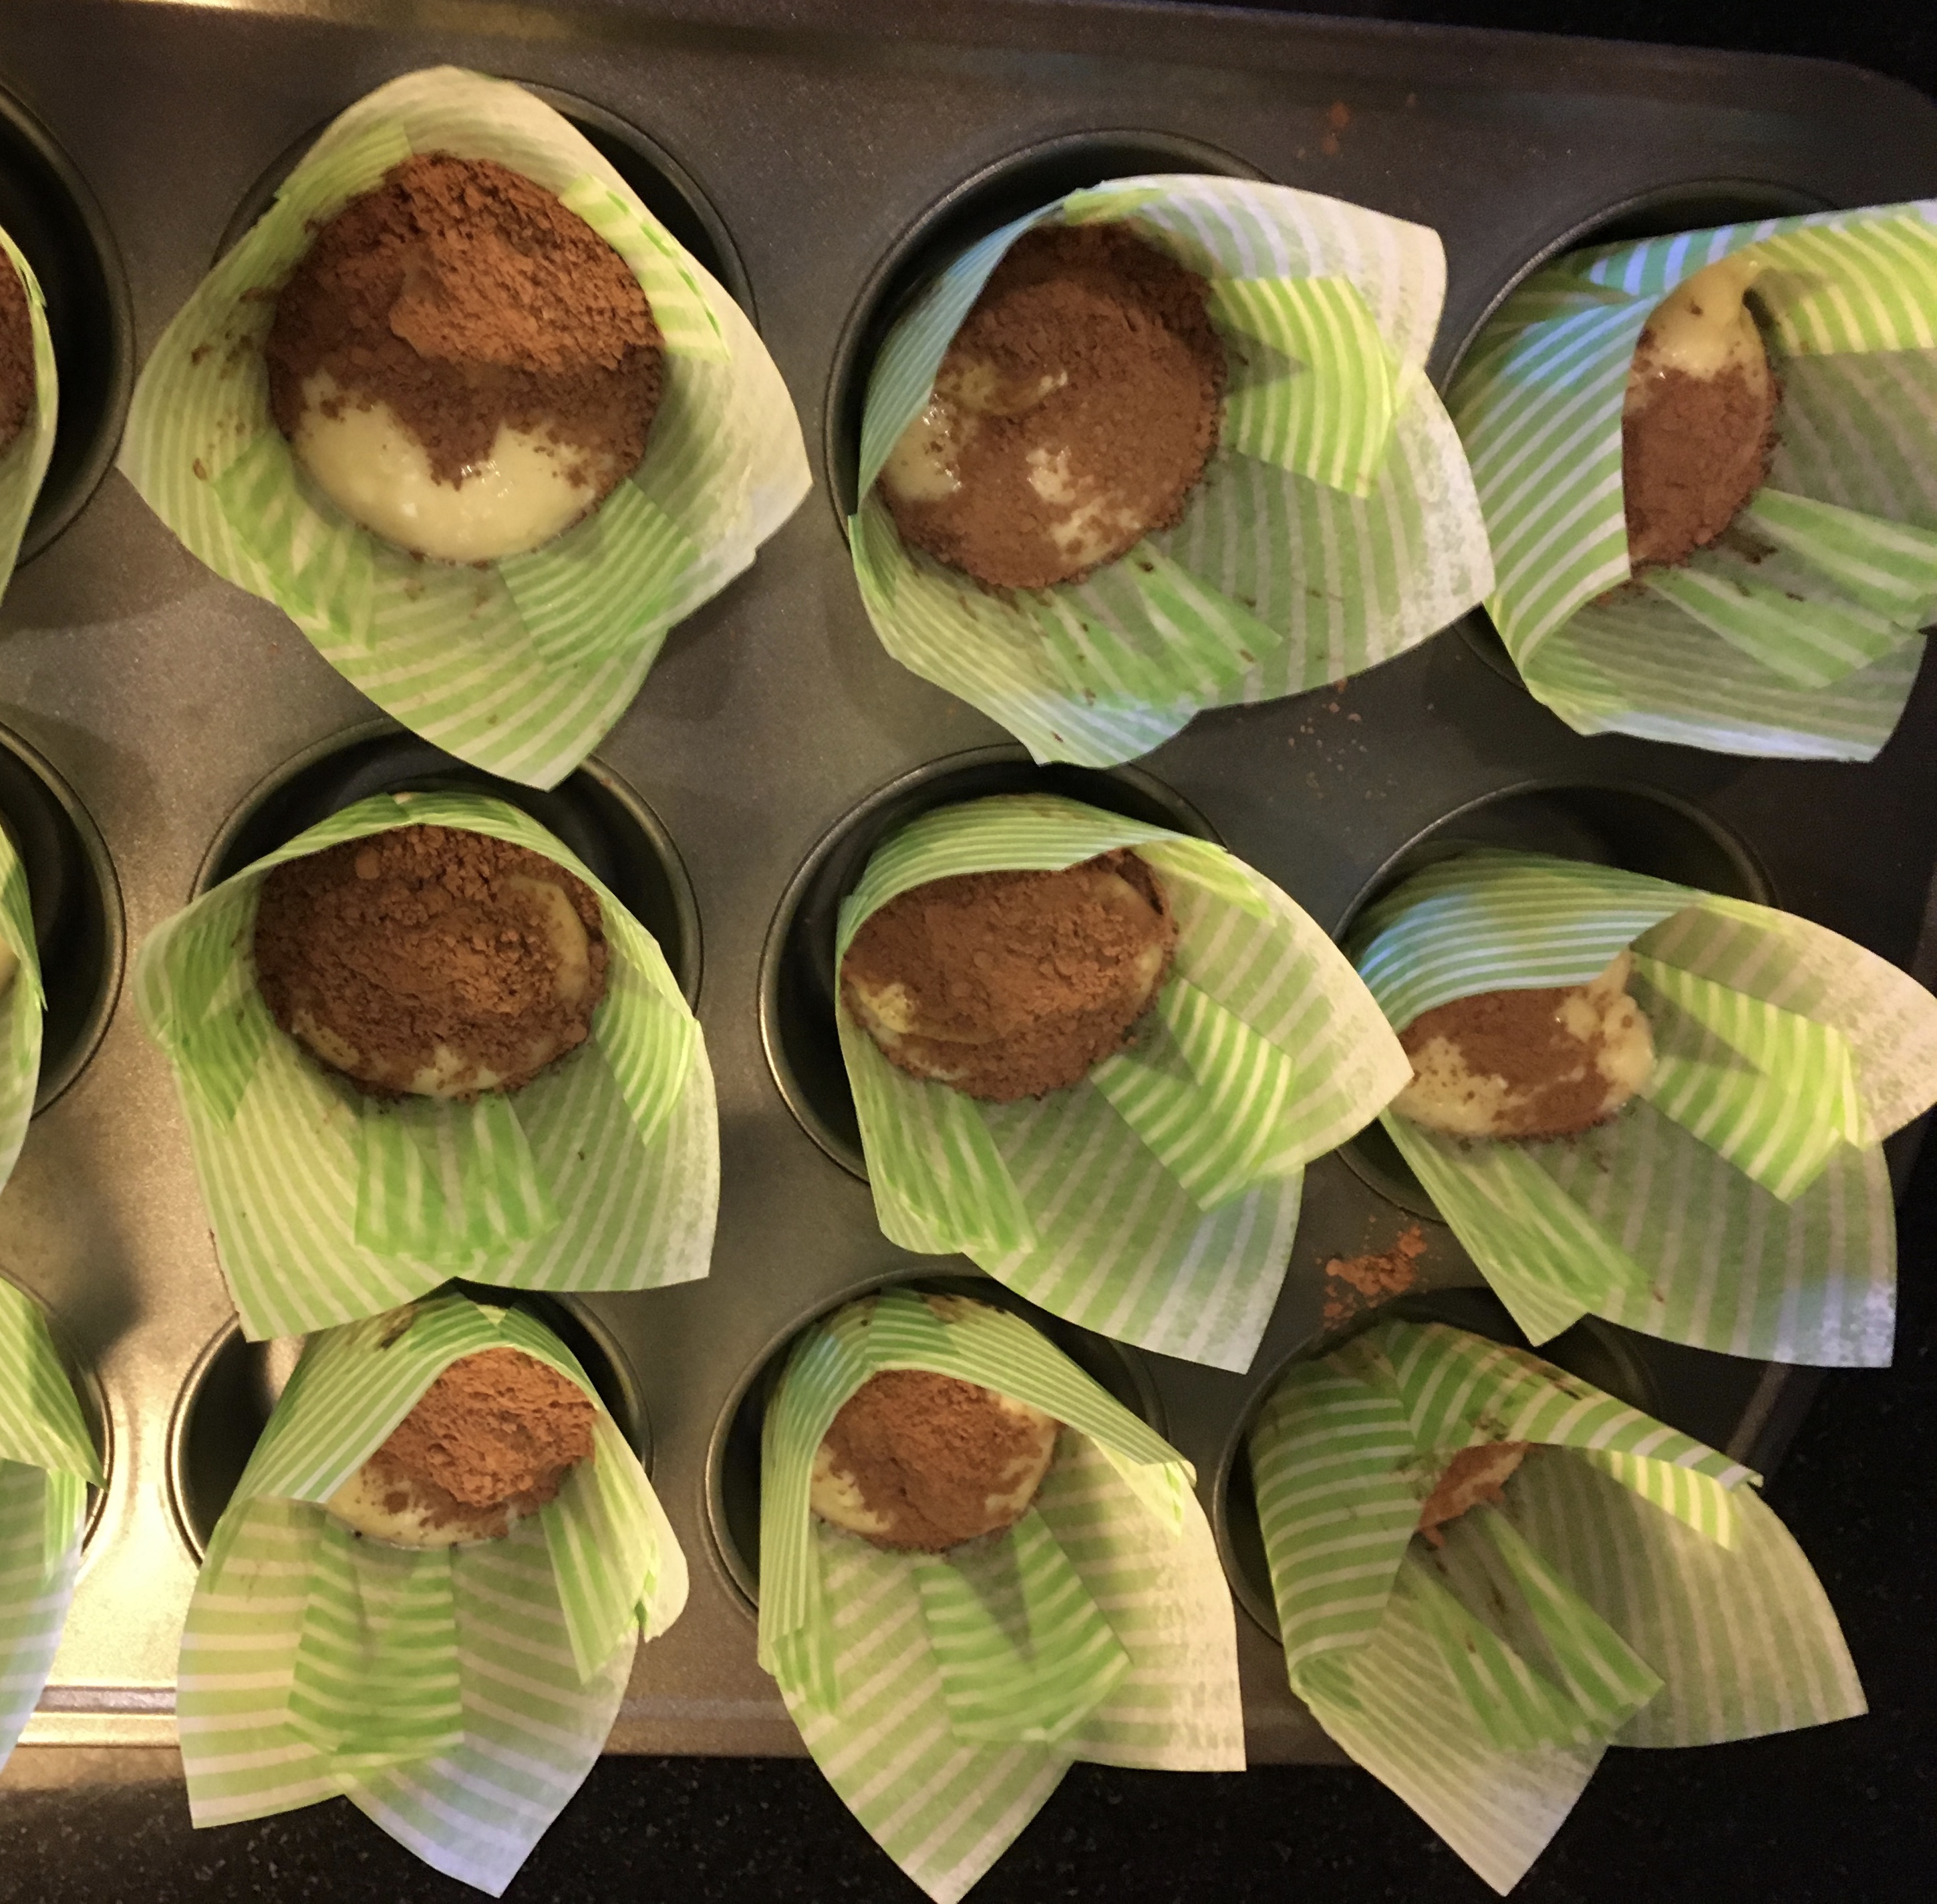
Refill the pastry bag with the other half of the batter. Make another circle of batter over each.

Sprinkle the tops with the topping from the freezer.

In the oven they go on a middle rack till the tops feel down to the touch. In my oven they took 26 minutes….(yours might differ slightly).

The place smells so good!……
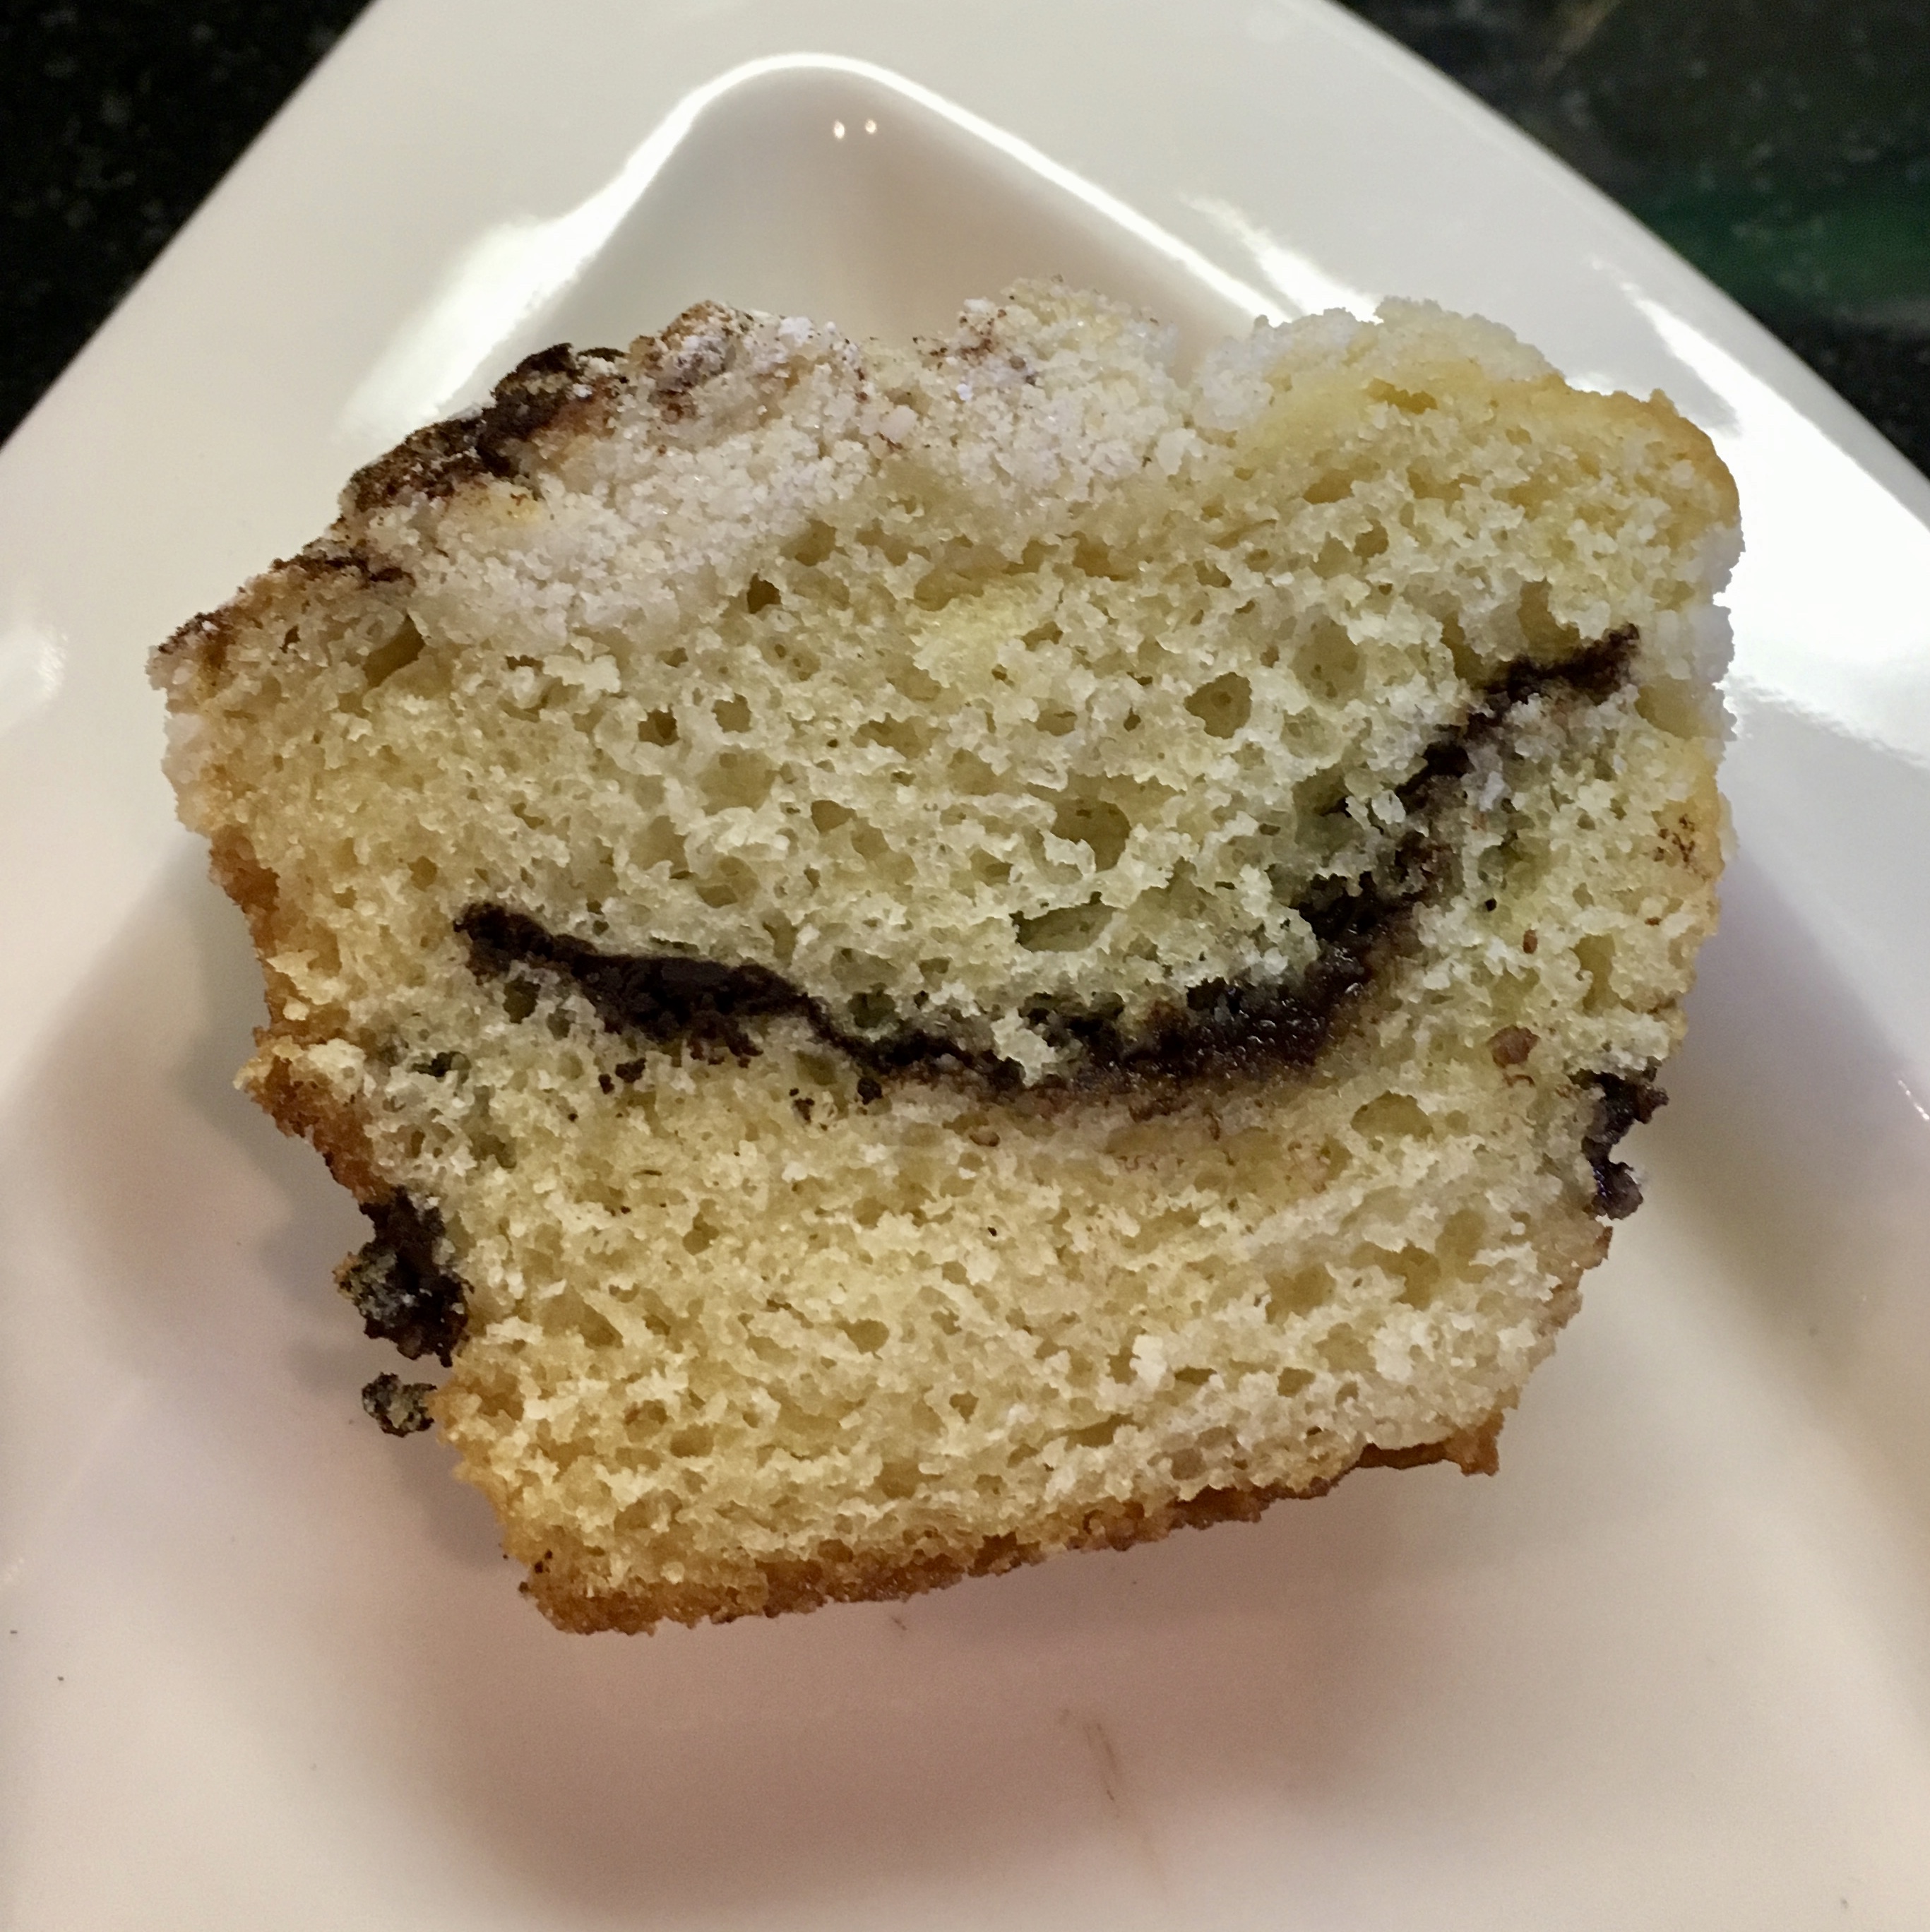
Have a half!
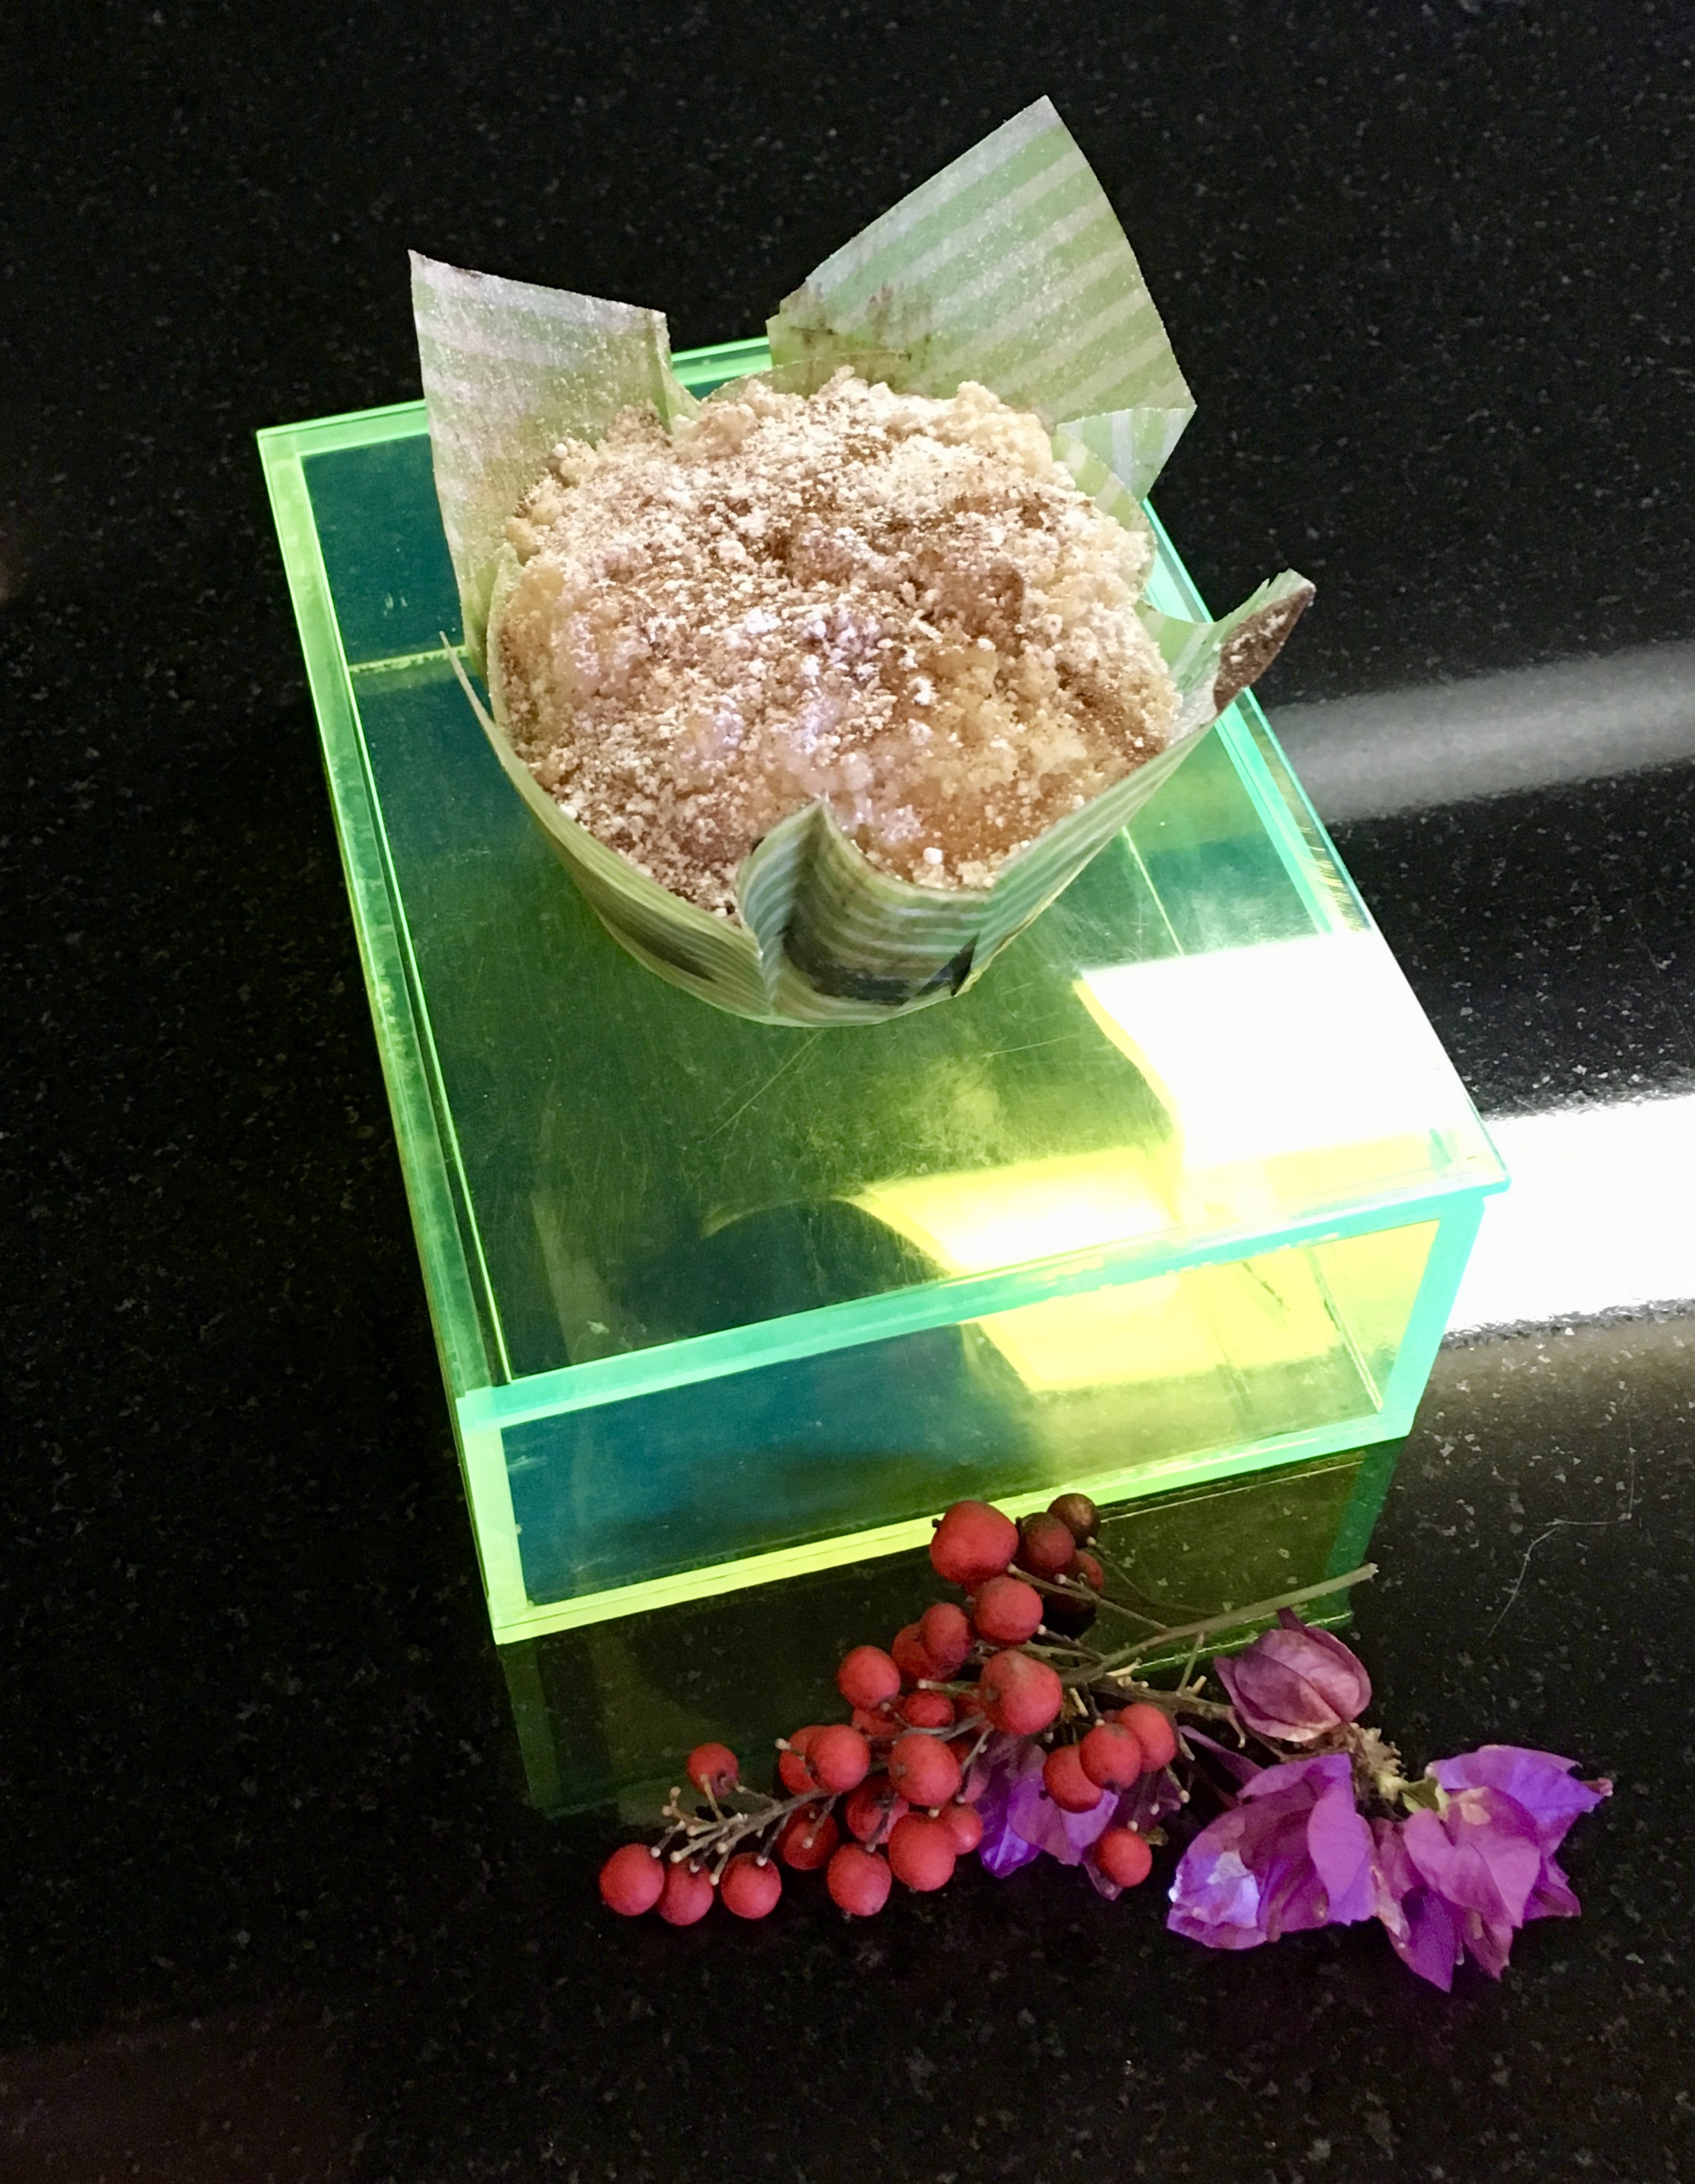
Finish them with powdered 10x sugar and cinnamon.
Bouchon Bakery Mini Coffee Cake
These Bouchon Bakery Mini Coffee Cakes are really great! A special Thanks to Bouchon Bakery for giving us this amazing recipe. It’s truly a gift! And another very special Thanks to Joanne @ www.JoanneEatsWellWithOthers.com because you did the recipe as suggested and showed us how the recipe should be.

The Forking Truth