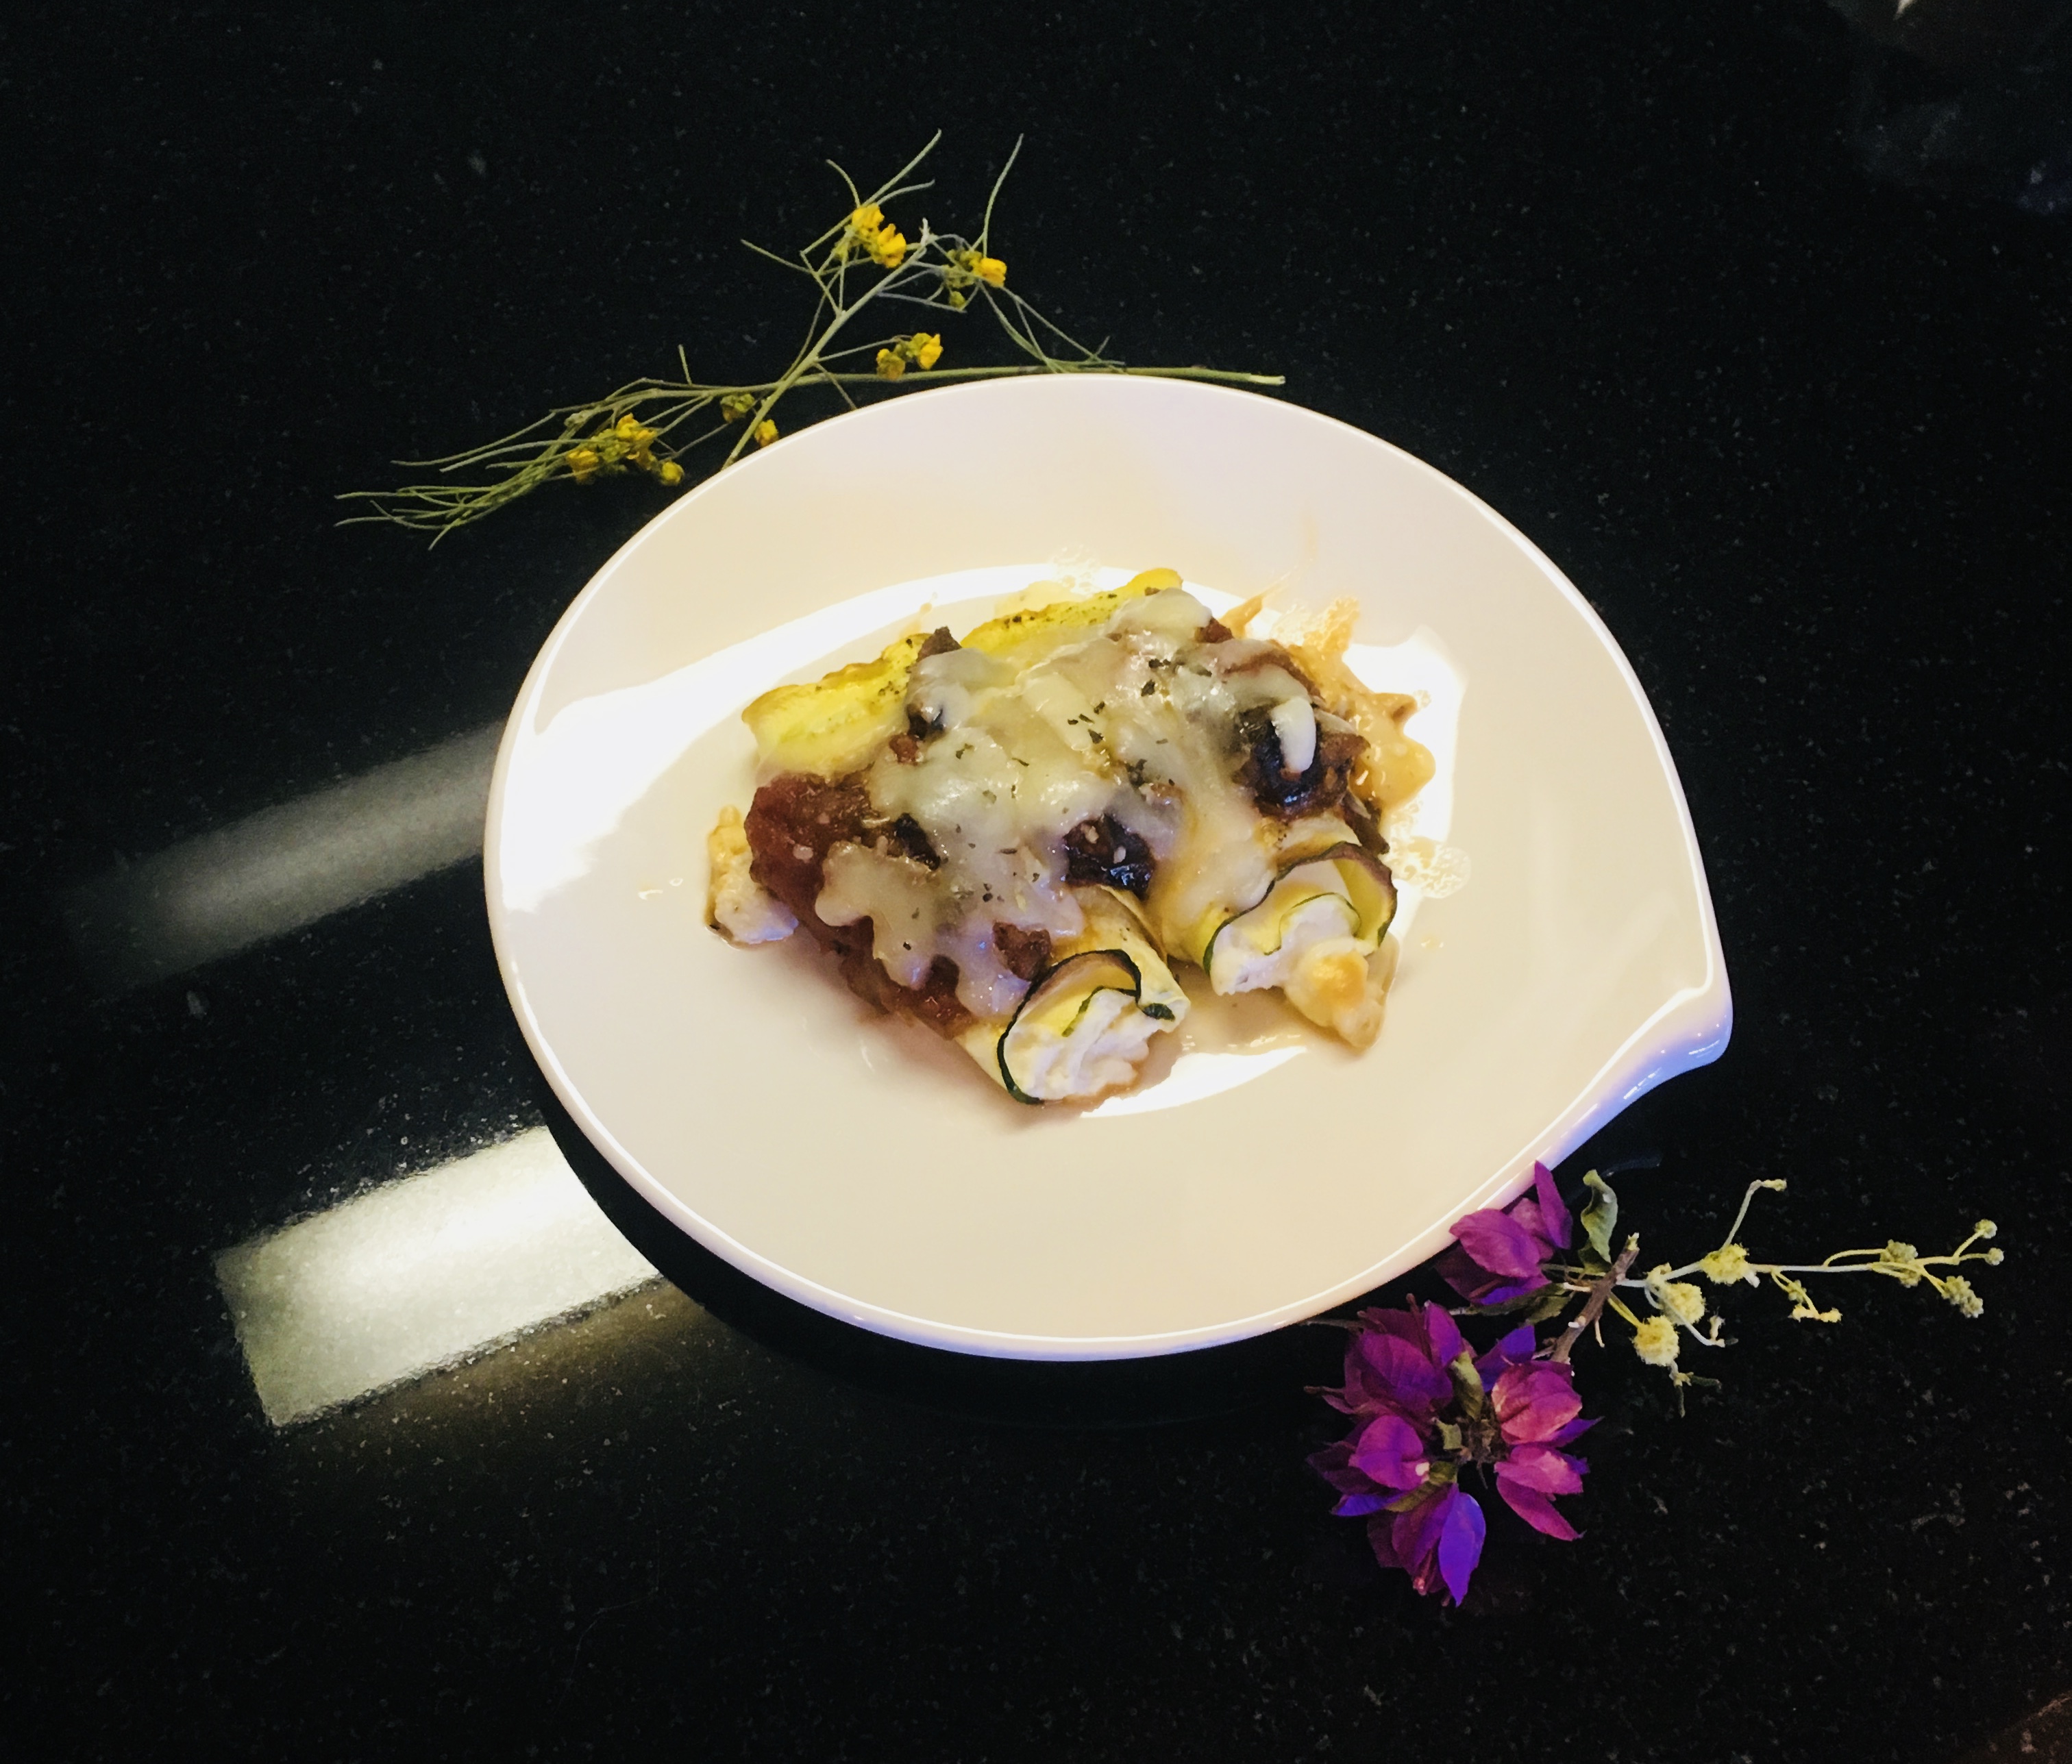
Crispy Cheese Stuffed Red Corn Grit Cakes over Seasoned Spinach & Chestnuts and Topped with Italian Style Sweet Tomatoes
I picked up a bag of Jimmy Red Cornmeal Grits from Nelson’s Seafood and Meat Shop. These Grits are very different than regular grits or even polenta. They have a unique flavor and a very fine texture. On the bag it states that they have a slight chestnut and lavender taste. I tried to pick up on the chestnut taste by adding earthy chestnuts to the spinach. These grits are so different. They have almost no texture and are like creamy soup when you follow the directions on the package. I thought if I cut the liquid by 25% I could make the grits firmer and make a crusted cake out of them. The crust part is very concentrated with corn flavor that is filled with this unique creamy delicate grits. A creamy mild cheese is between two thin layers of crusted grits. Underneath is quickly braised spinach. I heated up a 1/2 cup of water with a Tablespoon of vegetable based (think of it as flavored salt) and thinly sliced onions. As soon as the mixture is hot the spinach gets squeezed into the pot and is done almost instantly. Then the spinach gets drained and seasoned. You will be surprised on how flavorful and delicious the spinach gets. Lastly the grit cakes get topped very very sweet seasoned Italian style tomatoes and a dollop of fresh ricotta cheese if you happen to have any around.
Ingredients for about 8 servings
1 cup Jimmy Red Cornmeal – Geechie Boy Mill Brand (I don’t think any other brand is made the same)
3 cups water
1/2 teaspoon course sea salt
2 Tablespoons unsalted butter
non stick spray – canola or vegetable
1 1/2 lbs fresh spinach
1/2 medium sweet onion – sliced very thin on a mandolin
1 garlic clove – ground to paste
1/2 cup water
1 Tablespoon vegetable base
3 1/2 oz peel roasted chestnuts – slightly more than rough chopped
fresh ground black pepper to taste
1 Tablespoon extra virgin olive oil
1 cup tiny sweet grape tomatoes – cut in quarters
1 garlic clove ground to paste
1 Tablespoon fine chopped basil – packed really tight
1 Tablespoon extra virgin olive oil
1 Tablespoon balsamic vinegar
1 1/2 Tablespoons shaved parmesan
fresh ground sea salt – to taste
fresh ground black pepper – to taste
4 oz mild cheese mozzarella, mild provolone would be great, mascarpone would be great too (I used a mild pepadew cheese)
optional – 4 dollops of fresh made ricotta cheese
Directions
Put a sauce pot on to boil with 3 cups of water and a 1/2 teaspoon of course sea salt. When it starts to boil slowly whisk in the grits. Keep whisking. Turn down the heat to a medium simmer. Add the butter and keep whisking. Whisk as much as you can for at least 20 minutes.
Spray a pie pan with non stick spray.
When the grits are done pour the grits in the pie pan and leave on the counter till about room temperature. Then cover with plastic wrap and place in the refrigerator to cool at set.
In a medium bowl combine the tomatoes, 1 clove garlic, basil, 1 Tablespoon olive oil, balsamic, parmesan and salt and pepper to taste. Set in the refrigerator.
Now clean out your sauce pot.
Add a 1/2 cup of water to your sauce pot with the sliced onions and bring them to boil on medium high heat. Add the spinach a BIG handful at a time while stirring. (this should be very quick) Now take off heat and place spinach in a colander to drain over a bowl or in sink so it can drain. Stir in the ground garlic, roasted chestnuts, olive oil and black pepper to taste. You will be surprised on how delicious and flavorful the spinach is….
By around now the grits might be chilled and solid.
When the grits are chilled and solid. Dump them out in one piece on a cutting board.

Cut 8 wedges just like a pie.
Get a medium sized fry pan on medium high heat sprayed with non stick spray. When the pan is hot add a couple wedges at a time and they need to brown on both sides. This happened pretty quickly if your pan is hot. They only need about two minutes a side.

I put the mild cheese in-between two grit wedges.

Crispy Cheese Stuffed Red Corn Grit Cakes over Seasoned Spinach & Chestnuts and Topped with Italian Style Sweet Tomatoes
Then over the spinach and spooned on some of the tomato mixture and a spoonful of fresh made ricotta.

The Forking Truth