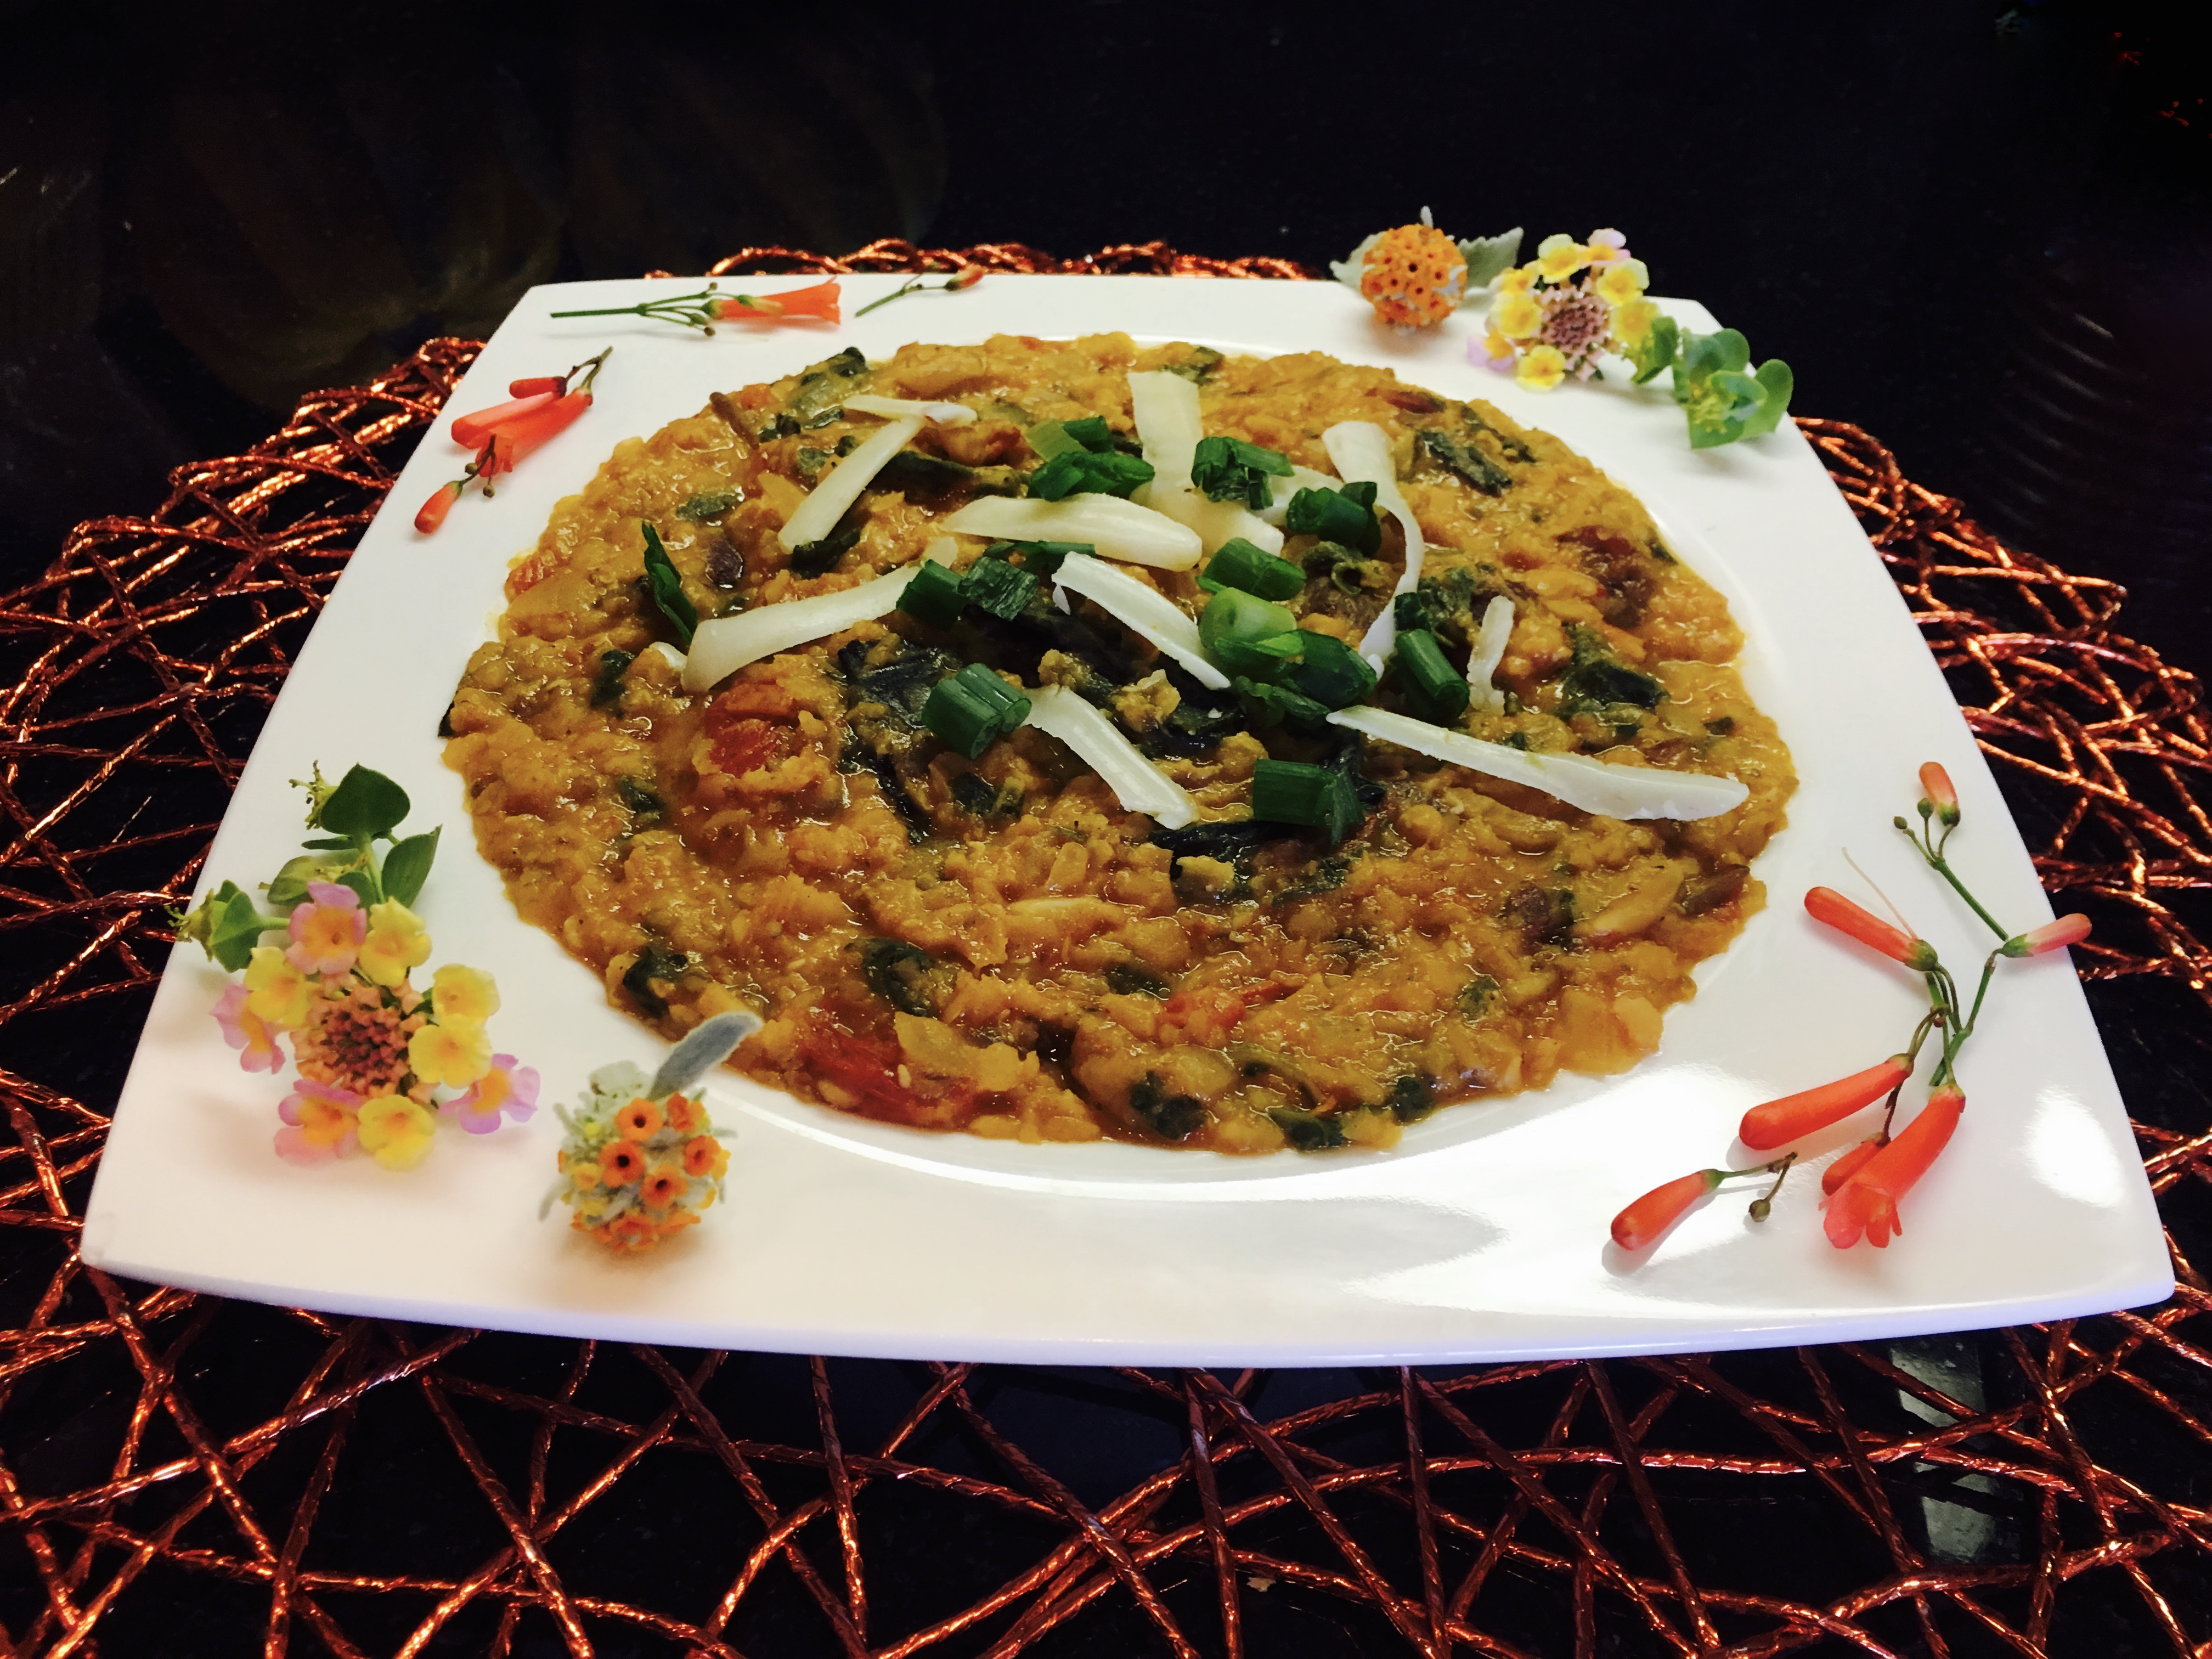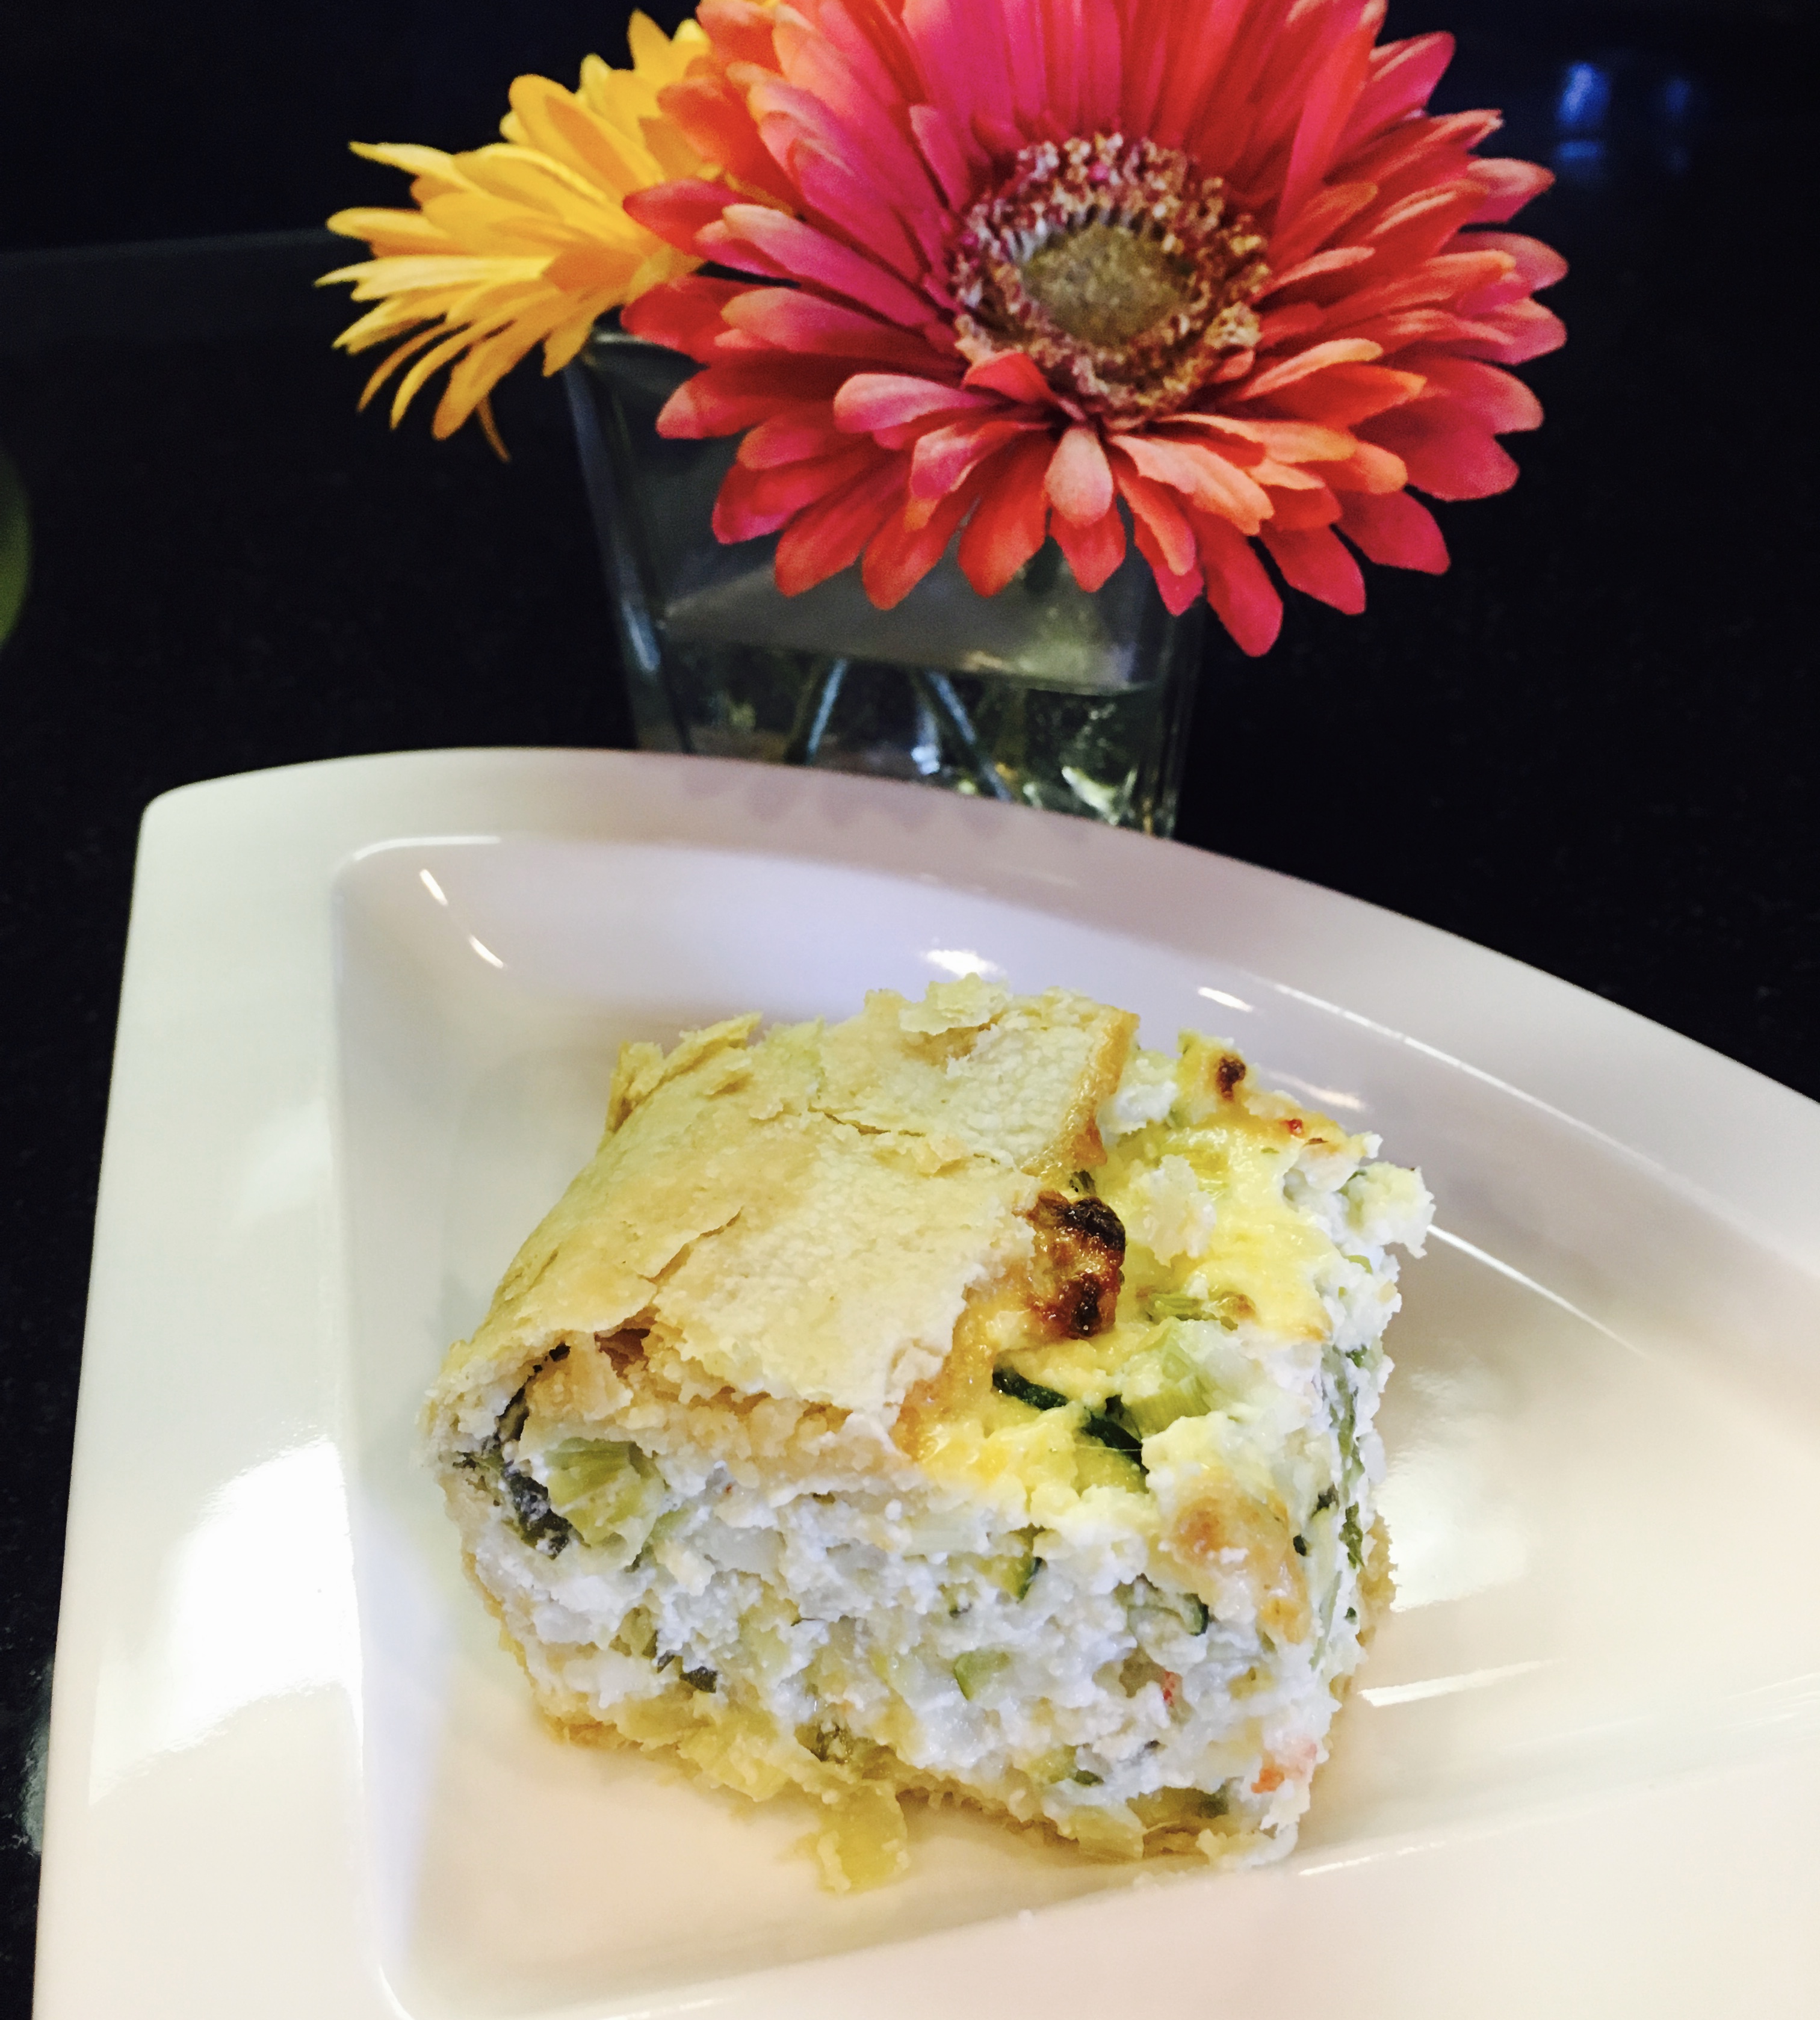
South West Style Vegetable Stuffed Pepper
Had a bunch of orange bell peppers and came up with a stuffed pepper that’s surprisingly light and very flavorful with pleasing texture. It’s creamy but not really creamy and I used some of the very flavorful cooking water from a pan of corn I cooked in the oven instead of more butter or cream. This is an easy recipe to prepare. Just throw everything in the oven and let the oven do the work. The size of the peppers I used may differ from yours so we might be a difference in servings. I used medium sized bell peppers.
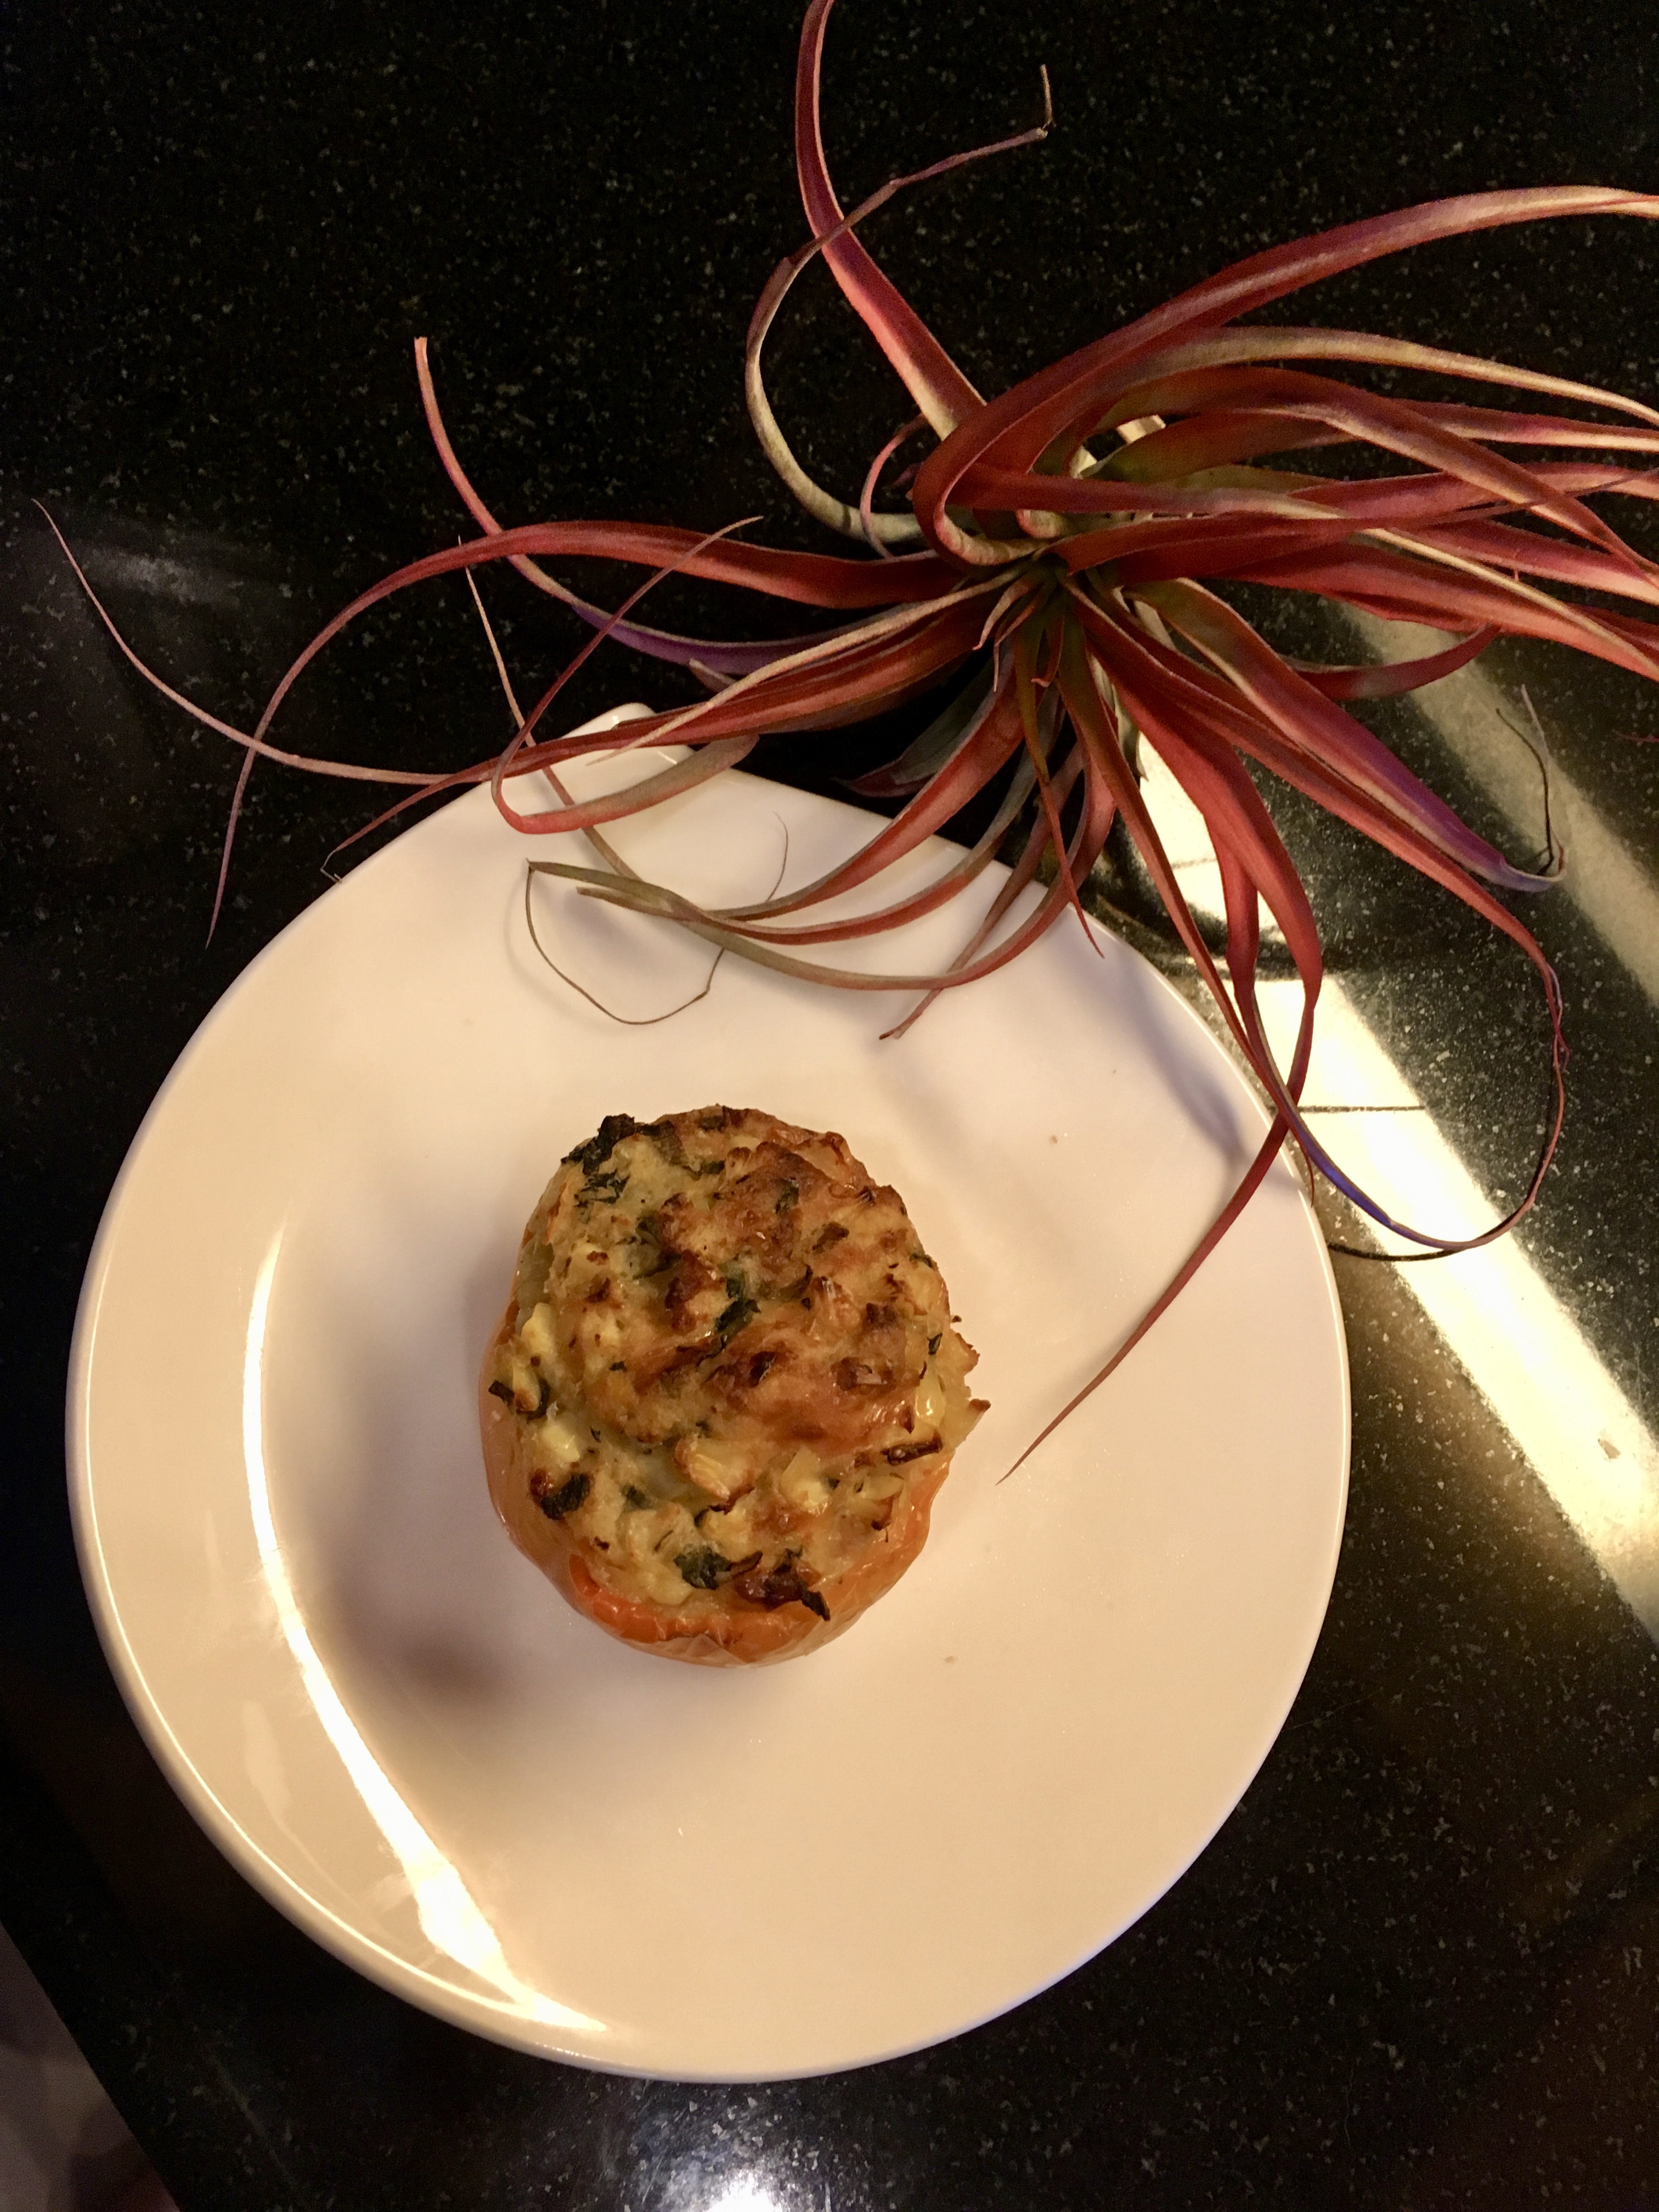
Vegetable Stuffed South West Style Stuffed Pepper
Ingredients for about 9 servings
9 orange bell peppers – tops cut off and seeds and membrane removed – (you can use whatever color you want but they all taste different) (you should trim the tops and save the pepper and use)
3 brown skin potatoes (not large but good medium sized…my potatoes were about 7-8 oz each)
1 1/2 teaspoons canola or vegetable oil
5 corn ears (I cooked 5 but only used about 2 1/2 ears of corn….if you cook less corn the water that you use latter won’t be as flavorful)
2 teaspoons course sea salt
2 oz sweet butter
1/2 cup cooking water from corn
1 1/2 oz fired roasted hatch chile – stem, seeds, most of skin and core removed -chopped
1/2 roasted red bell pepper – stem, seeds, skin and core removed – chopped
1/2 roasted jalapeno – stem, seeds, core removed – chopped
3 1/2 oz pepper jack cheese – shredded
1/4 cup cilantro – chopped
1/4 cup scallions – chopped
1/8 teaspoon black pepper
pinch of white pepper
non stick canola or vegetable spray
Directions
Set oven at 350 degrees F
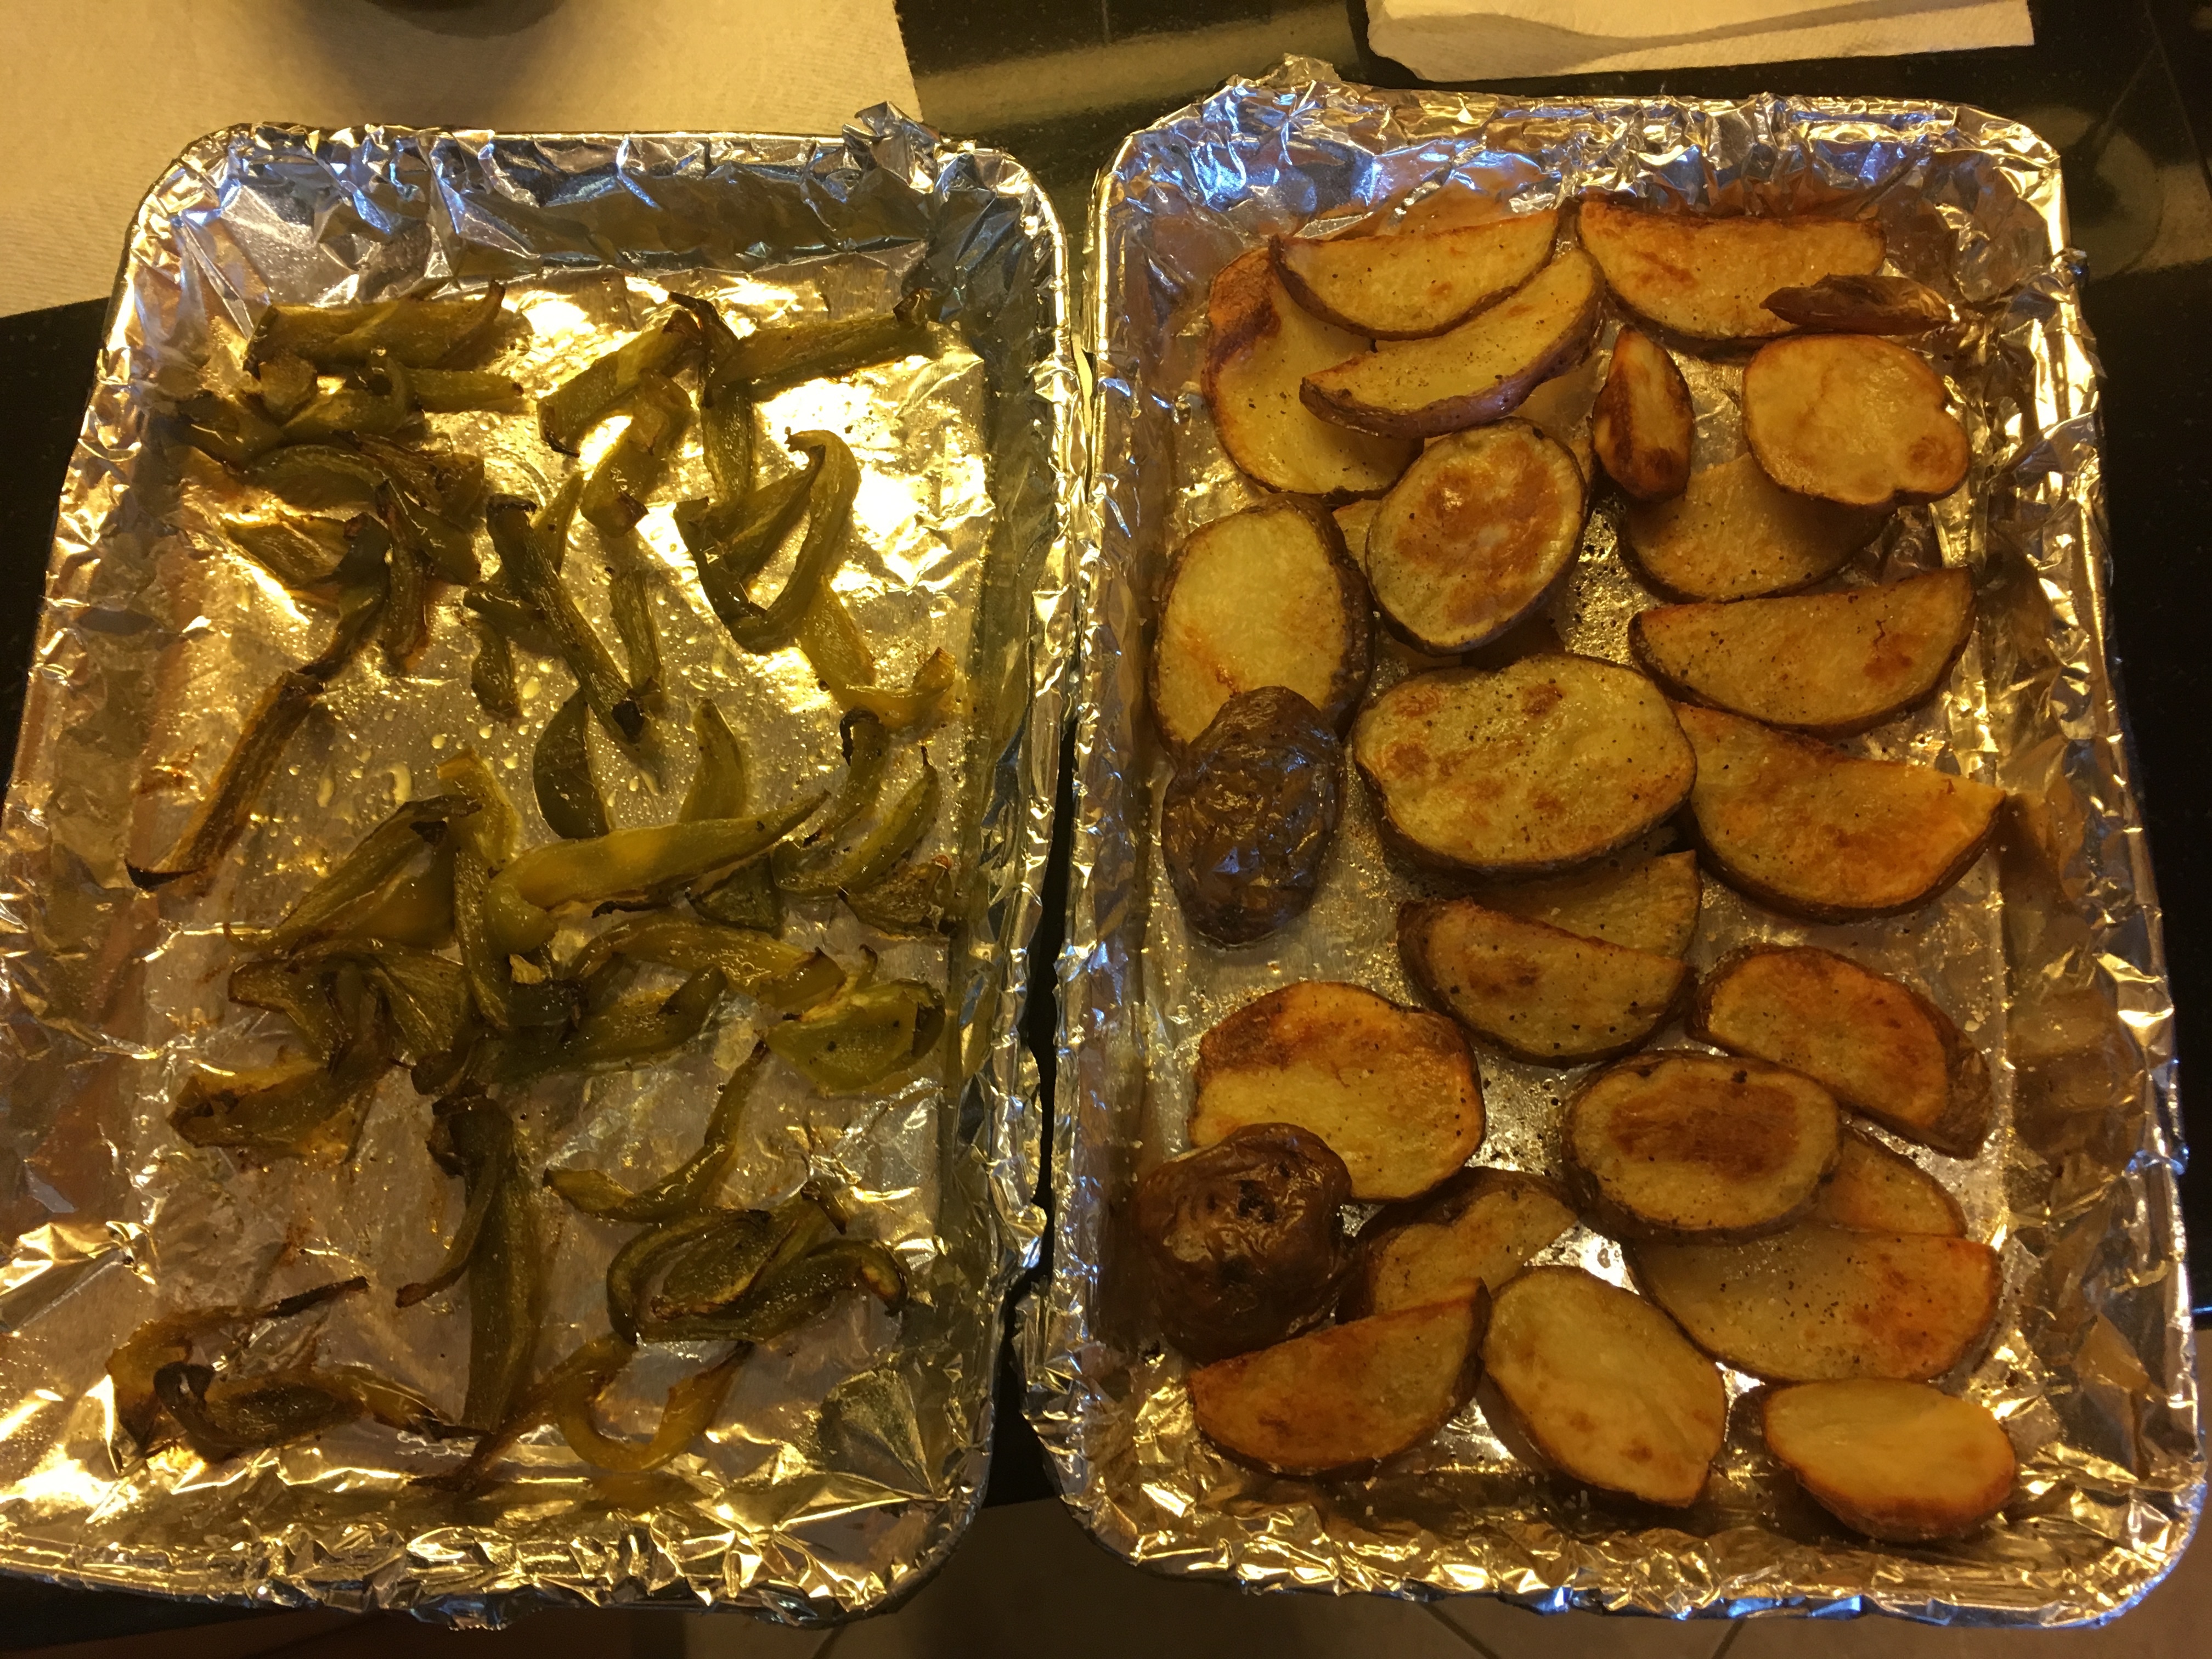
Wash potatoes well then dry well. Prick them all over with a fork. Rub the potatoes with oil and place on baking sheet.
Place peppers upside down on baking sheet that was lightly sprayed with non stick spray.

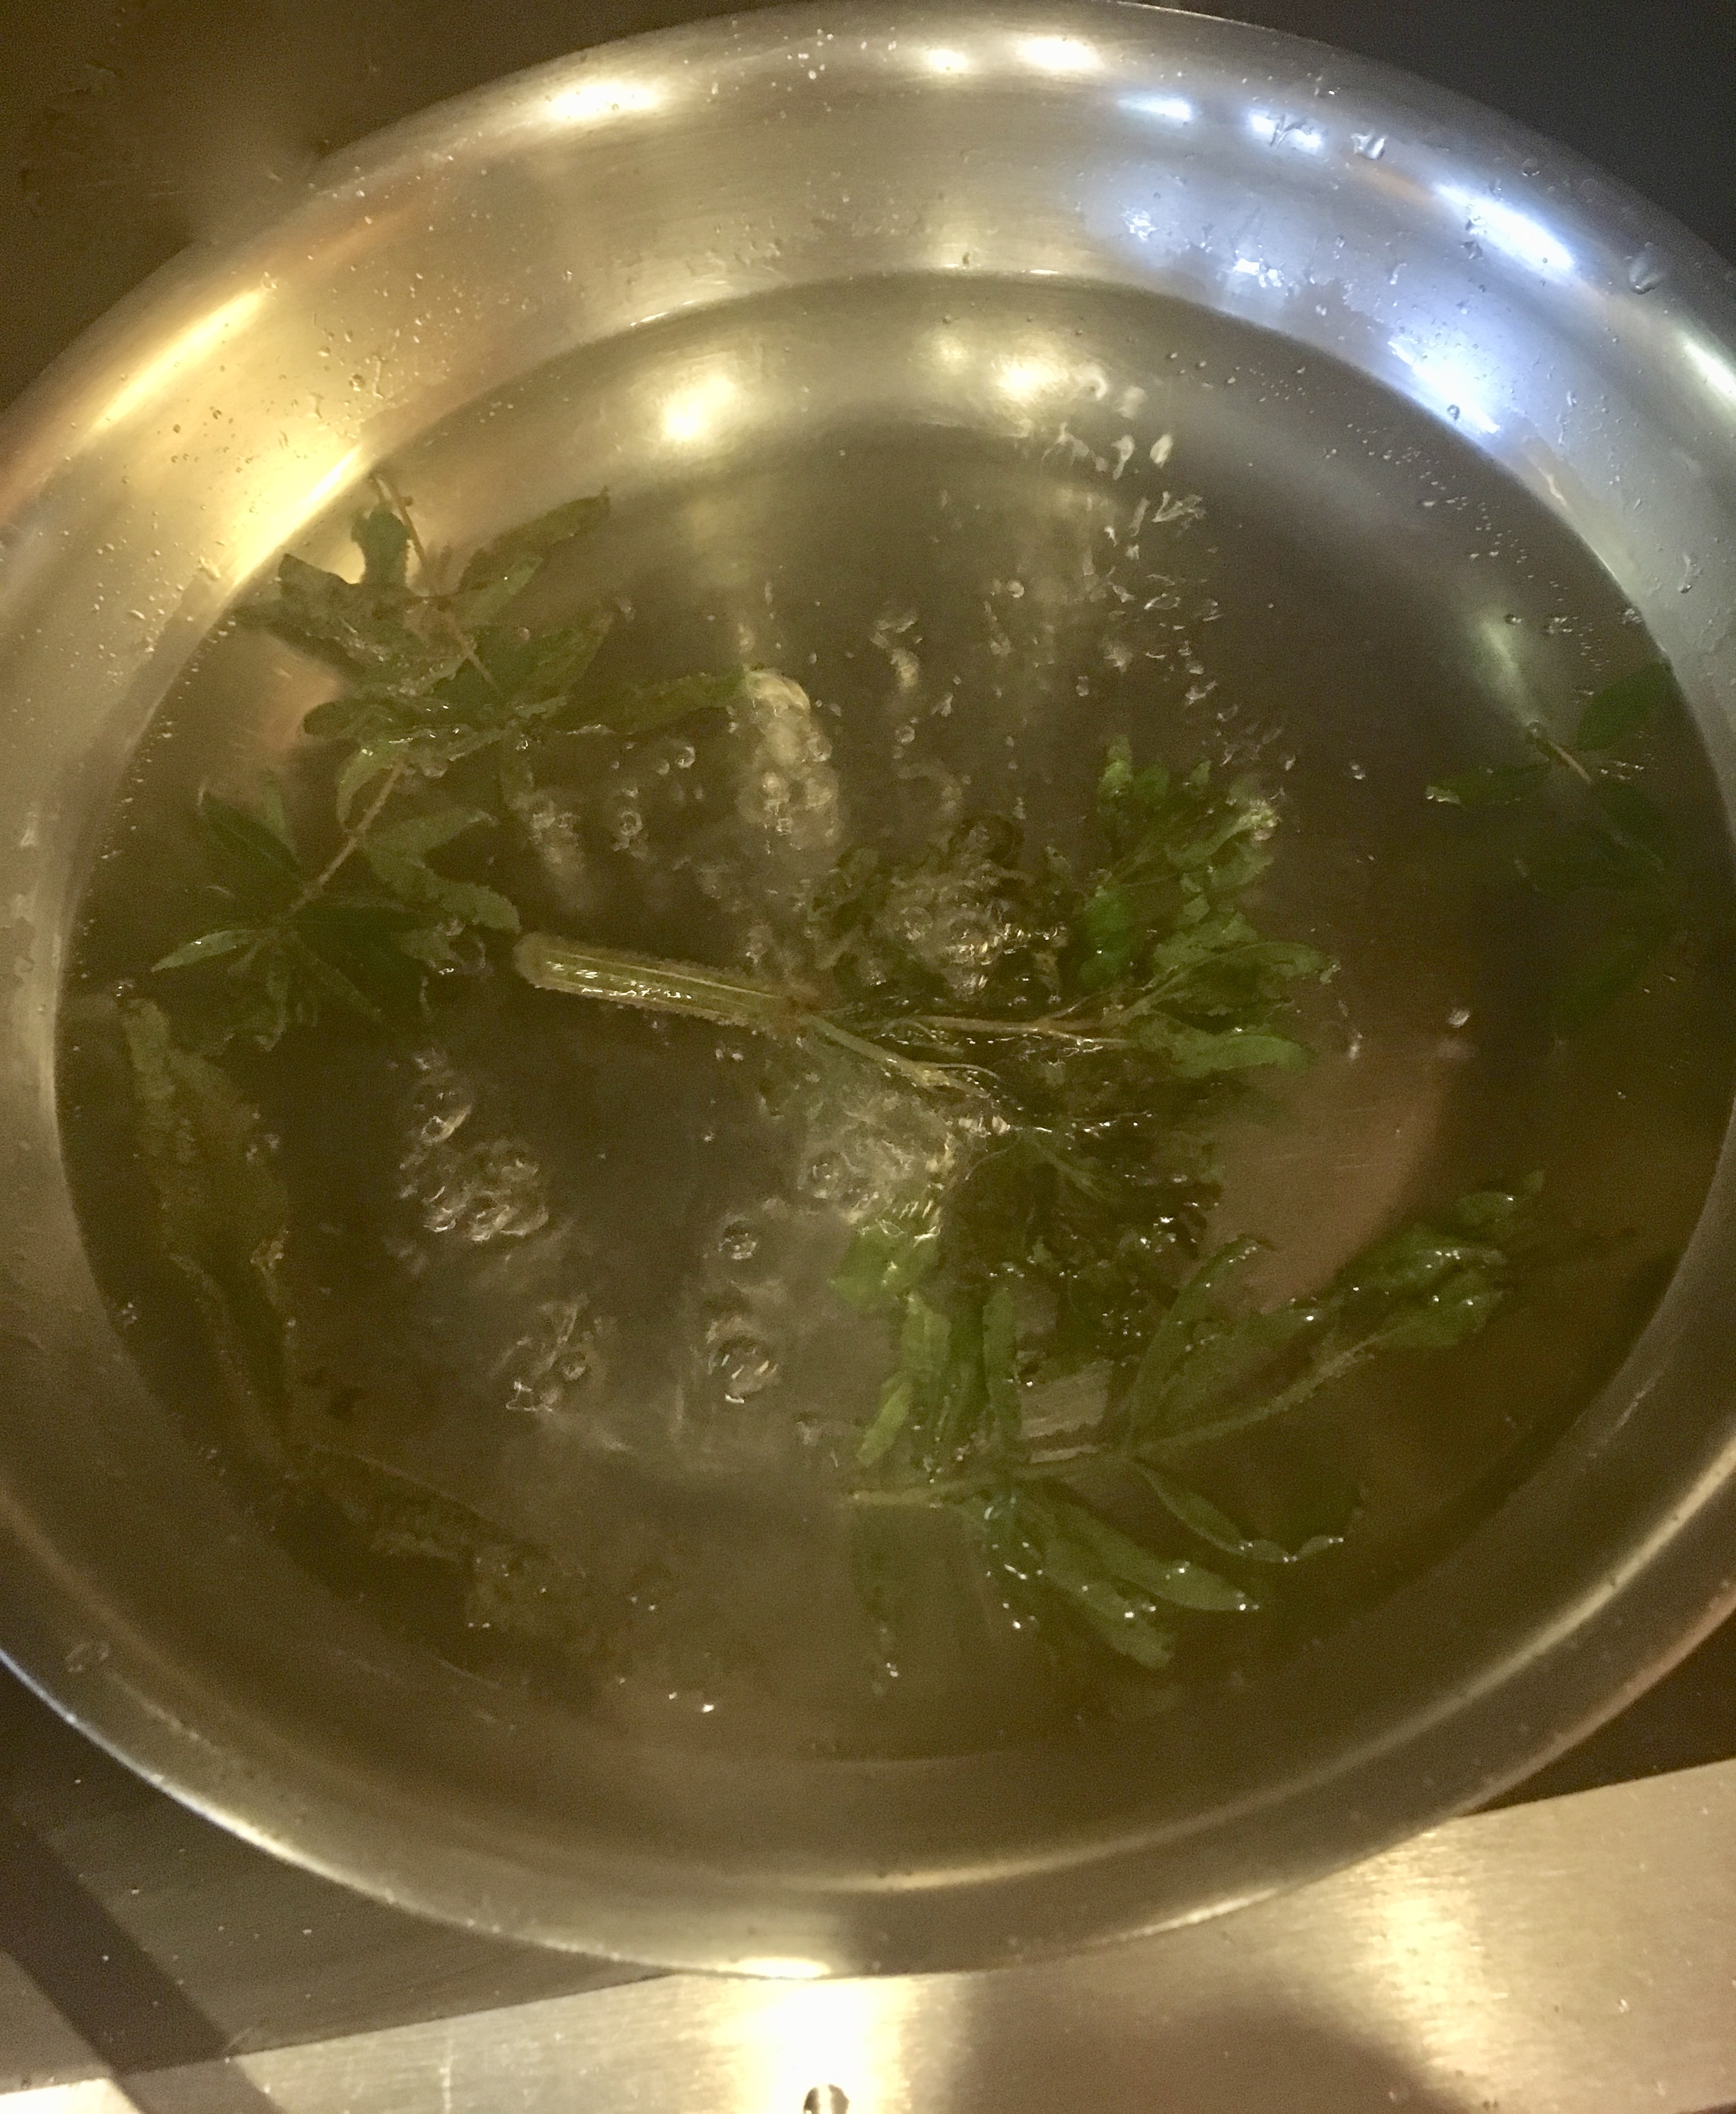
Put peeled corn in a pan or baking dish and add water to cover the corn by about about three quarters. Add 2 teaspoon salt and the butter. Cover pan with foil.

Place the potatoes, the cut bell peppers and corn in the oven.
In one hour the peppers should be wrinkled but still have body to them. (you should check the potatoes but in my oven they needed another 1/2 hour. Potatoes will have a slightly wrinkled skin.

At one and one half hours or thirty minutes latter the corn will be very fragrant and should be done with the potatoes.
When corn is cool enough to handle remove from cob. Use two and a half cobs and put the rest in your refrigerator or freezer for something else.
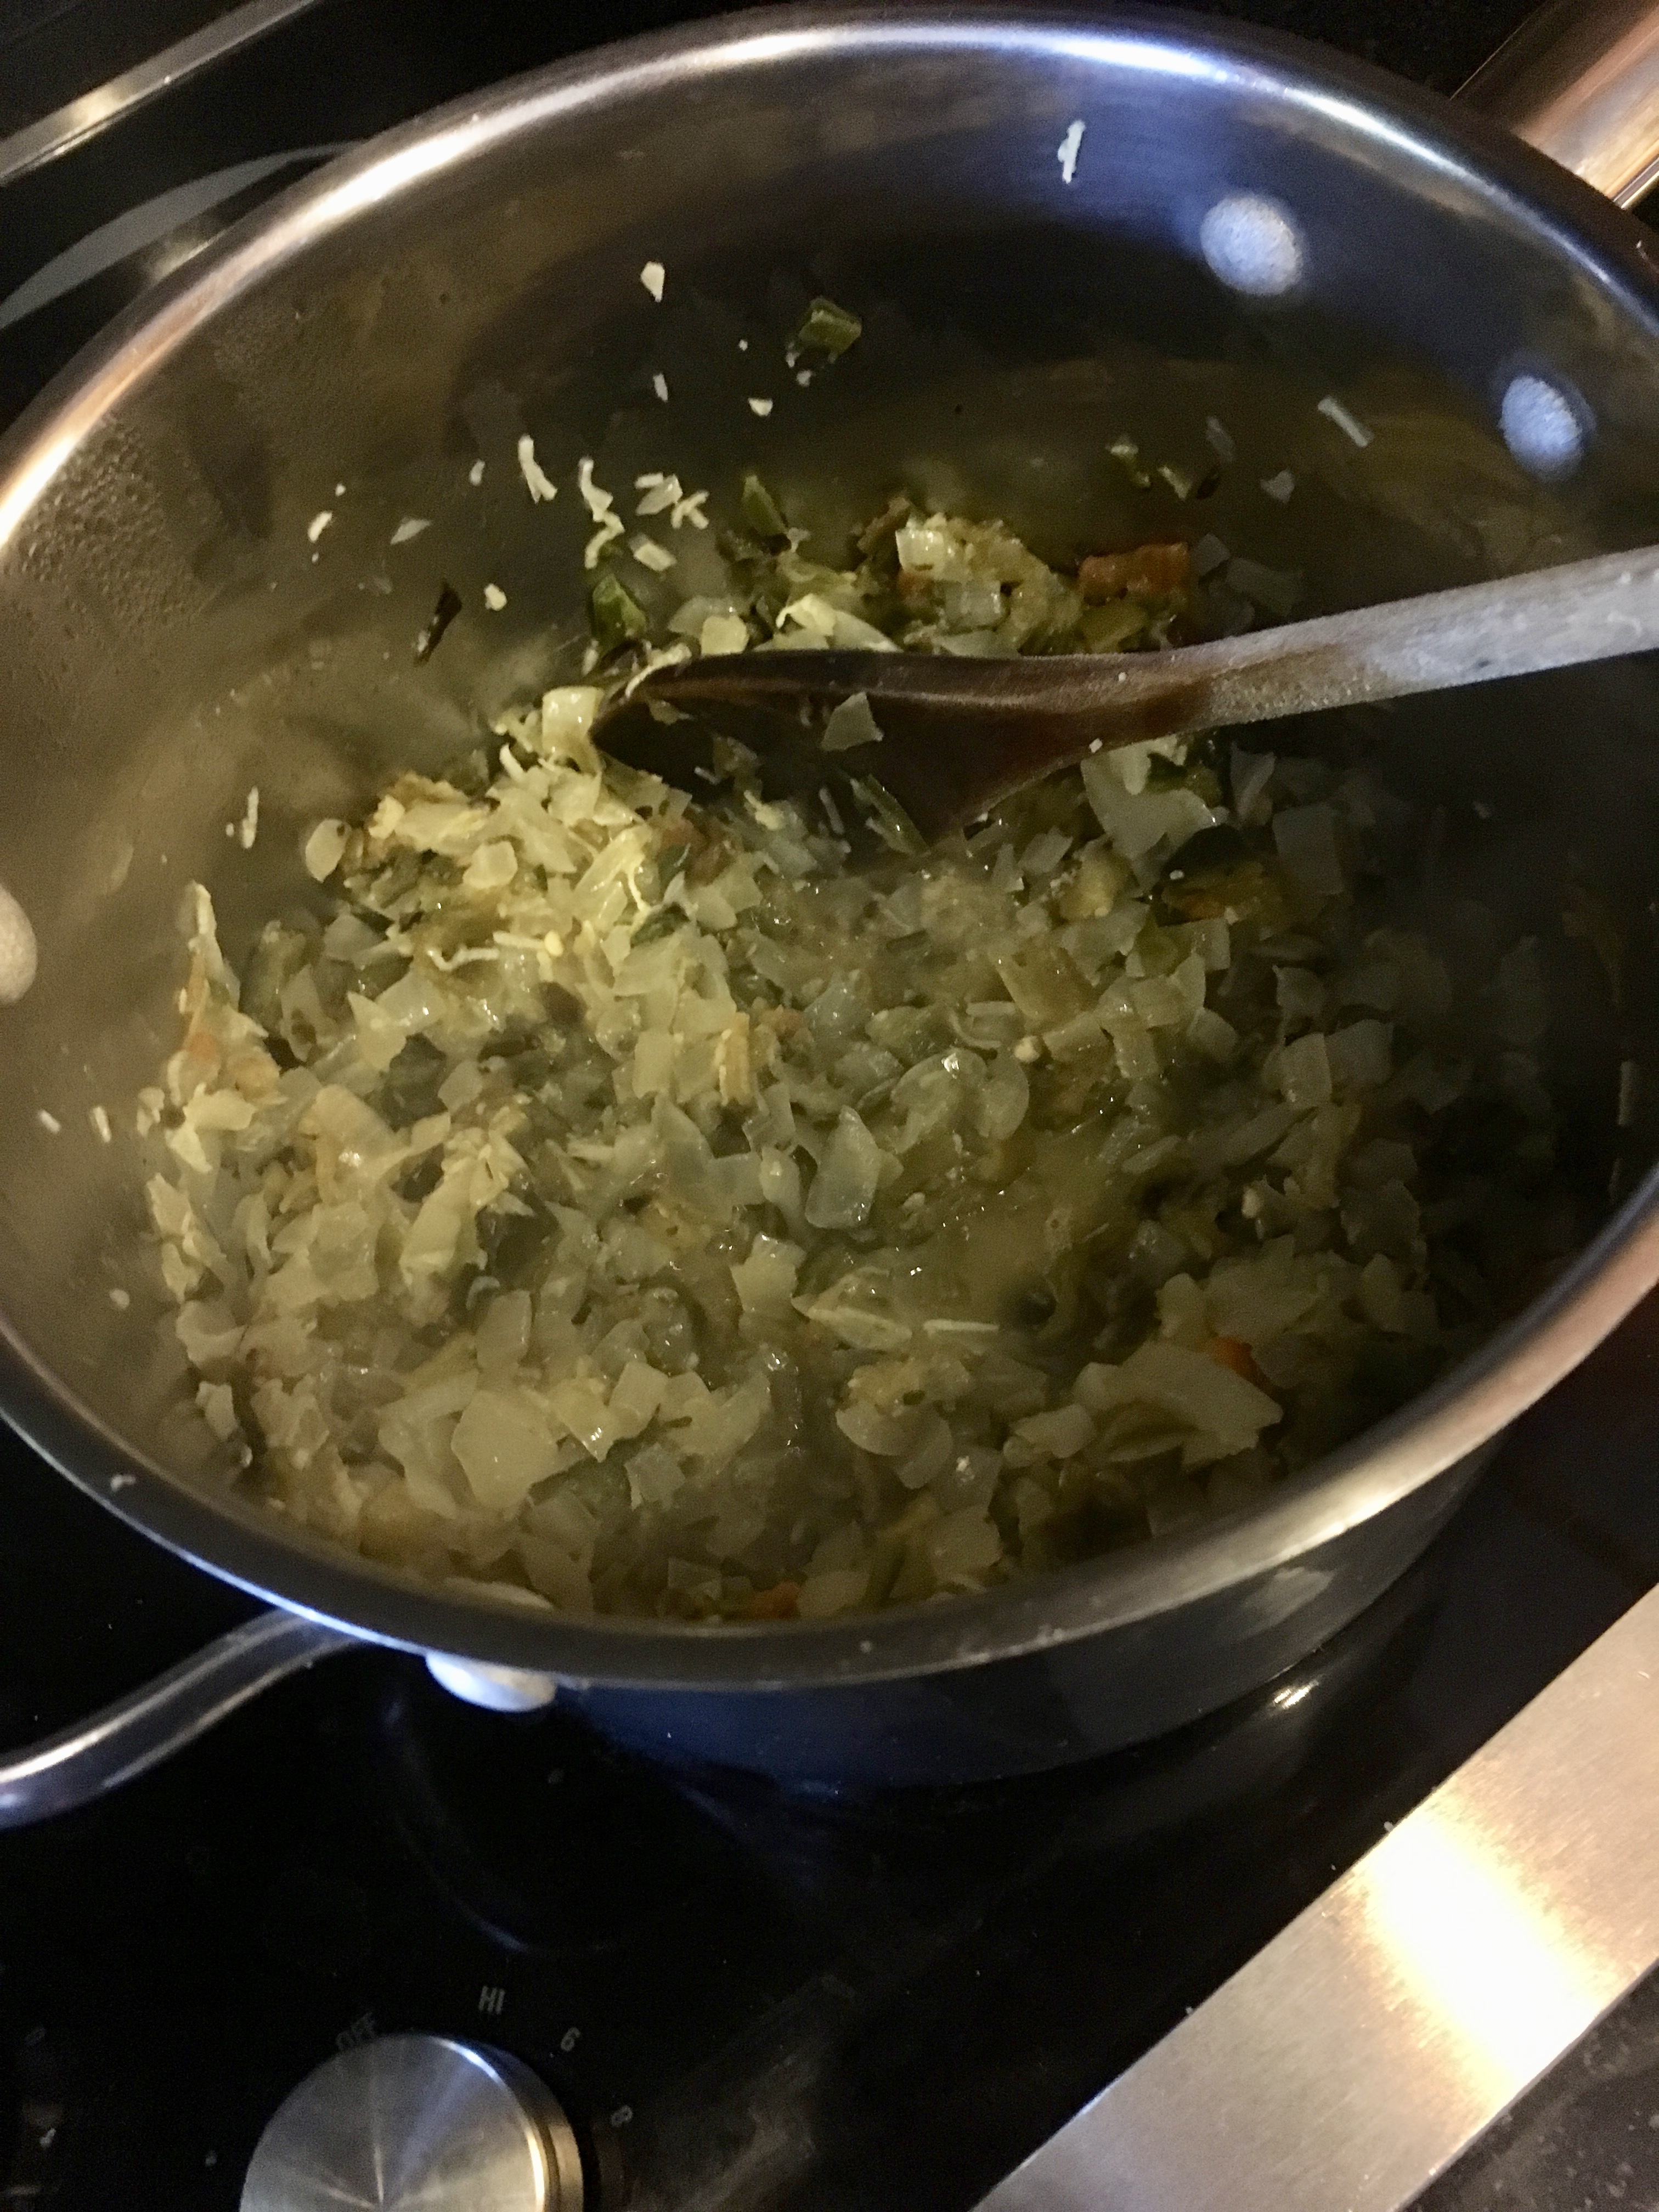
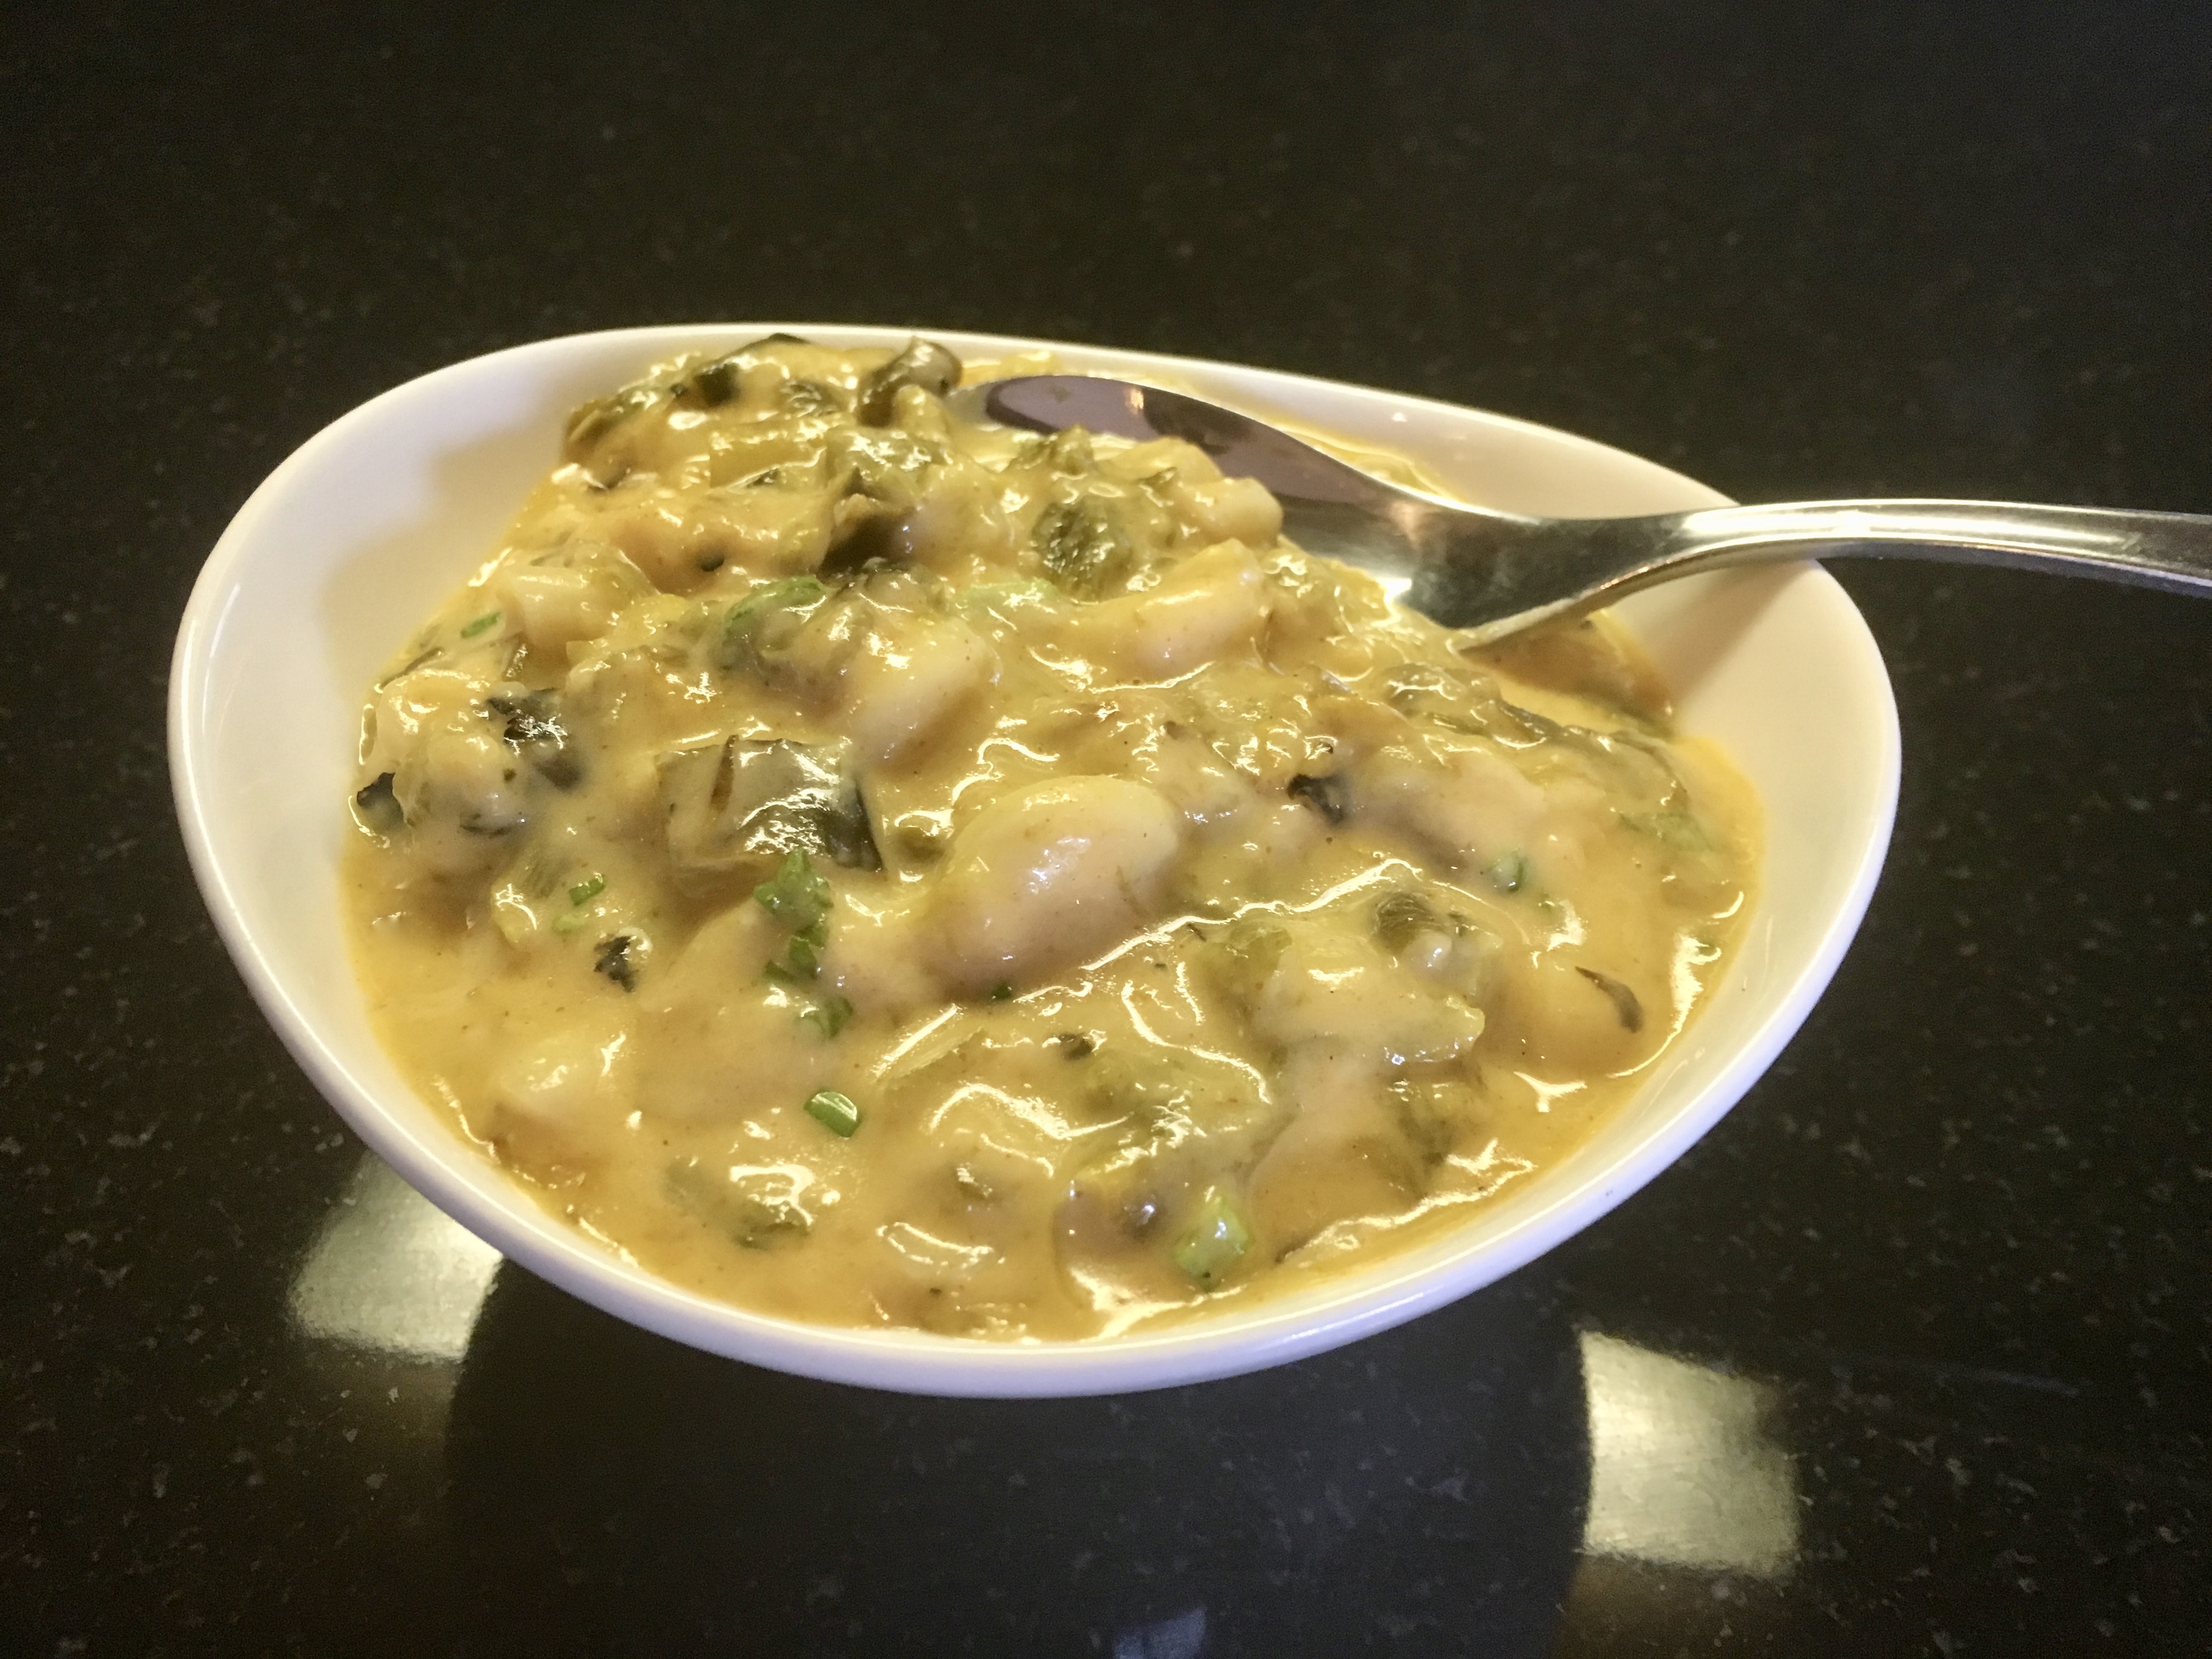
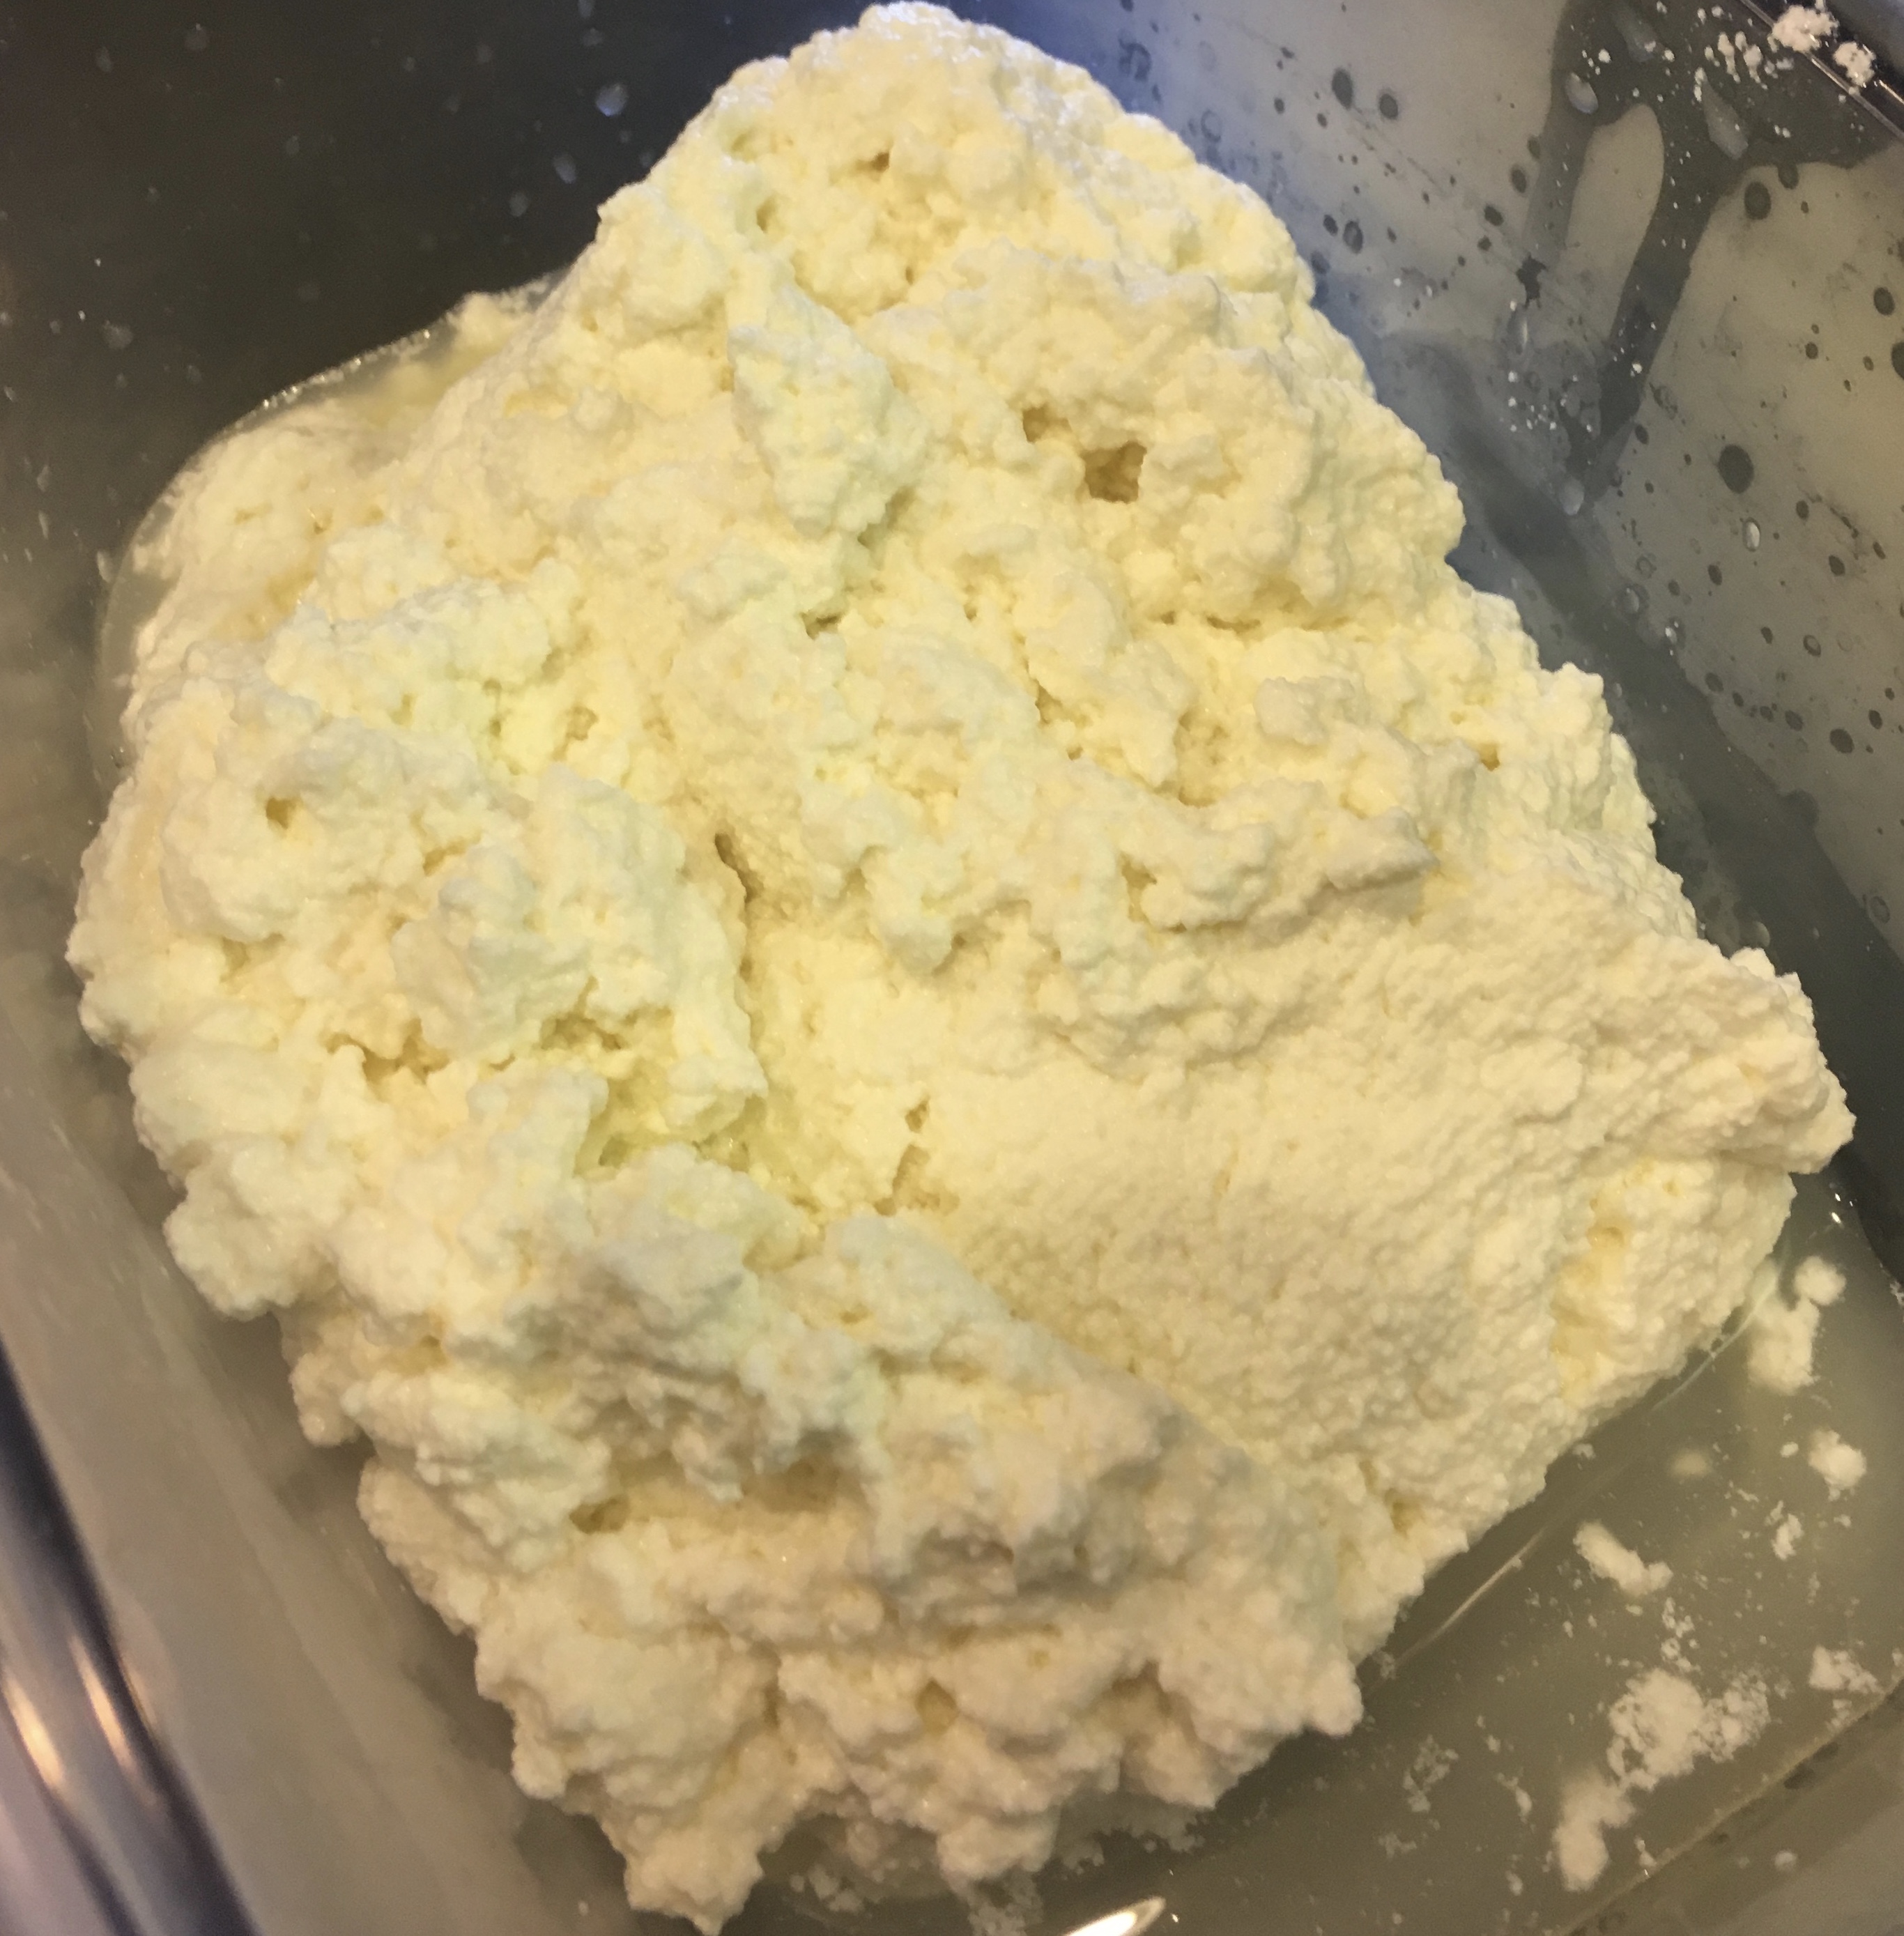
When the potatoes are still warm but cool enough to handle then you peel the skin off. On my potatoes I was able to just pull the skin off. Place in a large bowl and mash by hand with a potato masher. Add warm corn water, white and black pepper, hatch pepper, red pepper, jalapeño, corn, cheese, cilantro and scallions. Mix gently with a spoon and try not to bust up the corn all the way. Taste for seasoning and adjust if necessary.
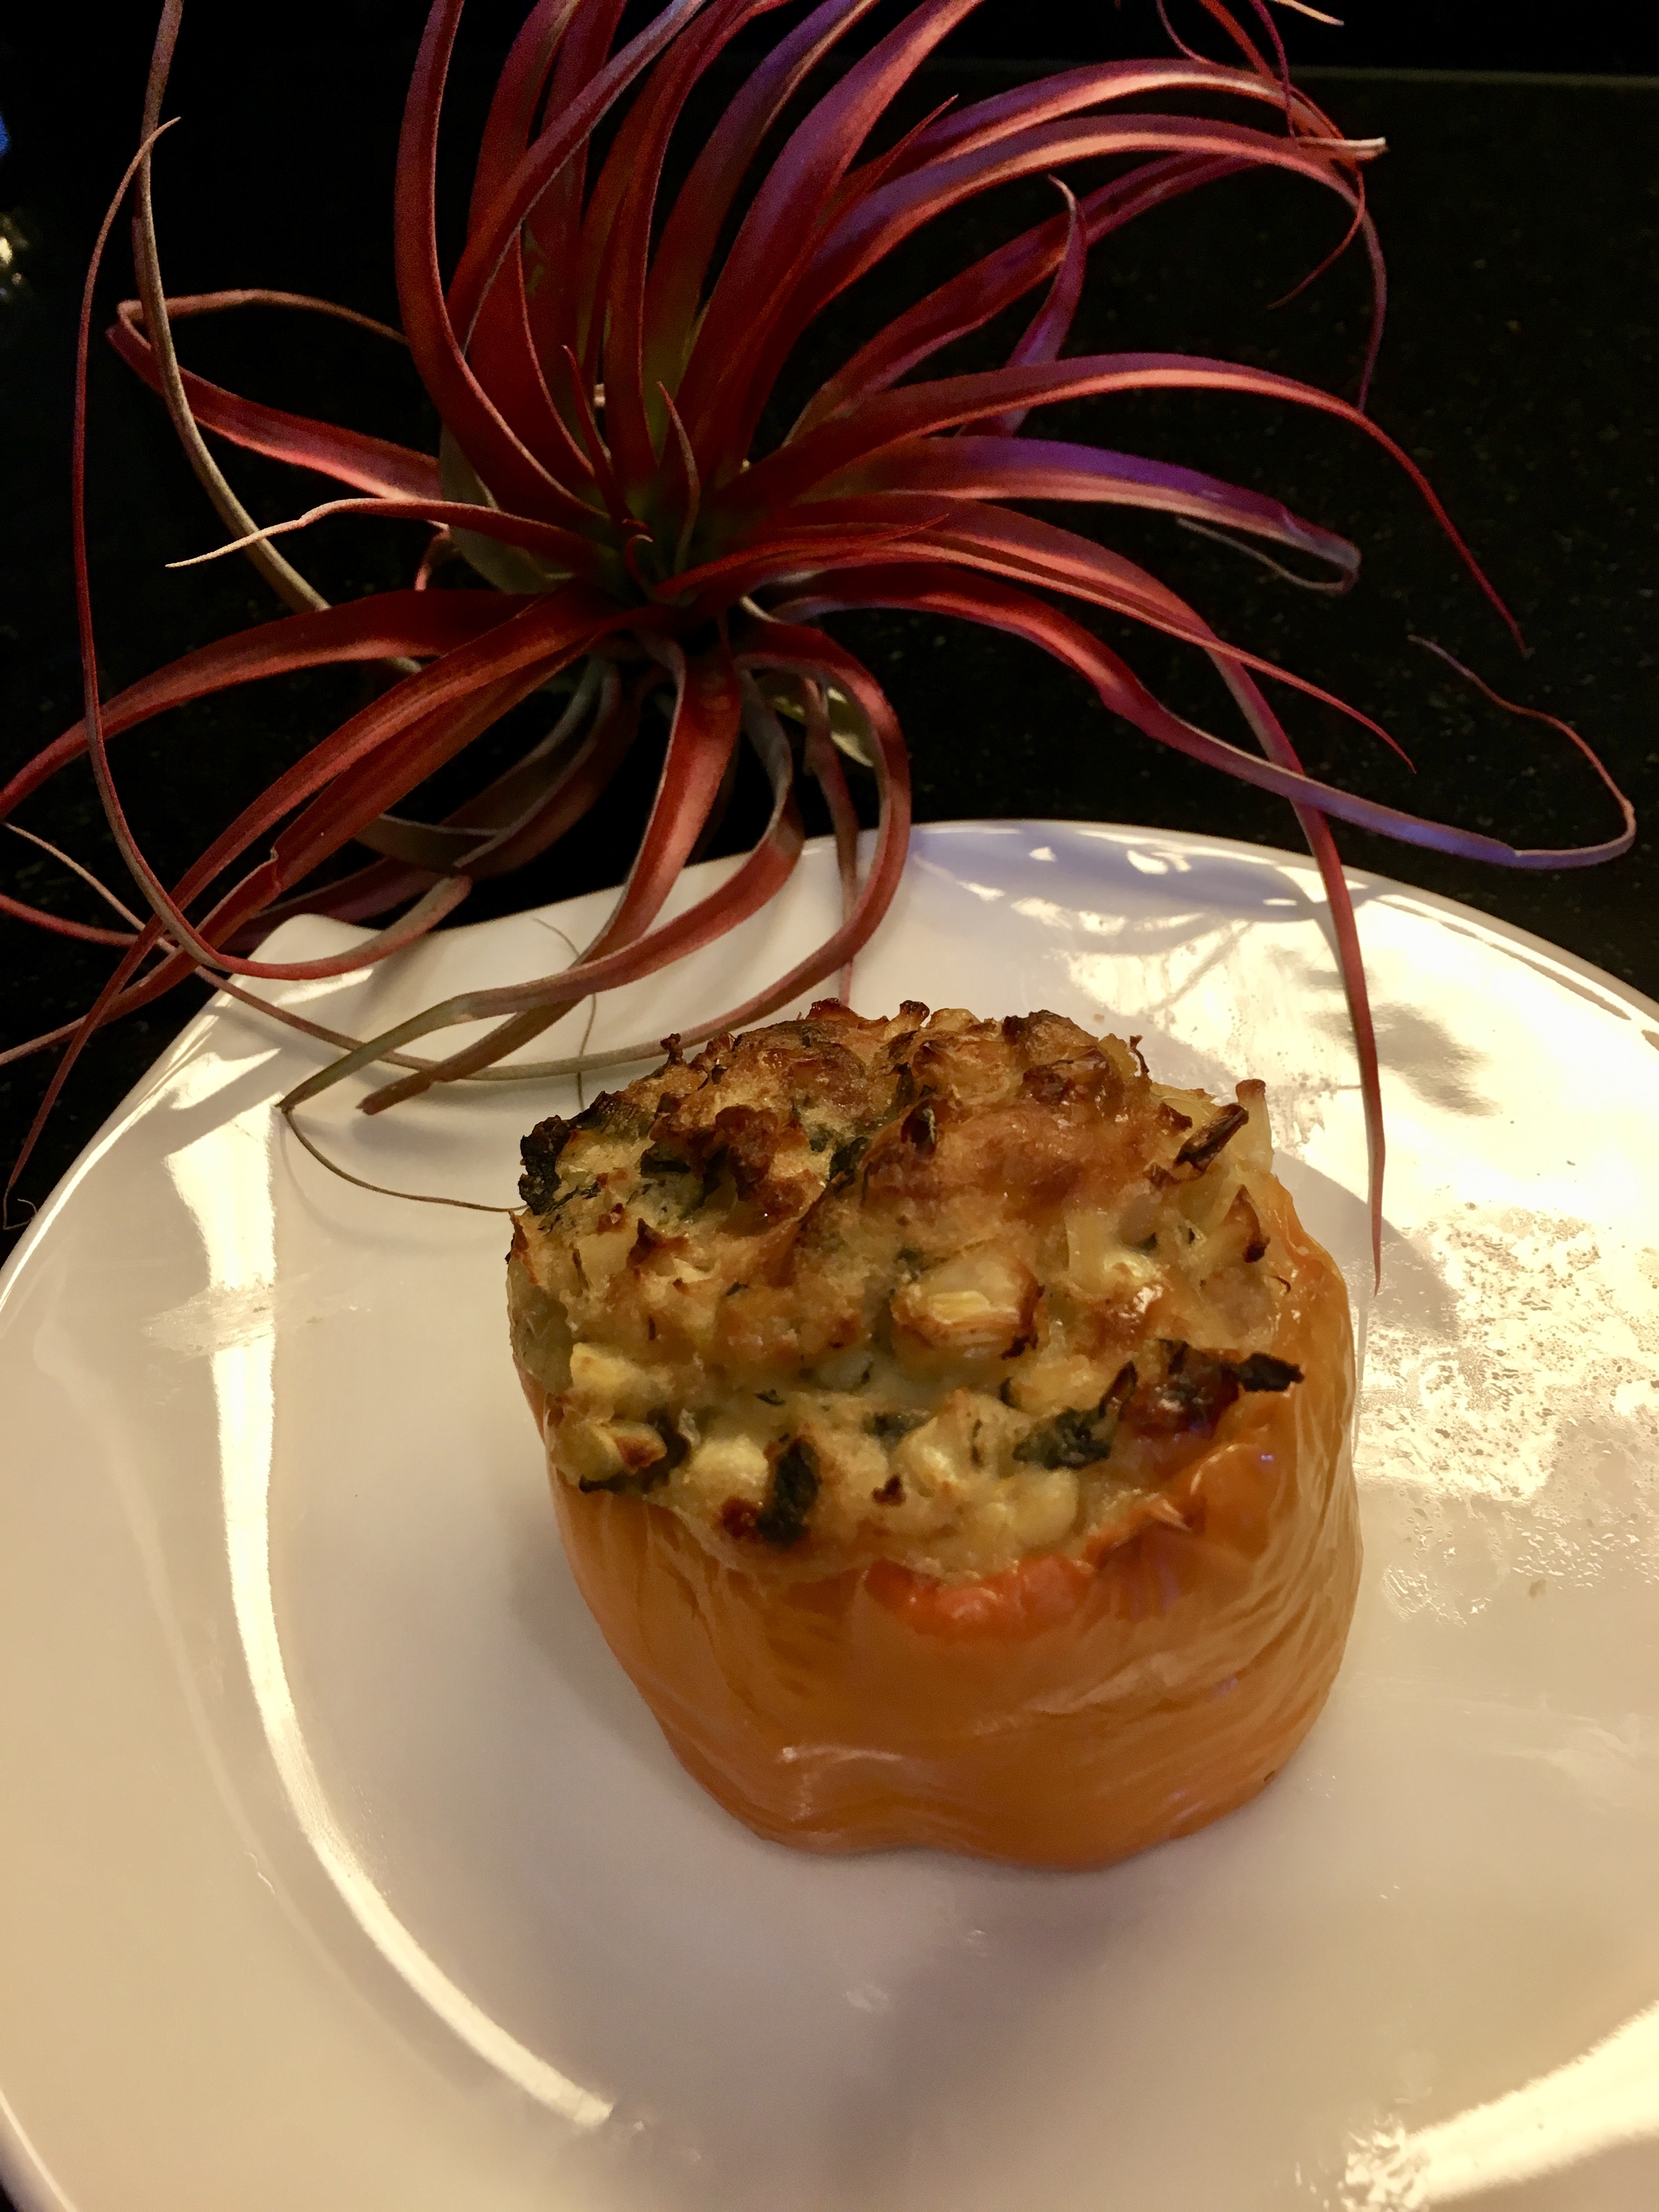
Fill peppers tight as you can with the potato mixture and place each filled pepper in a non stick sprayed pan.

The filled peppers will take about one hour until they get some color on the top.

I chilled this pan and latter reheated two peppers for dinner.
They came out scrumptious! Forking yummy!
South West Style Vegetable Stuffed Pepper
Enjoy!

The Forking Truth