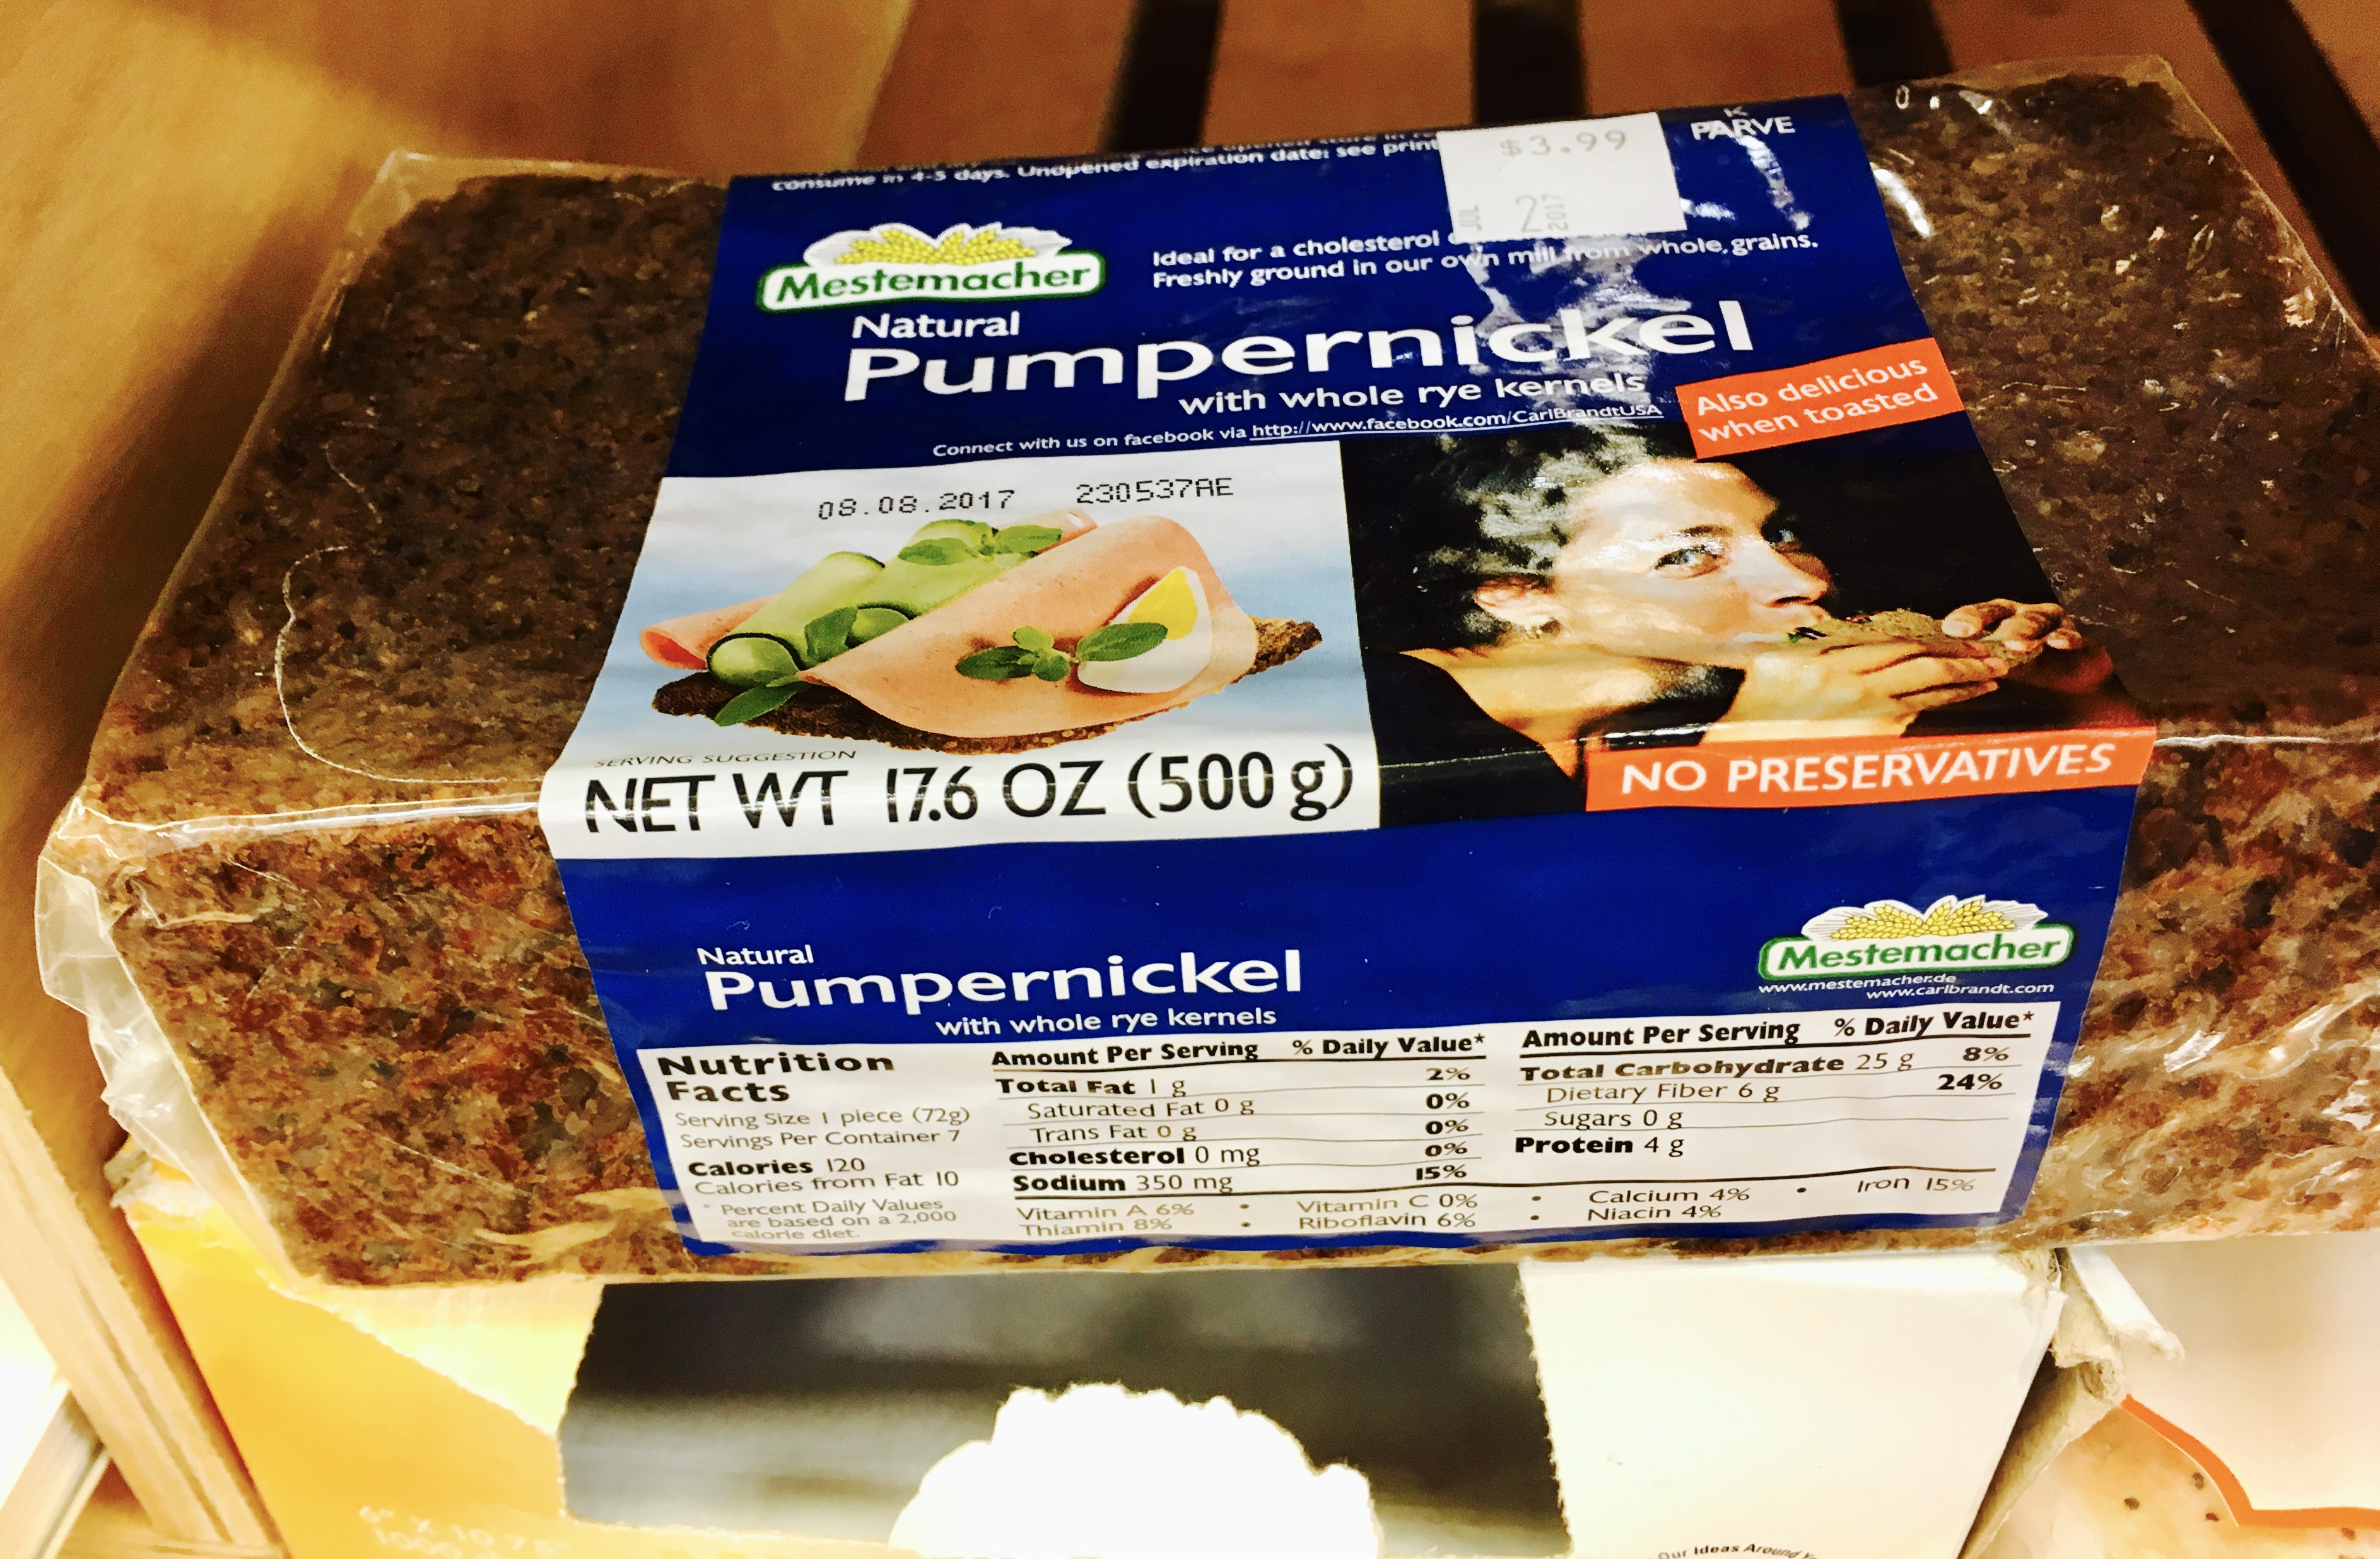
Pumpernickel Bread Recipe


Pumpernickel Bread

Pumpernickel Bread

Pumpernickel Bread is very similar to Rye Bread and is basically a dark rye made with coarse rye flour. There are many different styles of Pumpernickel bread. The varieties that I’m familiar with are American, German and Russian. The German style is very dense and is slow cooked all night long or possibly a day to cook. The Russian Style is a very flavorful dark and moist and is sometimes topped with garlic, onion, poppy seeds, sesame seeds and pretzel salt. The American Style is similar to rye bread but has molasses and coffee added to the dough. My style runs in-between American and Russian. I was just aiming for a delicious bread.

Ingredients for about 25 servings

3 1/2 cups bread flour (+ extra to rest your dough in)

2 cups dark rye flour

2 cups whole wheat graham flour

1/4 cup unsweetened cocoa

1/3 cup dark brown sugar

1 Tablespoon active dry yeast

1/4 cup caraway seeds

1/4 cup molasses

1/2 cup canola oil

1 1/2 Tablespoon kosher salt

1/2 teaspoon cumin

1/2 teaspoon coriander

3 cups hot water

1/4 cup semolina –  FOR RESTING THE DOUGH on

1 teaspoon granulated garlic

1/4 cup sweet onion – minced

1 teaspoon poppy seeds

2 big pinches course sea salt (one for each loaf)

1 XL egg beaten (to brush on loaf)


Directions

All dry ingredients (EXCEPT SEMOLINA flour, granulated garlic, sweet onion, poppy seeds, pinches of sea salt)  in your mixing bowl from your stand mixer. Now add all the wet ingredients (EXCEPT FOR EGG) and stir till combined.

Bring up your mixer to medium/high speed (on mine #6) and let your mixer mix the dough for 10 minutes till the dough is like elastic and pulls away from the sides of the bowl.

It should look like this.

Notice dough holds together and bowl looks clean

Notice dough holds together and bowl looks clean

Get out a large bowl and put in some bread flour for the dough ball to rest.

Pull the dough off the mixing hook and get all the dough out of the bowl and knead it a bit and make it into a dough ball using a little bit of the flour.

fullsizeoutput_2f31


Cover the bowl with plastic wrap and leave in a warm place for about an hour or until it rises.

fullsizeoutput_2f30

Divide the dough into three.

img_5938

Put down semolina for the dough balls (or flat bread)…..I used some on an oiled pizza pan and some on a wooden board for the loaves.

You can make either three small loaves of bread or a non traditional pizza or sort of flat bread and two loaves of bread like I did.

img_5939

The semolina that allows your bread to slide off easily and also makes the crust taste delicious and nutty.

Put the resting board in a warm place till the loaves double in size.

I did the pizza first and let the bread rise.

The NON Traditional pizza I put in a 350 degree F oven for fifteen minutes.

I took it out and flipped it over and then topped it with Swiss Cheese, munster Cheese, tomatoes, black garlic, padron peppers, extra virgin olive oil and salt and pepper.

Put it back in the oven just a few minutes to melt the cheese.

fullsizeoutput_2f2c

Now back to the breads. We ate two pieces for lunch and the rest can be frozen for another time.

Back to the breads.

img_5950

They are nice and puffy so I mixed up the remaining ingredients and brushed them on the loaves.

I put one in the oven at 400 degrees F for thirty minutes and then the other for the same.

fullsizeoutput_2f33

fullsizeoutput_2f35

They taste great and are attractive too!

 The Forking Truth

The Forking Truth

WTFork is Pumpernickel Bread?

IMG_4505

Pumpernickel is a dark bread that taste similar to rye bread but it has a soft crust and is a little moister and a little sweeter sometimes seasoned with other flavors. I think Pumpernickel is  great with egg salad, chicken salad or just whipped sweet butter. I don’t see much real rye bread around Phoenix AZ and I almost never see any Pumpernickel Bread here so I started to research Pumpernickel before I try to bake one.

There are many different styles of Pumpernickel Bread.

German Style Pumpernickel

This bread looks like German Style Pumpernickel (note how it looks like a pressed brick)

Pumpernickel Bread was invented in Germany. A German Style Pumpernickel Bread uses a sourdough starter with course rye berries and often old leftover soaked rye breads and crumbs from leftover breads that are usually rye. The dough gets baked in covered tins and a low temperature that you slowly drop for up to twenty four hours. The German Style Pumpernickel gets it’s dark color from the slow low cooking time.

American Style Pumpernickel doesn’t use a sourdough starter. American Style Pumpernickel gets it’s dark color from cocoa and molasses and gets baked like regular loaves of bread.

Got an recipe for Pumpernickel Bread from a very old American Cookbook called The Settlement CookBook. This recipe includes cornmeal, shortening and two cups of mashed potatoes with Rye Gram Meal ( ground rye berries), Wheat Flour and Caraway Seeds.

Russian Style Pumpernickel also called sometimes as Borodinsky Bread is made of Wheat Flour, Rye Flour, Rye Malt, Pressed Yeast, Salt, Sugar, Molasses, Coriander and Cumin.

I use to work for a bakery that sold baked goods and breads and among the breads they sold were rye bread, pumpernickel bread and what they called black Russian Pumpernickel. The regular pumpernickel was similar to rye bread but a little darker with a soft crust. I remember that the Black Russian Pumpernickel  was much more flavorful than the regular pumpernickel. It was a black soft bread so I’m guessing coffee and or cocoa might have been in the ingredients so it seems that there are endless variations of Pumpernickel Bread.

References

www.RusExplorer.com

www.TheKitchn.com

www.HuffingtonPost.com

www,TheBreadKitchen.com

www.WiseGeek.com

The Settlement CookBook

My first attempt at Rye Bread came out pretty good so I will attempt a Pumpernickel Bread sometime in the near future.

That was a little Forking Truth about Pumpernickel Bread.

 The Forking Truth

The Forking Truth

Non-Traditional Pumpkin Mole Recipe


Non-Traditional Pumpkin Mole

Non-Traditional Pumpkin Mole

Moles come in various flavors and colors. Many recipes for mole are out there but the common ingredient is Chili Peppers. Classic Mole Sauce is called Mole Poblano that may be dark red or a brown color and is usually served over Chicken, Turkey or Pork. Usually Mole is made of Chili Peppers, Spices, Seeds, Nuts, Fruit, Toasted or burnt Bread and or Tortillas and a little chocolate. Traditional Mole Sauce can take a few days to prepare and usually will contain FOURTY or more ingredients. I added a few non-traditional ingredients to my Mole and that is why I’m calling this mole Non-Traditional Pumpkin Mole. I used fresh roasted Pumpkin and dates in addition to other usual Mole ingredients. I took liberties with the cinnamon and the anise seeds since they accent pumpkin so well.  Only two things that I would do different are that I’d put the sesame seeds in a food processor or spice grinder next time so they’d be smooth. You do need to know that mole doesn’t have to be smooth….I just prefer the smooth style. The other thing I might do different is to add mulato chili pods to the recipe. I didn’t have them so I went without but I assure you that I added plenty of peppers. I can’t say for sure how I’d change up the other ingredients if I used mulato chili pods so your on your own if you add mulato. I’m very pleased with the way it came out. I thought it went well with chicken but I think the sauce actually popped more when I served it over turkey breast that I pan fried in a pan. I served it very heavy over the chicken pictured because one of my favorite Mexican Restaurants serves it that way. They serve it that way with rice and tortillas on the side.

Ingredients for about Eleven Servings

3 oz guajillo chili pods (washed off, soaked a few minutes, stem and seeds removed)

2 oz pasilla chili pods (washed off, soaked a few minutes, stem and seeds removed)

non- stick spray ( canola or vegetable )

1/4 cup peanuts

1/4 cup pepitas

1/4 cup sesame seeds

3/4 teaspoon anise seeds

3/4 teaspoon cinnamon

1/4 sweet onions – chopped fine

1 cup dates – chopped – small

2 cup pumpkin – cooked and mashed

1/4 cup chipotle chiles in adobo

1 lb poblano peppers – (about 4 large) – roasted -remove stem and seeds and chopped small

4 garlic cloves chopped fine

2 Tablespoons tomato paste

1 Tablespoon coriander

1 Tablespoon + 1 teaspoon chili powder

1/4 cup masa

2 cup vegetable stock

1/4 teaspoon cloves

1/4 teaspoon allspice

1 teaspoon salt

1 oz Mexican Chocolate

Directions

Set your oven to 400 degrees F on roast.

Spray your baking sheet(s) and in a single layer lay out the guajillo and pasilla chilies. leave in oven until very fragrant (the peppers I had got that way in eight minutes)

After eight minutes they were very fragrant

After eight minutes they were very fragrant

Remove the pods from the baking sheet and boil them in water. (just use enough water to cover the chilies)  Then reduce to a simmer for about an hour.

Use immersion blender and blend them up as smooth as you can. Then strain the mixture. Use a spoon to squish out everything you can get out of it.

fullsizeoutput_2ef2

Set the strained mixture to the side and throw out the stuff left behind in the strainer.

In your sauce pot on medium heat and toast up the nuts, seeds, spices for about three minutes or until the pepitas and sesame seeds turn toasted looking. Put them on the side.

In your pot add onions and garlic and sauce till lightly browned.

add pumpkin, poblanos, tomato paste.

Add the seeds and nuts back to the pot.

Start blending.

Add masa.

Blend

Add stock

Blend

Stir and Blend….stir and blend…after about 1/2 an hour add the chili pod mixture. Stir and blend for about ten minutes and reduce the heat to simmer.

When you think it’s about done add the chocolate.

Stir and blend some more.

Take off heat and enjoy! Freeze leftovers.

Non-Traditional Pumpkin Mole

Non-Traditional Pumpkin Mole

Complex flavors with heat that you don’t get at first. Great for pouring over chicken, turkey or pork. I think it goes especially well with turkey breast.

 The Forking Truth

The Forking Truth


Baked Scotch Style Eggs Spicy Turkey Asian Style Recipe


Spicy Asian Turkey Baked Scotch Eggs

Baked Scotch Style Eggs Spicy Turkey Asian Style

These Baked Scotch Style Eggs Spicy Turkey Asian Style come out moist, a little crunchy and Forking Delicious! If you are a fan of spicy Asian Food you will LOVE these scotch Style Eggs. This is an easy to make recipe but you do need some Asian ingredients that might not normally be in your pantry. I note that you should only make what you need within the week because whole eggs don’t freeze well so you can’t freeze leftovers. The recipe is easy but has steps that you should read before you attempt.

Ingredients for six servings

6 XL eggs (these are the centers of the Scotch Style eggs)

3 Tablespoons soy sauce

2 Tablespoons rice wine vinegar

1 Tablespoon shaohsing rice wine

1 Tablespoon garlic minced

2 Tablespoons gochujang

1 teaspoon red chili flakes

1 Tablespoon ginger – fresh grated

1 Tablespoon honey

1 Tablespoon dark brown sugar

1 teaspoon hoisen sauce

1/2 teaspoon sesame oil

1 lb ground turkey 85% lean

1/4 cup sweet onion minced

2 XL eggs – beaten (this is for meat mixture)

1 cup whole wheat panko bread crumbs (Plain not flavored)

1 Tablespoon kosher salt or sea salt

1/2 teaspoon black pepper

3 oz French Style fried onions (like French’s Brand – The onions are the coating)

non-stick spray – canola or vegetable

Directions

Put six eggs in a sauce pot and cover well with water. Put your pot on the burner and turn burner to high and as soon as the pot is at a full boil shut it OFF and put a timer on for 5 minutes. After the five minutes pour all the hot water out of the pot and add cold water and two  large glasses of ice. The eggs will be hard to peal but not impossible and will have nice moist creamy centers and in the baking process instead of chalky.

In a small bowl combine soy sauce, rice wine vinegar, shaohsing rice wine, garlic, gochujang, red chili flakes, ginger, honey, sugar, hoisen, sesame oil. Mix well. Use your quarter cup measuring scoop that you use for solid food to remove a “dry” 1/4 cup of the sauce and add it to your large bowl where you will be mixing up the turkey. They rest of the sauce will be used as a dipping sauce for the Scotch Style Eggs. Set in refrigerator.

In your large bowl where you have a “dry” 1/4 cup of spicy asian sauce add beaten eggs, onion, salt pepper and turkey and mix well. Once well mixed add the panko and mix well.

The mixture will be too soft so you have to refrigerate the meat mixture for about ninety minutes. During this time you should peal the eggs.

Now divide the mixture into six even portions. Kinda like this patty and start with one and sit an egg in it.

img_5917

Pull the ends of meat up, wrap around egg and roll in your hands like a big meatball.

img_5919

Repeat and do the same to the five remaining meat patties.

When you have them done.

img_5920

Use two bowls and divide the French Style crispy fried onions. You are using two bowls instead of one because it will be easier to divide up the correct amount fried onions to roll the meat coated eggs in. Roll one ball around in the bowl and eyeball one third of the onions on the ball. Roll your second ball and leave enough for the third ball. Now move on to your next bowl with the other three balls and repeat.

Now turn on your oven to 350 degrees F.

Spray your baking sheet(s) with non-stick spray.

Space out balls on the baking sheet(s)

img_5921

In my oven they were fully cooked and perfect in 20 minutes.

img_5923

Spicy Asian Turkey Baked Scotch Eggs

Spicy Asian Turkey Baked Scotch Eggs

Serve with a side of the sauce or just drizzle it on. You don’t need much sauce. A little goes a long way and it really is ….Forking DELICIOUS!

Even re-heated these Scotch Style Baked Eggs still come out awesome! (in my oven at 350 degrees F covered with foil 30 minutes).

Reheated and still a creamy soft center and moist meat.

Reheated and still a creamy soft center and moist meat.

These Spicy Asian Turkey Baked Scotch Style eggs are FORKING DELICIOUS. You will love them if you are a fan of Spicy Asian Food.

 The Forking Truth

The Forking Truth


Spicy Hatch Chile Cheesy Polenta Dip Recipe

Spicy Hatch Chile Cheesy Polenta Dip

Spicy Hatch Chile Cheesy Polenta Dip

Here in Phoenix Arizona we get these really delicious Hatch Chiles in the fall that are so delicious fire roasted. Most people love the aroma of these Hatch Chiles so we try to serve them any imaginal way. Here I came up with Spicy Cheesy Polenta that you can use as a dip if you care too. You usually have to pair the Hatch Chile with something creamy like cheese to balance out the heat. Hatch Chiles do come in mild, medium, hot, very hot and too hot. 80% of the time no matter what the chiles are marked you get hot or very hot so you have to be able to tolerate some heat to enjoy these chiles. For any recipe with hatch chiles they must be fire roasted with the skin, stem and seeds removed.

Ingredients for about 8 servings

6 oz hatch chiles – fire roasted with skin, seeds, stem removed and chopped (about 1/2 a cup)

1 cup polenta (not the instant kind)

4 1/2 cups water

1 garlic clove – grounded up

2 oz unsweetened butter – cut in a few pieces

1 teaspoon kosher salt or sea salt

1/4 teaspoon fresh epazote chopped fine (if you can’t find leave it out- it’s a very strong herb that should be used very sparingly but it adds an authentic taste to Mexican Style Foods)

4 oz extra sharp aged white cheddar – cut or sliced in small pieces

8 oz monterey jack cheese – cut or sliced in small pieces

fresh ground black pepper to taste

1 scallion – for garnish

1 Tablespoon fresh cilantro for garnish

Directions

In a sauce pot put the water with salt on to boil. Once the water is boiling turn down slightly and add the garlic, hatch chiles, butter and polenta. Keep stirring. The more you stir the creamier it will be. you will slowly be turning down the heat and you don’t have to stir the whole time but you do need to stir periodically. When the polenta starts to look like it’s getting thick…about 10 minutes. You should lightly cover the polenta with foil and turn down the heat to low. You still need to stir the polenta occasionally for about 1/2 hour and then slowly add the cheeses and the epazote. Real polenta takes 45 to cook. This polenta will come out thin for a just right cheesy dip. If you let it sit in the refrigerator the polenta will harden but you can still get it softer by reheating it but it will not come out as thin.

Spicy Hatch Chile Cheesy Polenta Dip

Spicy Hatch Chile Cheesy Polenta Dip

Spicy but Forking Yummy!

 The Forking Truth

The Forking Truth

Enchanted Pumpkin Garden Carefree Arizona It’s a Free Event….GO!


img_5878

October 17th – 31th 2016 is the 2nd annual Enchanted Pumpkin Garden in Carefree Arizona. This is a free no cost event.

Pumpkin Artist Ray Villafane is the genius behind these whimsical pumpkins that take over the beautiful Carefree Desert Gardens. If the name Ray Villafane sounds familiar it’s probably because you’ve watched him on Food Network’s TV Show called Halloween Wars where he transformed Pumpkins into amazing lifelike creations.

Besides strolling threw the gardens-

img_0168

the Enchanted Pumpkin Garden’s Events have grown to include a craft beer garden, a few food trucks ( I saw four and one was ice-cream) –

img_5887

Hayrides, a pumpkin pie eating contest and face painting.

For more information please visit www.CarefreePumpkinGarden.com or just Forking Visit the Gardens…BECAUSE it’s FREE

! There are a few shops and a few cafes in walking distance that you can do afterwards. beautiful Cave Creek is only a couple streets away and you can easily spend some time there too. Lot’s of tourist shops and bars with cowboys and want-to-be cowboys Cave Creek is a very southwest kind of town and is lots of fun for visitors and for people that truly enjoy the south west.

Here are a few pictures of what I saw this year.

fullsizeoutput_2f07

fullsizeoutput_2efa

fullsizeoutput_2efd

fullsizeoutput_2efc

fullsizeoutput_2f08

fullsizeoutput_2f02

fullsizeoutput_2f04

fullsizeoutput_2f05

img_0189

fullsizeoutput_2ef4

fullsizeoutput_2f09

This week should even be better because the artist will be carving all the pumpkins can. The pumpkins only last for up to FOUR days in our Arizona Weather. They actually mist the pumpkins with water to get them to last a mere four days.

Here are a few photos from 2015 Enchanted Pumpkin Garden

fullsizeoutput_199c

img_0436

fullsizeoutput_1990

fullsizeoutput_19b0

fullsizeoutput_1994

Carefree’s Enchanted Pumpkin Garden…Just Forking Go…It’s Free!

 The Forking Truth

The Forking Truth

Taj Mahal Restaurant and Lounge Scottsdale AZ is Worth a Fork

fullsizeoutput_2ed3

An intoxicating aroma of exotic spices  fills the air inside the restaurant and suddenly I get excited to try Indian Cuisine. The dining room is modern and clean. Indian Television and Lively Music are on at the same time…… At the time of this review (October 2016) Taj Mahal Restaurant and Lounge is a newly opened Indian Restaurant and Lounge located in Old Town Scottsdale. Here you park in the street in pull in spaces or in one of the free garages.

fullsizeoutput_2ed1

The owner is very friendly and welcoming and takes our order.

In reasonable time our plates arrive that we share. The decorative plates look small to us but really held just enough food.

fullsizeoutput_2ed2

We received Fish Vindaloo (maui maui), Chicken Biryani and Garlic Naan. I’ve had Chicken Biryani at a number of places and although there are endless variations of this dish….. this dish of Chicken Biryani seemed the most complex and interesting that I tried so far. To start out the chicken was above average. It was tasty juicy, flavorful,  boneless chicken thigh meat. This style of Biryani had the just right amounts of sweet golden raisins, toasted almonds and fresh herbs to balance all the spices and heat. It was the best Biryani I remember tasting so far.

The Fish Vindaloo came with potatoes in a spicy, tangy, tomato based sauce. The fish seemed fresh tasting and was flaky and moist. I thought the extra sauce was a yummy treat with the garlic naan.

Service was efficient.

Portions are right on.

Pricing is on the high side…..Biryani $15.99 & Vindaloo $17.99 …..The proteins are either higher quality or were prepared with more expertise than from other similar places I tried.

It’s premature to rate because they are so new but I couldn’t find a thing wrong with anything so it seems that Taj Mahal in Scottsdale AZ is Worth a Fork!

Worth a Fork!

Worth a Fork!

I didn’t include this is my review……..

The owner told me that people travel hours to come here for his Specialty Dish the Chicken Masala. He is confidant that he serves the absolute best Chicken Masala that there is out there and he tried to get me to order it..( The truth is that I like Chicken Masala but it’s not my favorite Indian Dish so I didn’t try it this time)….He told me that I must try the Chicken Masala next time. Maybe next time I will try the Chicken Masala and see if I feel differently about that dish after I try it here….

For more information please visit www.TajMahalPrescott.com

 The Forking Truth

The Forking Truth


Indian Inspired Leaner FORKING DELICIOUS Turkey Meatballs Recipe

Indian Spiced Turkey Meatballs

Indian Inspired Turkey Meatballs

These Indian Spiced Turkey Meatballs come out light, fluffy, juicy, flavorful and spicy. Go ahead and make a big batch because they will get gobbled up as soon as they come out of the oven. Gave my husband a sample bowl and he marched back in a few times for repeats. Should you have any leftovers they freeze well and reheat juicy.

Ingredients for about  12 servings

2 lb ground turkey 85% lean

1/2 cup sweet onion – finely chopped

2 Tablespoons ginger – fresh grated

1 teaspoon ground turmeric

2 very hot hatch chiles – fire roasted, stem, seeds and skin removed – chopped small

1 teaspoon chili powder

10 cashews – crushed to powder

3 garlic cloves – grounded

1 teaspoon garam masala

4 branches fresh curry leaves – chopped fine

4 XL eggs – beaten

2 cups whole wheat panko bread crumbs

1 cup water

2 teaspoons black pepper

2 Tablespoons kosher salt or sea salt – slightly scant

non-stick spray canola or vegetable

Directions

Preheat oven to 350 degrees F

Spray non-stick spray on your baking sheets.

In a large mixing bowl add the turkey and bread crumbs.

In a medium mixing bowl combine everything that’s left but the non- stick spray.

Mix in medium bowl’s contents to the large bowl and mix till incorporated. I do note the mixture will be VERY SOFT and you will have to use a small scoop and not your hands to make the meatballs.

Pinch of about the size of a marble and pop it in the microwave for about 16 seconds and check the seasons or place in the oven on a sheet pan and wait for it to be cooked threw and then try. After you decide the seasons are correct for you then get your small scoop and start laying out the meatballs like this. Sixty meatballs.

fullsizeoutput_2ea2

After twelve minutes in my oven they were done but oven do differ so make sure yours are done.

fullsizeoutput_2ea3


fullsizeoutput_2ea1

Delicious, light, fluffy and juicy!

Indian Inspired Turkey Meatballs with Green Chutney (Chutney is just handful mint, handful cilantro, 1/2t cumin seeds, 2 garlic, 1t lemon J. salt)

Indian Inspired Turkey Meatballs with Basic Green Chutney (Chutney is just handful mint, handful cilantro, 1/2t cumin seeds,3 hot peppers, 1/2 onion, water, 2 garlic, 1t lemon J. salt, sugar to taste

Indian Inspired Turkey Meatballs with Green Chutney on toasted, oiled and garlic my own Boule Bread

Indian Inspired Turkey Meatballs with Green Chutney on garlic, oiled and toasted my own Boule Bread (this was FORKING Delicious)

If you can handle a some spice and a little heat you will FORKING love these Indian Spiced Meatballs! These came out Forking DELICIOUS!

 The Forking Truth

The Forking Truth


Happy Birthday to The Planter’s Peanut – Mr Peanut Turns 100


fullsizeoutput_2ef0

Mr Peanut is the mascot that represents the Planters Peanut Company that turns 100 in 2016.

The Planters Company was founded by Amedeo Obici an Italian Born American of Wilkes-Barre Pennsylvania.

The Planters Company some time back merged with Nabisco and currently (2016) is owned by Kraft Foods American Food Company.

I was very excited to hear about the “Nutmobile” touring for Planters 100th. The Planter’s Peanut Man was very iconic from commercials but mostly (for me) from being one of the hight lights from Atlantic City New Jersey’s Board Walk from my childhood.

Photo from Pinterest

Photo from Pinterest

The above photo shows you a little bit of what Atlantic City Board Walk was like. The Planter’s Peanut Store is on the left.

This is how I remember it looked liked from the outside with the Peanut man always there.

fullsizeoutput_2eeb fullsizeoutput_2eec

You had no choice to stop here when you were on the board walk. The aroma of fresh roasting peanuts was intoxicating like a drug. They smelled so good…you can’t imagine unless you have smelled fresh roasting peanuts. They smelled so good that you were hypnotized ….you had to get some.  The Atlantic City Board Walk also got mighty chilly at night and the hot peanuts were also very comforting to warm your hands and stomach from the chilly, misty, sandy shore air. (Photo on the left was from Monicastangledweb.com and photo to the right was found on Pinterest)

I couldn’t find a photo of the inside of the Planters Store but there were some animated Mr Peanuts inside doing things that were fun to look at. They sold fresh roasted peanuts…I think I remember some toys or games….other things I don’t remember and Mr Peanut Collectables.

fullsizeoutput_2eed

These might be older collectibles I think from before my time. I remember stuff like Mr. Peanut Mugs, Banks and other things, some were colorful. I think I remember Mr. Peanuts store goods made in Pink, Red, Blue and Yellow colors. (Photo found on Pinterest)

I saw this Mr. Peanut Bench on the internet. I don’t remember it but it might have been there. Behind the glass is a Boardwalk. But that little bit of Greenery by Mr. Peanut’s hand doesn’t look like the Atlantic City Beach to me?

Photo found on Pinterest

Photo found on Pinterest

Well Atlantic City is a different Place now and Mr. Peanut has said good riddance to Atlantic City some time back but you can find him on a Jar or Can of Planter’s Peanuts almost anywhere.

Back to our time in Phoenix Arizona!

Here was the Mr. Peanut 100th Birthday Celebration.

I never seen the “NutMobile” before and never heard of it either. We drove to the celebration and luckily it wasn’t too far from my house.

fullsizeoutput_2ed6

img_5796

fullsizeoutput_2ed7

fullsizeoutput_2ed9

Was the scent of fresh roasted peanuts going to fill the air?….Nope 🙁

Where they going to celebrate with slices of Birthday Cake?…..Nope 🙁

Was there going to be a band?….Nope 🙁

Were they going to hand out keepsakes?…………Nope 🙁

Were they going to give out samples of airplane size packages of peanuts?……Nope 🙁

Was I FORKING GOING TO SEE MR.PEANUT?….nope….Nope and Forking Nope. 🙁

There was nothing but $1.00 off coupons for purchasing jars or cans of Planter’s Peanuts. 🙁

Nuts!…….. Mr. Peanut turned 100 and all they did was give out $1.00 off coupons.

 The Forking Truth

The Forking Truth

Wikipedia

Planters.com


How to Make an Icing Rose and a Forking Easy Drop Flower


img_5822

Making an icing rose is easy but it might take a whole night of practice before you get it down. You also need to know that your ornamental icing must be very thick with lots of sugar or it will be too soft for decorating and will fail.

So pick up a decorating kit and give it a try if you care too.

First you get a pastry bag …with a Rose Tip.

Both tips are for roses but I used the bigger #104 Wilton Brand Tip

Both tips are for roses but I used the bigger #104 Wilton Brand Tip

I used a 104 Wilton Tip…..I prefer the disposable pastry bags…because the reusable pastry bags are hard to clean and will always split on you when you least expect it….so you will have to replace them after a few times anyway.

You snip the end of the bag for your tip to fit in (or add a coupler to use with multiple tips)….and curl down the ends so they stay clean.

img_5813

Insert frosting and twist the end so frosting doesn’t fall out.

img_5814

Get a Frosting  and apply pressure to the frosting bag and make a blob of frosting on the nail.

img_5815

Now go slightly above the blob and spin the nail in your hand while squirting out the frosting  around the frosting blob and make it look like a rose bud center.

fullsizeoutput_2ee3

Start a little lower and squirt out three petals around the bud center.

img_5818

Start near the middle and make around five petals.

Then near the bottom make about seven petals.

img_5822

Remove the flower with a small spatula or butter knife or a scissors by cutting into the rose bottom and releasing on the cake.

If this sound like too much trouble no fear…….

Russian Decorator Tips are budget priced and easy to use. I think  I was searching on eBay for the style tips I used when I worked in a bakery that I liked better than what I have and accidentally came across Russian Decorator Tips. I thought they were interesting and including shipping they were around $5.00 so I thought I’d give them a try.  They look so unusual to me. I’ve never seen tips like these before.

fullsizeoutput_2ee5

I think most of the tips look like drop tips. Most of the tips look like how you make press cookies.

img_5835

I used the above tip to make the drop flower. I didn’t notice numbers on the tips so it seems you have to recognize the design of the tip to know what you want. I just applied a small amount of pressure and wah-la my flower was done.

fullsizeoutput_2ee2

Pretty easy and no practicing.

I suggest purchasing a coupler with the Russian Tips. The Russian Tips are very large and changing them in the bag is a major production.

I showed you how to make an Icing Rose and a Forking Easy Drop Flower…isn’t that sweet 🙂

 The Forking Truth

The Forking Truth