Pad Kra Pao Style Jackfruit
This is a very easy recipe that anyone can do. This recipe is similar to dishes you see on Thai Restaurant menus called Sweet Basil. My recipe is NOT authentic because I used anchovy oil and anchovies instead of fish sauce or oyster sauce. In my home I don’t use enough fish sauce for it to stay fresh in my house. I use a bottle and then the next time I go to use it the bottle is always spoiled. Anchovy is what not all but what the better fish sauces are made from. I don’t mean to brag but this version of Pad Kra Pow does taste better than from many of the restaurants I order it from. I had some Jackfruit and somehow I thought it would be good this way and it was! For this recipe you boil a piece of Jackfruit for 45 minutes. Cleaning it up is easy. put the sweet yummy bulbs from the jackfruit and the delicious edible peeled seeds to the side. The meat of the Jackfruit (parts between the bulbs) you only use when the Jackfruit isn’t ripe or it doesn’t taste good and it will be hard to take out……So do a taste test and figure out if it’s good…Use it if it’s good. It’s easy to peel the membrane off the seeds. The seeds are the best as soon as they are cooked because under the membrane the seeds sort of have an edible shell that is difficult to peel…..it’s not so hard as soon as it’s cooked. The seed is like a mix between a bean and a chestnut. The next day the outside of the seed gets crunchy but keep in mind it’s edible with a delicious center. Get a pan on high with anchovy oil and fry the bell pepper, than add the rest and it’s just yum! Of course if you don’t want to mess with Jackfruit you can use the recipe with whatever chopped protein you like.
Ingredients for about two servings.
One piece of cut jackfruit from the Asian Market….(I didn’t weigh but they are always the same size…..and look like this.

Water to boil jackfruit
1 Tablespoon kosher salt (to boil jackfruit)
1 2oz can anchovies (just the oil and 3-4 anchovies***amount might differ depending on anchovies)
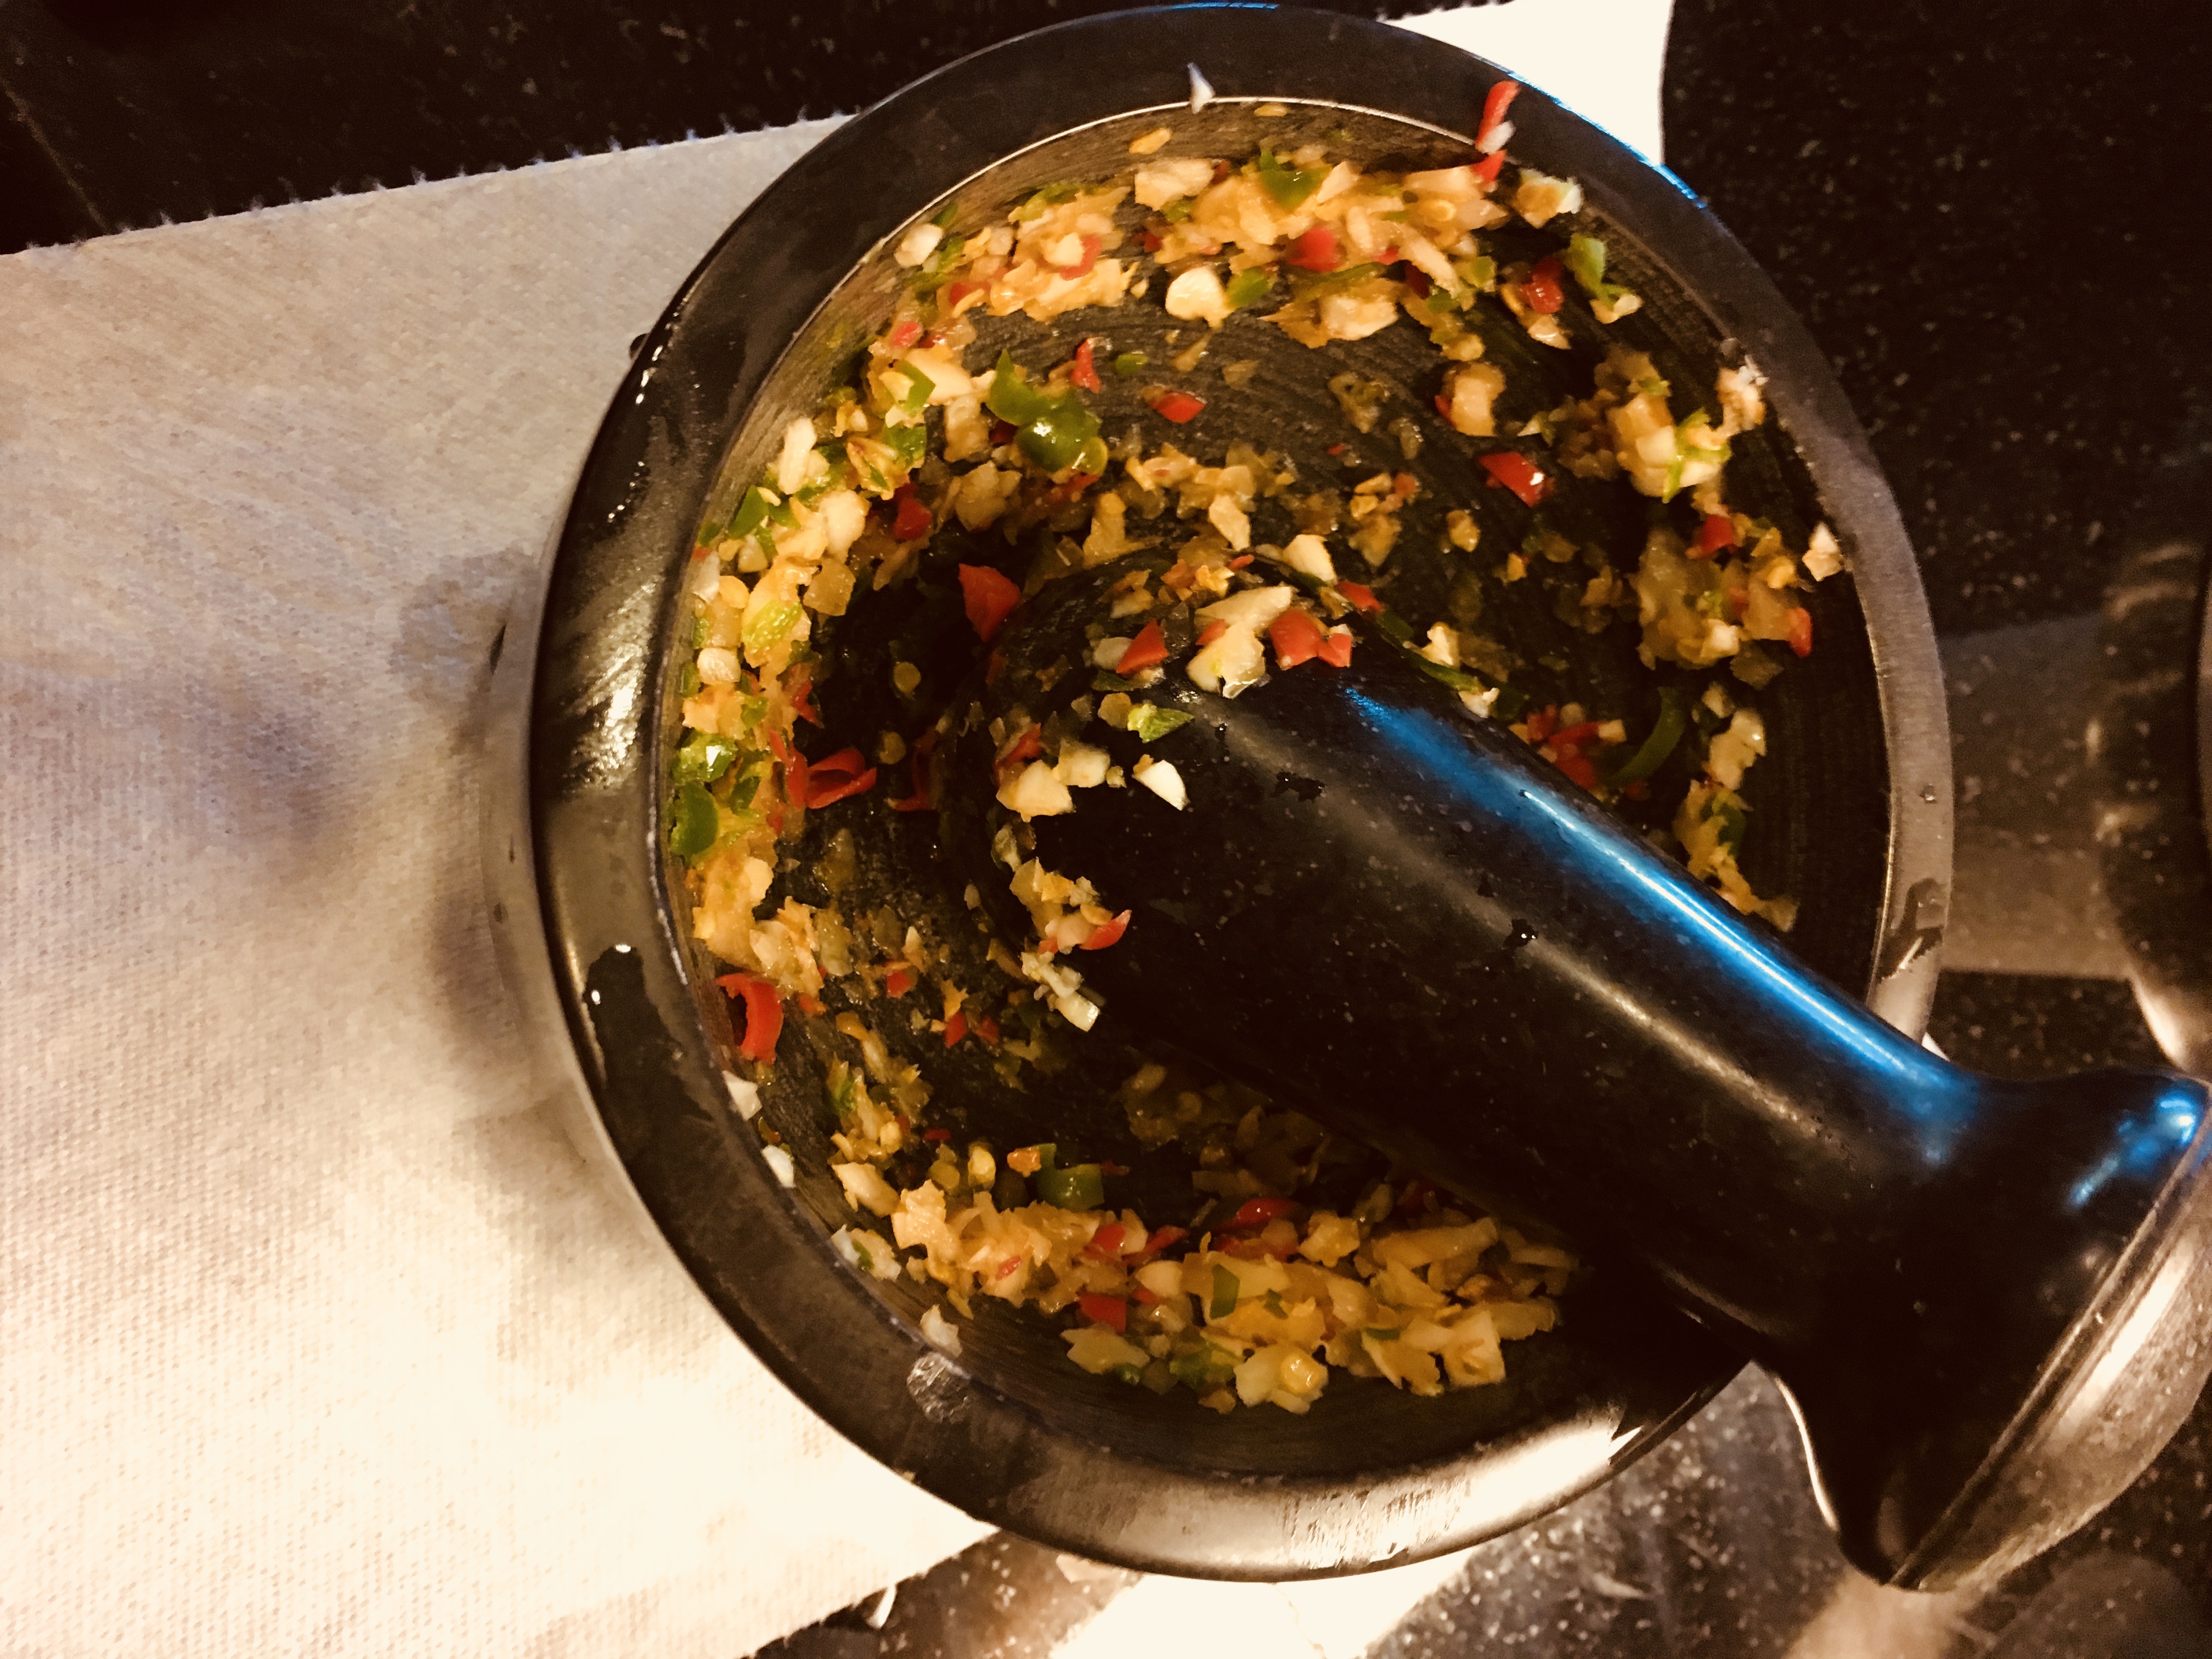
5 cloves garlic – ground to paste
5 Thai Chilies – fine chopped – then ground to paste with garlic
1 red bell pepper – seeds and stem removed – thin slices
big splash soy sauce – (I used Lee Kum Kee Brand)
big splash Golden Mountain Seasoning Sauce
1 teaspoon dark brown sugar
big handful thai basil leaves – (would be better with holy basil leaves…but impossible to find mostly all the time)
Directions
Put Jackfruit in a pot of water with salt and boil 45 minutes. Remove from pot and when cool enough to handle remove the jackfruit bulbs and the seeds. The seeds must be peeled….(please use them as they are DELICIOUS….taste like a cross between a chestnut and a bean) If the meat is unripe you can scrap out the meat too……but do a taste test first…..on ripe fruits the meat part usually isn’t good.

Orange are the bulbs to the side. Meat is still in fruit

Remove skin on seed
Get the fry pan on high heat with anchovy oil and about 3-4 anchovies (maybe less if you have really nice plump ones) Stir them around about a minute and they will break down.
Add bell pepper next. Let them go till they look almost cooked.
Turn down to medium add the garlic/chili mixture.
Give it a splash of soy sauce and golden mountain sauce. Stir it a little. This should smell very appetizing now.
Stir and then you can toss in the jackfruit and seeds
Shut off heat and stir in the basil and serve.
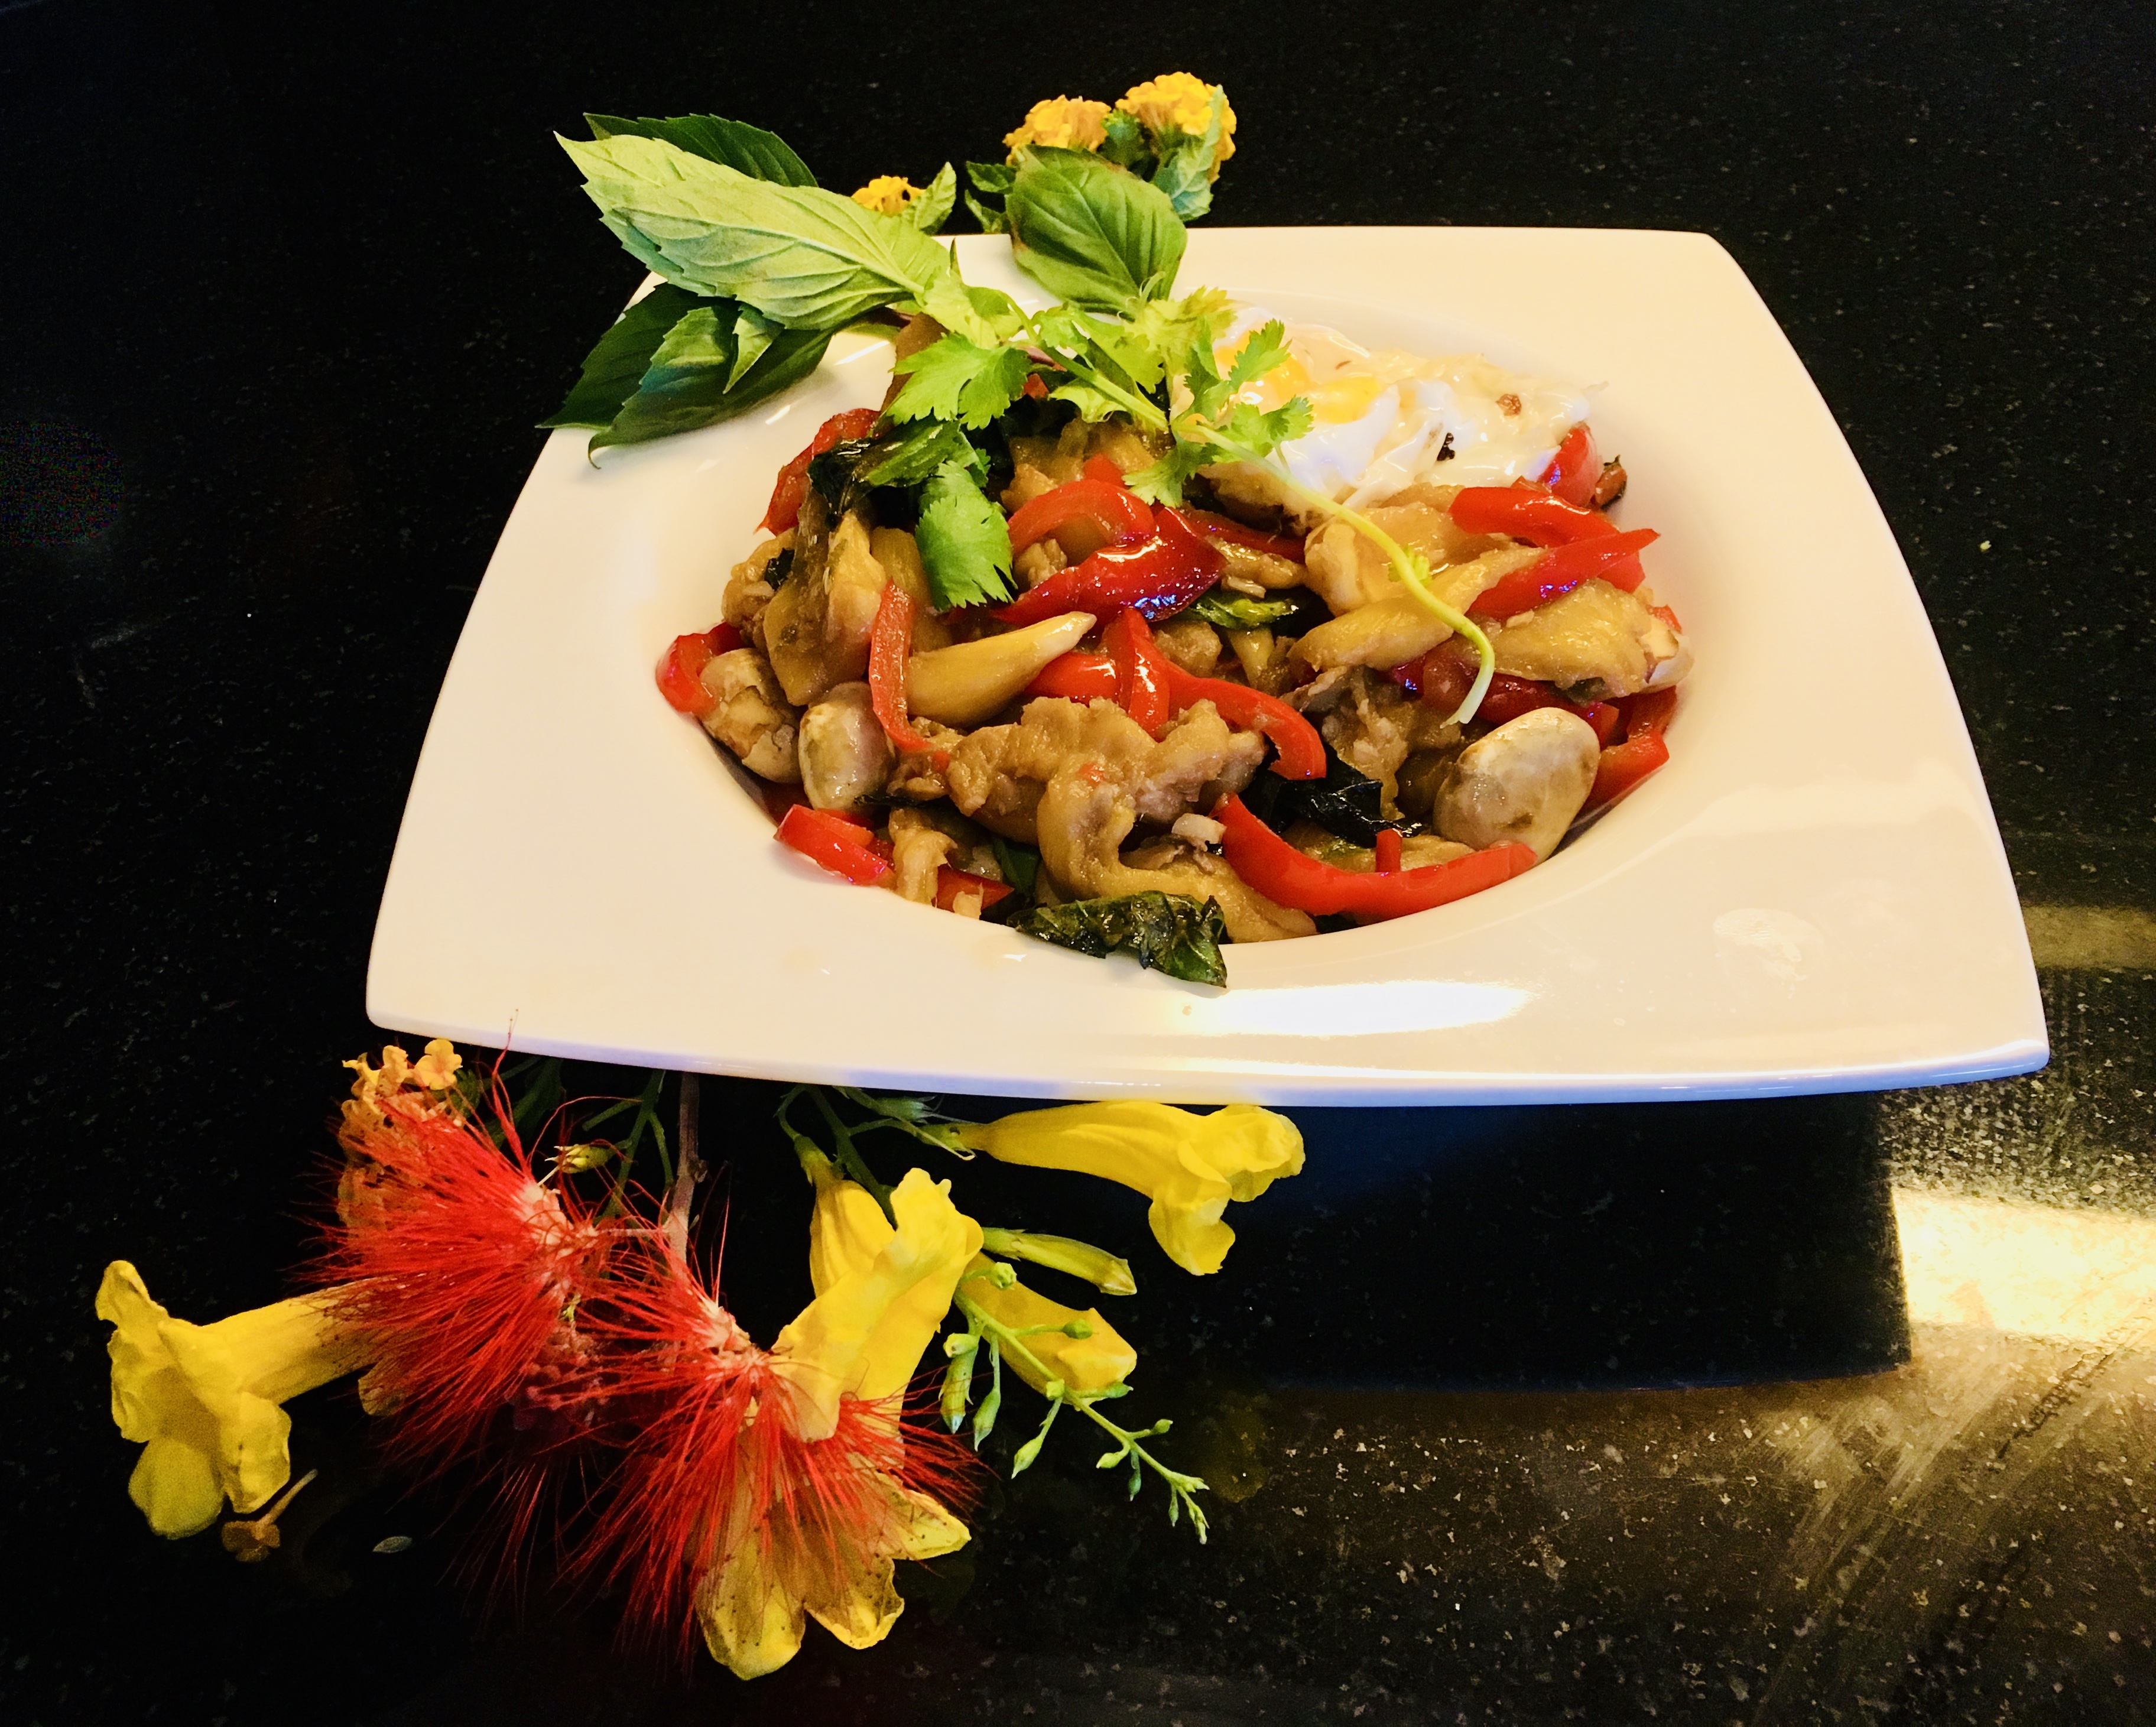
You can serve with rice or noodles and if you want to go authentic style you can top with a crispy fried egg.
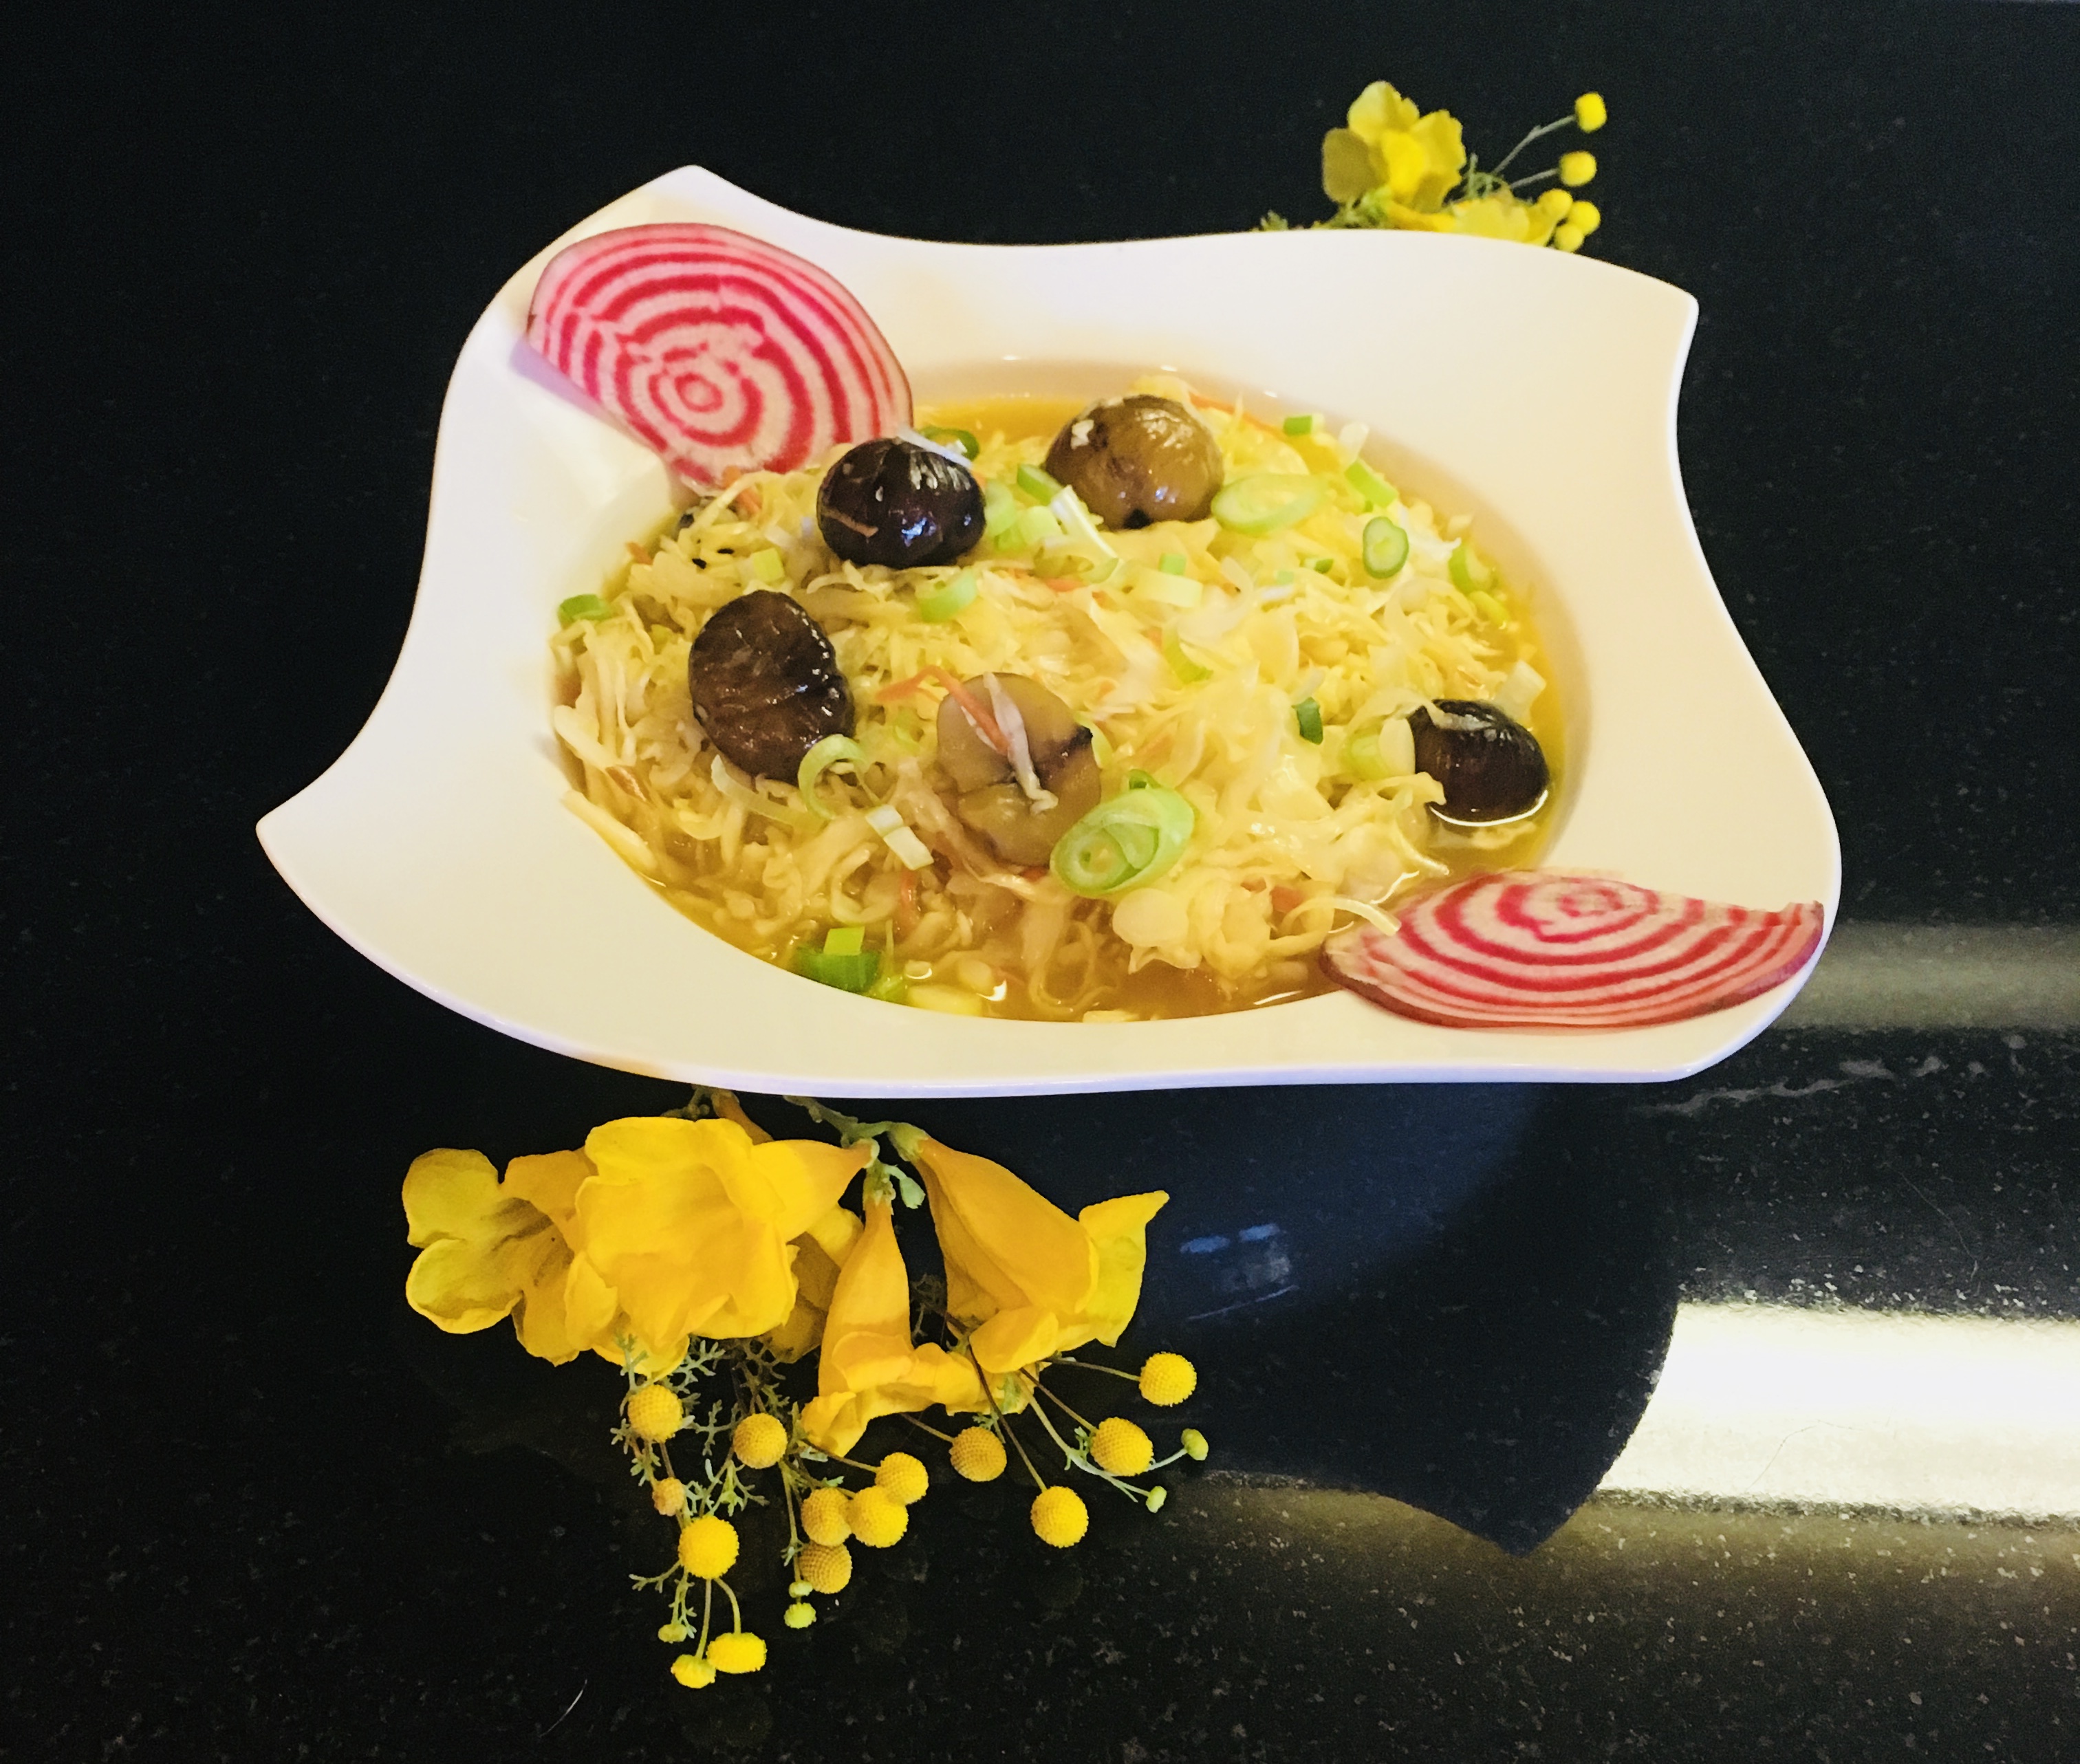
Pad Kra Pao Style Jackfruit…
My husband was afraid to try this one….but he couldn’t believe how delicious it was…..He said I really nailed it. This really came out better than many Pad Kra Pows we had out………….Enjoy!

The Forking Truth